
Overview
The Settings section of Elation Billing lets you customize essential data needed for account access and claims submission.Elation Billing Admins and Managers can access Elation Billing settings.
Workflow Instructions
Navigating to Settings
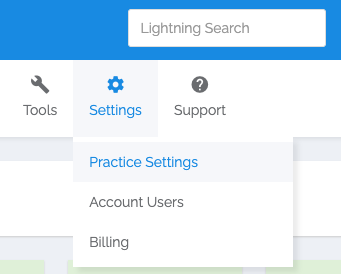
- Go to the toolbar at the top of your Elation Billing account.
- Click Settings → Practice Settings.
Practice Info
The Practice Info section stores practice details, manages Practice Entities, and configures Online Payments. Practices that bill under multiple TINs can connect a separate Stripe account for each entity from the Online Payments section; each connected account then becomes available in the Stripe account dropdown when configuring an entity (see Practice Entities below).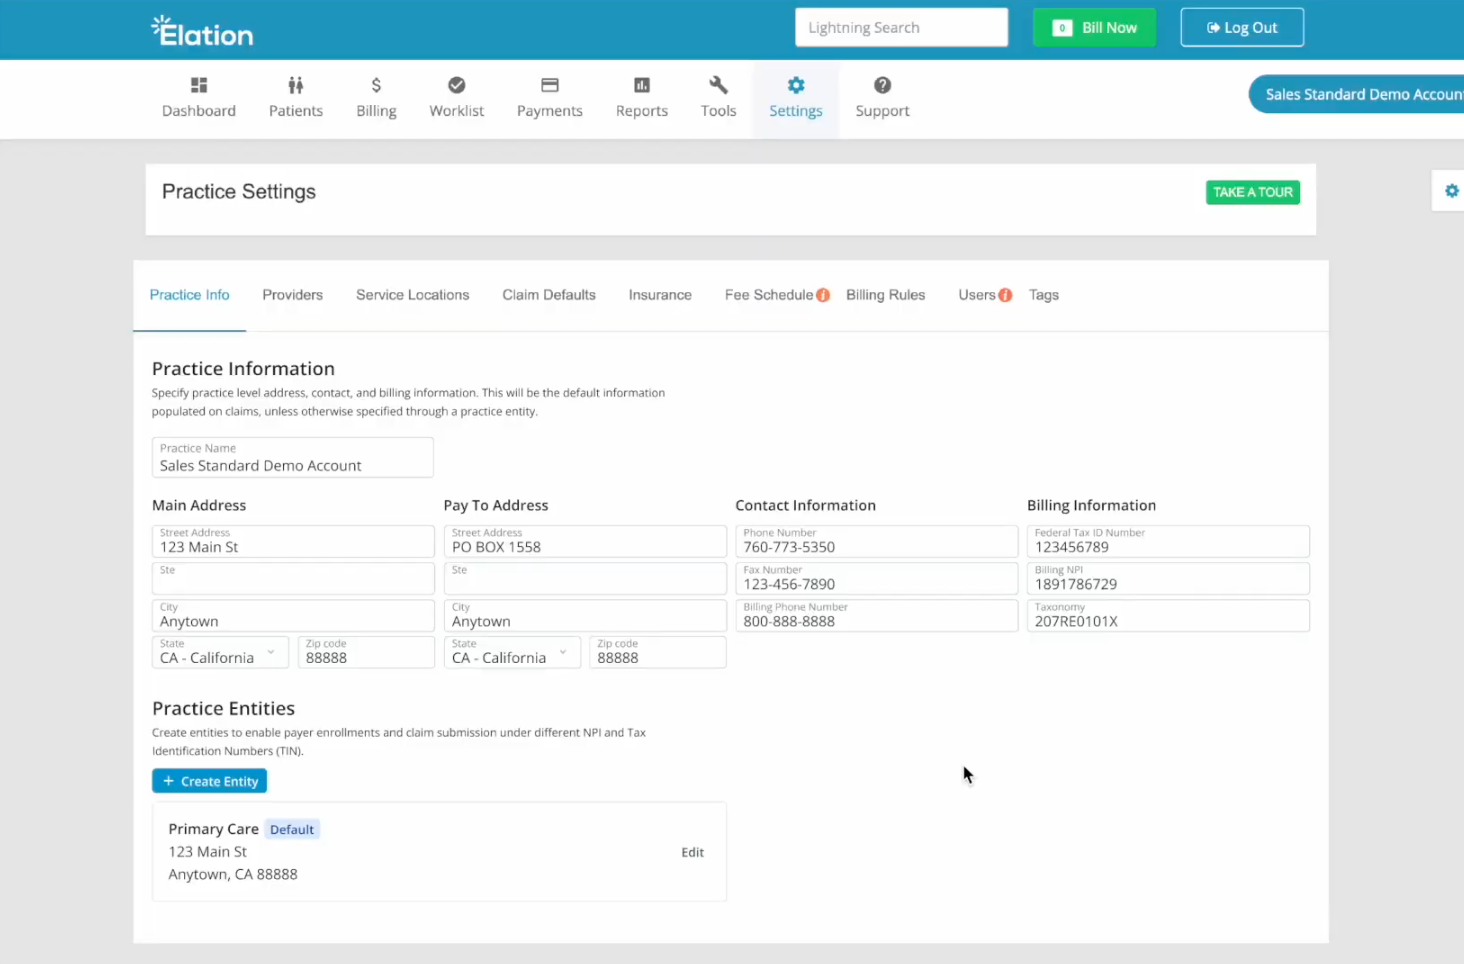
- Click VERIFY NOW to validate addresses against the USPS database
- The Billing Phone appears on Patient Statements
Practice Entities
Create additional entities if your practice submits claims under multiple TINs or NPIs:- Click + Create Entity
- Fill in entity details and billing information
- Click + Add Provider to specify providers
- Click + Add service location to specify locations
- Configure statement settings for the entity:
- Business Name — the name that appears on patient statements sent from this entity.
- Phone Number — the phone number that appears on statements from this entity.
- Payment plan messaging opt-in — include payment plan messaging on statements sent from this entity. See Payment Plans.
- Stripe account — the Stripe account associated with this entity, selected from the accounts connected under Online Payments. This account is used both for payments collected in Elation Billing and for payments made by patients on the patient-facing payment page at ElationPay.com.
- Click Create
Entity-level NPI and TIN are also used when routing incoming ERAs to the correct practice. If practice-level settings and claim details on the ERA do not match, Elation falls back to matching against the NPI and TIN on each practice entity. Ensure every entity has accurate NPI and TIN configured to avoid delays in ERA processing. See How ERAs are matched to a practice.
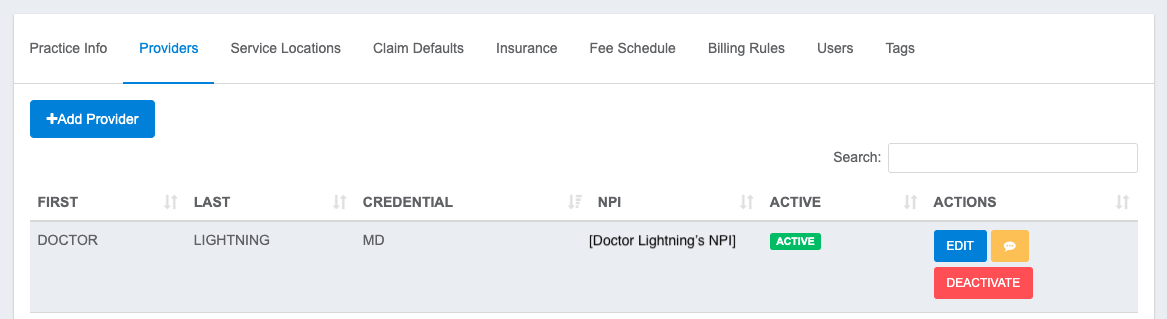
Managing Providers
Service Locations
Click Add Location to add a service location. Enter the NPI if available, click Auto Populate to fill details, then Validate the address.Insurance List
Shows all payers available via ClaimMD. Use the ♡ to favorite commonly used payers.Add a Payer
If a payer isn’t found, click Add Payer and reference the ClaimMD Payer List. You can also adjust the following payer settings as needed using the following buttons:
- Blue ‘AKA’ = add/edit payer nicknames (e.g. Blue Cross Blue Shield is also known as BCBS)
- Yellow = edit the payer’s address
- Purple = apply special payer rules for NPI/Tax ID used on claims
- The default rules are the use the group NPI and your entity’s Tax ID.
- Adjust this preference if your contract with the payer has a different NPI or Tax ID.
- Red = add payer notes (e.g. phone #)
Paper Claims
For Payers that don’t support electronic claims, you can have those claims printed and mailed for an additional fee.Fee Schedule
Adjust your default fee schedule as a percentage of your selected Medicare region. See Setting Fee Schedule as a Percentage of Medicare Rates.This setting is the Elation Billing fee schedule. For Elation EHR + Billing practices, charges set in the EHR take precedence — the Elation Billing fee schedule only fills a charge on a claim line that is still empty. Practices with the Fee Schedules section in EHR Billing Settings configure rates in the EHR instead, and Elation reads these Elation Billing settings into that fee schedule. See Fee Schedules Guide — Setting charges in the EHR.