Workflow Instructions
Transferring Patient Balances
- Create Superbill - Hover over the Billing tab and select + New Superbill.

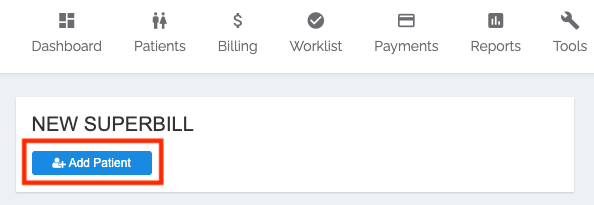
- Add Patient - Under NEW SUPERBILL, click the blue Add Patient button.
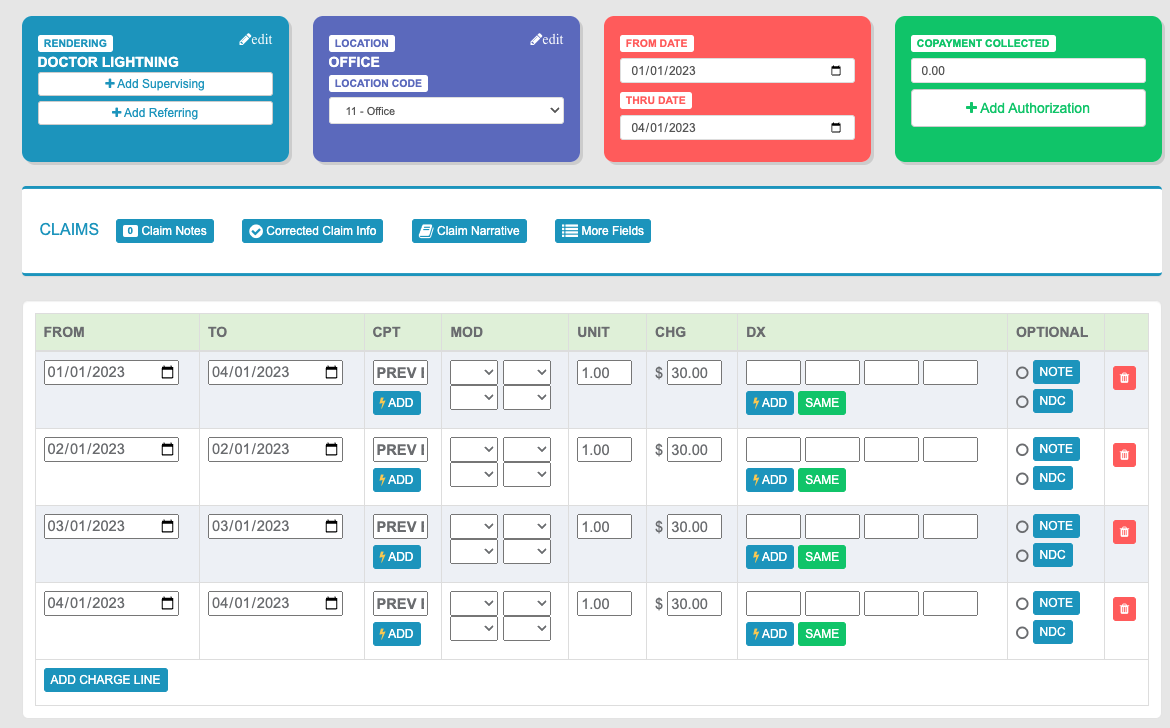
- Select Rendering and Location - Select the Rendering Provider and the Location for the date(s) being accounted.
If the patient has a balance from multiple providers/locations, and your practice is interested in tracking services per provider/location, you’ll likely want to create individual Superbills for these different providers/locations.
- Select DOS - In the Red From Date/To Date field, set the From Date to the first DOS being accounted for, and the To Date to the most recent DOS accounted for. If the patient only has a balance from one claim, just use the DOS for the claim.
- Add Charge Line - Select Add Charge Line. Add the From and To date for the first claim for which you’re accounting.
- Add Custom CPT - Select ⚡️ ADD to add the custom CPT you’ll be using to track these transferred balances.
- Apply Patient Balance - Apply the Patient Balance to the DOS’s Charge value.
- Add Remaining CPTs and Balances - Repeat Steps 5 and 6 for each DOS being transferred.
- Lightning Bill to Patient - Once the balances have been accounted for, select Lightning Bill. Select Patient (in the dropdown menu), followed by Bill Now, to apply the balance to the patient!