Documents cannot currently be transmitted with claims. If you have additional documentation you may have to print the claim and mail with your documents. Contact Support if you have an instance where the document MUST be attached.
Workflow Instructions
Navigate
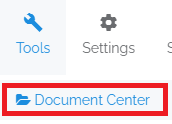
- Access Document Center - Select the Document Center option from the Tools drop-down menu.
Upload
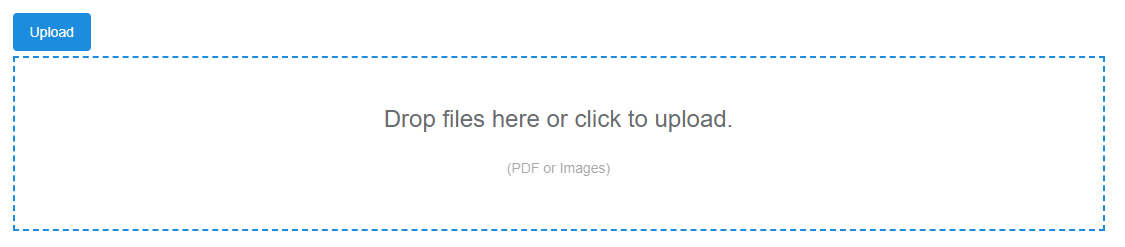
- Click Upload - Click on the Upload button, then drop a file or just click in the box to upload.
- Enter Details - Once you select your file, you’ll need to enter AT LEAST a Nickname. Only one file may be uploaded at a time.

View the Document
- Open Document - Just click on the Nickname of a document in the table to launch the viewer. From here you have access like a PDF for zooming, printing etc.
- Edit Details - You can also edit the document details, like the nickname, as well as view a list of pages.
- Mark as Reviewed - When viewing the pages, you can mark them Reviewed or Unreviewed. This is counted and listed in the document table list as R or U.