Overview
What is EDI Enrollment?
EDI (Electronic Data Interchange) enrollment is the process of setting up electronic connections with insurance payers for claims submission, Electronic Remittance Advice (ERA), and Real-Time Eligibility (RTE) checks. These are three distinct services that each require their own enrollment per Payer. You may need to complete enrollment for one, two, or all three depending on which services your practice uses. Each service has its own enrollment type and status indicator in the Insurance Settings payer list. The enrollment type is specified by the Payer. The system routes you through the appropriate process as specified by that Payer. There are 3 possible enrollment types:- Quick enrollment
- Paper enrollment
- Electronic enrollment
Why is EDI Enrollment important?
Electronic enrollment enables faster claims processing, automatic payment posting through ERAs, and real-time eligibility verification—all of which improve billing efficiency and reduce manual work.Timing enrollments
Timing enrollments is important if you are coming from another billing software.- Claims - This service can be available in multiple billing softwares. To minimize delays, enroll in this service as soon as you can, especially for Medicare.
- Eligibility - This service can be available in multiple billing softwares. To minimize delays, enroll in this service as soon as you can, especially for Medicare.
- ERA - This service can only be available in one billing software at a time.
- For example, if you are currently receiving ERAs in your previous billing software and you don’t want to switch to Elation until the start of the next month, then you should time your ERA service with Elation to start closer to the start of the next month. Refer to the Checking enrollment statuses section below to learn how to determine the expected ERA enrollment timeline for a specific payer.
Workflow Instructions
Viewing your Payer List
If you have multiple practice entities, use the Entity dropdown to select the one you want to view payer enrollments for.
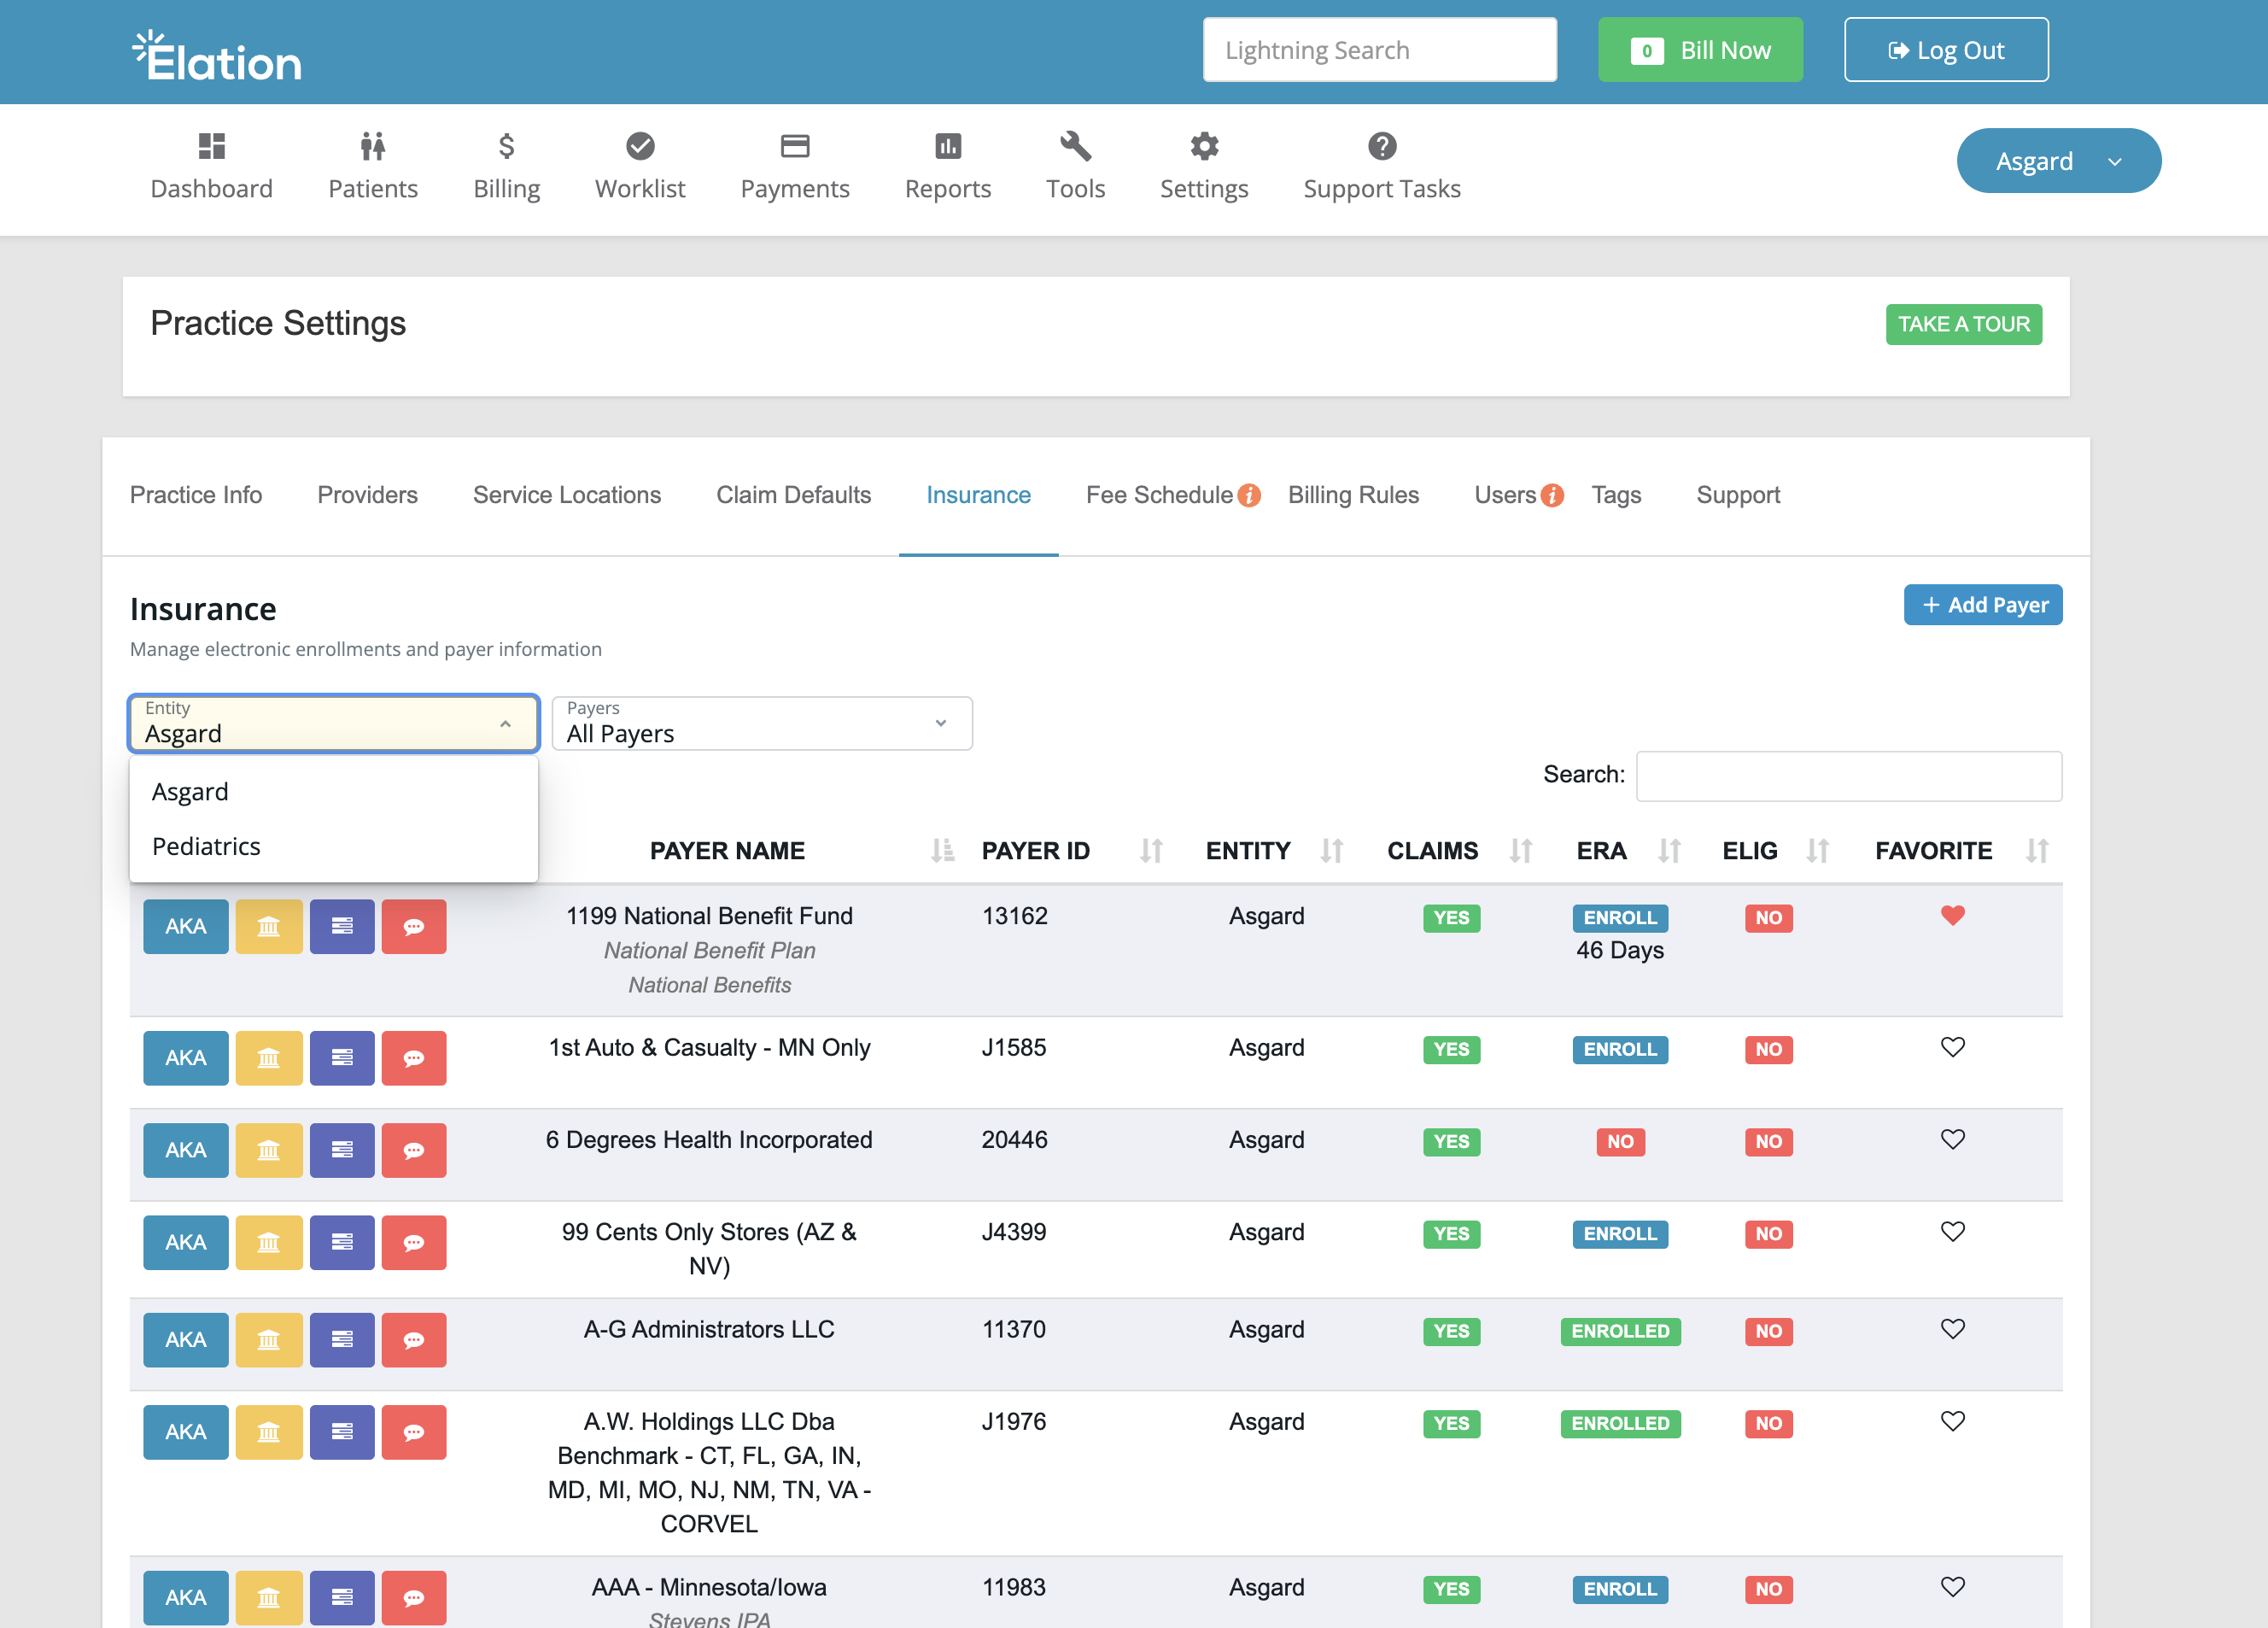
Identifying and favoriting Payers
Search for payers by name or payer ID. Click the heart icon to add them to your favorites list for easy access.When searching for Medicare, Medicaid, or BCBS, search with the state prefix first (e.g., CA Medicare, TX Medicaid, VA BCBS).
Adding a Payer
If you search for a payer that is not present, add them manually by following the steps below.Use the ClaimMD Payer List to find official payer IDs and confirm supported electronic services.
If a payer ID was entered incorrectly, create a new custom payer record with the correct ID.
Completing enrollments
When you click Enroll, the system routes you through the appropriate process as specified by that Payer. There are 3 possible enrollment types:- Quick enrollment
- Paper enrollment
- Electronic enrollment
Quick Enroll
You’ll typically see this in the context of Eligibility enrollments.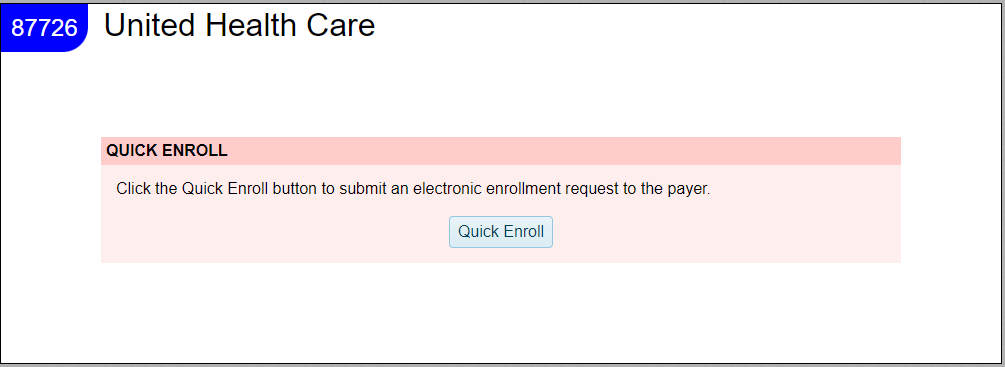
Paper (Form) Enrollment
If a payer requires paper enrollment, then you see a pre-populated form (based on your Practice Entity details). Verify all of the details in the form are accurate.
If you did not submit the form or you exited out of the enrollment window before completing all required enrollment steps, click No instead of Mark Enrolled. This will indicate that there’s a need to return to this enrollment at a later time.
Electronic Enrollment
You’ll typically see this in the context of Medicare enrollments.A new tab will appear with highlighted instructions (outlined in red) guiding you to another website where you can point the ERAs to our clearinghouse. Follow the exact instructions to complete the electronic enrollment steps.
- Any details you require from Elation such as Trading Partner ID will be provided.
Click the Mark Completed button at the bottom of the instructions (in the green box) once you complete the instructions to return to Elation Billing.
If the Mark Completed button is present, it must be selected once the instructions have been followed. If not selected, ClaimMD will be unable to finalize your enrollment.
Click Mark Enrolled in Elation Billing after completing the enrollment instructions in Step 3.
If you did not complete all enrollment instructions or you exited out of the enrollment window before completing all required enrollment steps, click No instead of Mark Enrolled. This will indicate that there’s a need to return to this enrollment at a later time.
Checking enrollment statuses
Elation Billing does not show whether a service has been approved. To confirm a service’s status, look for successful eligibility checks, try submitting an electronic claim, or check for an ERA in your ERA report. Alternatively you can ask the Payer directly for the status of the enrollment. Claims and eligibility services are typically active within 2 Business Days of completing quick/electronic enrollment.- Medicare’s average time for Claim enrollment approval is 4 weeks.

- If the typical processing time has passed with no updates, contact the payer directly to confirm enrollment status.
Enrollment Statuses
Use the Insurance Settings to check the status of each service in the payer list.| Status | Meaning |
|---|---|
| Yes | Service is automatically available - no enrollment required. |
| No | Service is not offered/available. |
| Enroll | Enrollment incomplete. Click Enroll to start the enrollment process. |
| Enrolled* | Enrollment was marked complete. |
| Custom | The Payer was manually created by your practice. Complete enrollments under the original Payer entry. |
Keep in mind that “Enrolled” only reflects that the enrollment process was completed on your end. To find out if the payer has approved the enrollment, you must contact them directly.
What should I do while I wait for enrollments to be approved?
- Eligibility - Check the patient’s eligibility via external means (e.g. Payer Portal, calling the Payer, etc.)
- Claims
- Leave the claims in Elation Billing until the Claims service is active for that Payer. (e.g. you can add a special Worklist tag like ‘Waiting for enrollment’ to the claim for easy identification).
- Print paper claims and mail them to the Payer.
- ERA - Use your existing method of retrieving claims payment details (e.g. mail, Payer Portal, previous billing software, etc.) until ERA enrollment is active with Elation.
Re-enrollment
Note: Centers for Medicare & Medicaid Services (CMS) updated their Medicare claim submission processes, which required all physicians and medical practices to re-enroll for Real Time Eligibility (RTE) verification by May 11th, 2026.
Click on the green Enrolled button (or blue Enroll, if not marked as enrolled when previously completed)
If the enrollment was previously completed, you will be routed to a page with Completion status details.
- In the lower left of this page, click Re-Enroll to reset the enrollment.
Not all payers provide a self-serve re-enrollment option. If there is no Re-Enroll option, please open a support ticket with Elation so we can reset the enrollment on your behalf.