Overview
What is Sending Statements?
Sending statements is the process of generating and delivering patient billing statements that show balances due after insurance adjustments. Statements can be sent via mail, email, or text message.Why is Sending Statements important?
Patient statements communicate outstanding balances and provide convenient payment options. The Send Statements workflow is best for sending comprehensive breakdowns of patient financials, while Quick Payment Requests are more suitable for immediate payments during or shortly after visits.Workflow Instructions
Example Statement
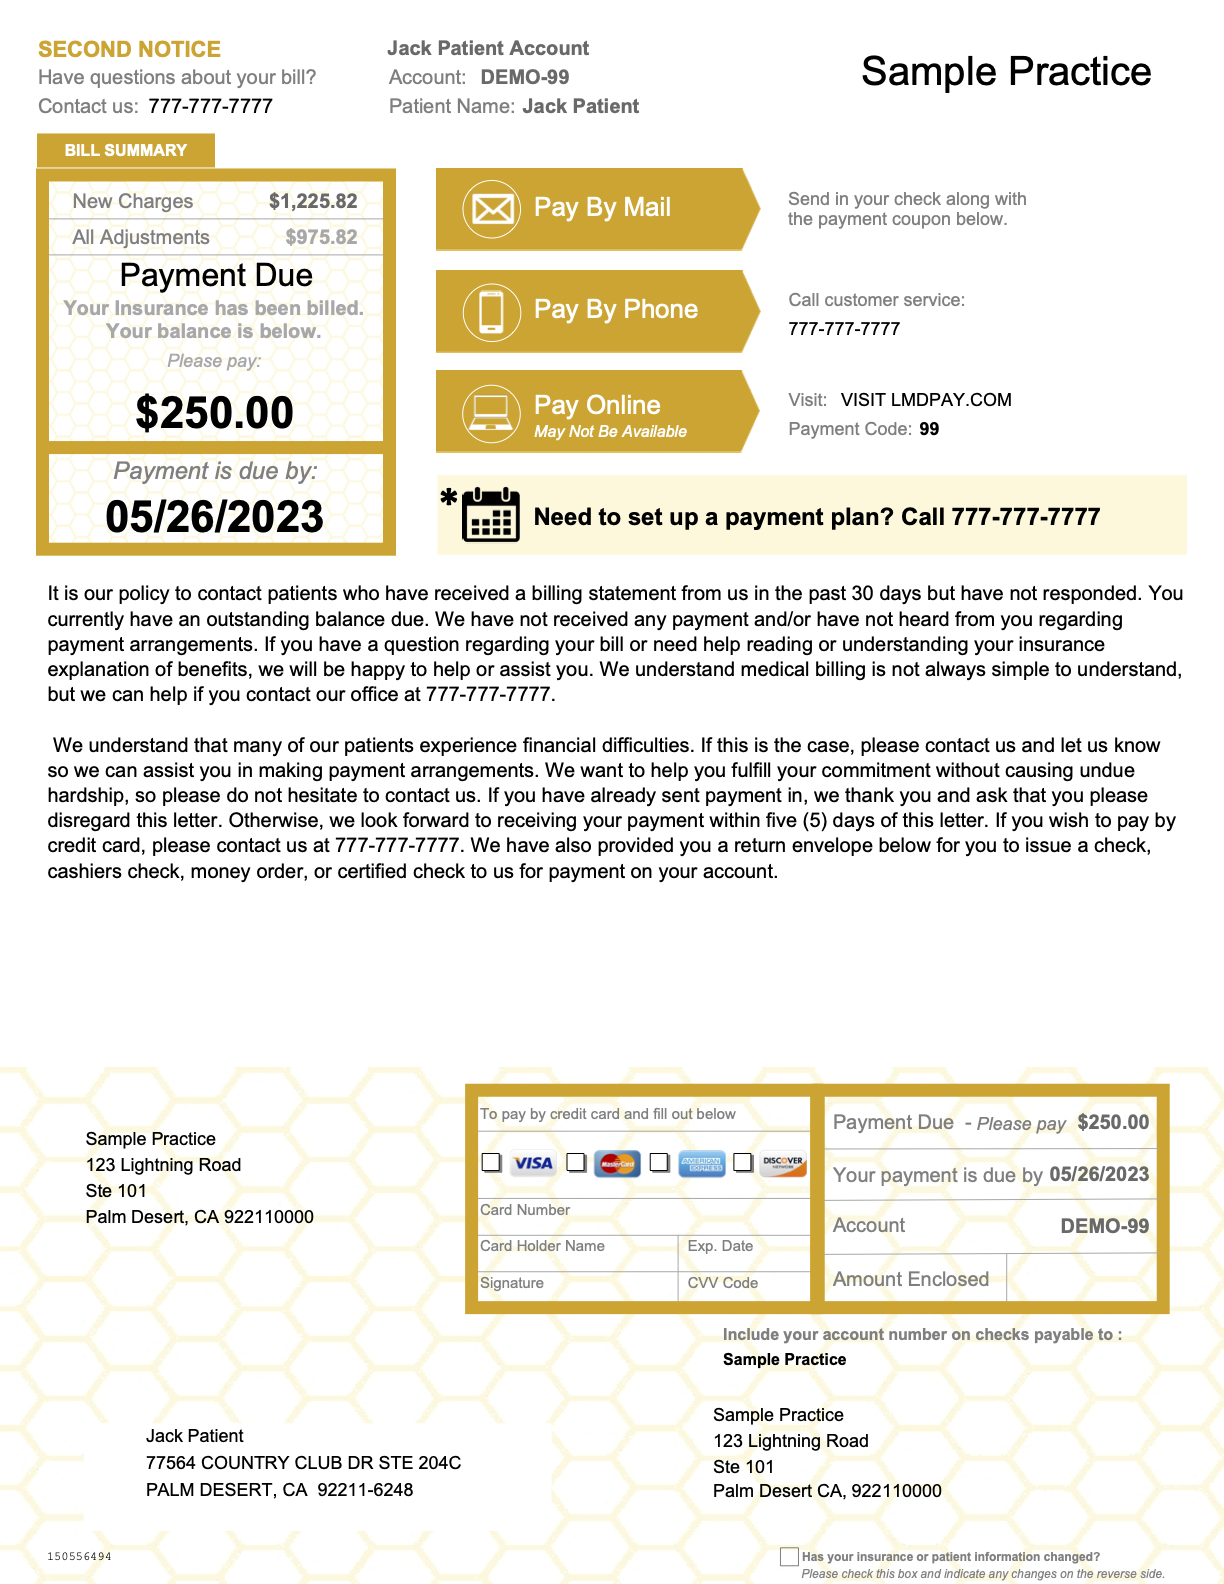
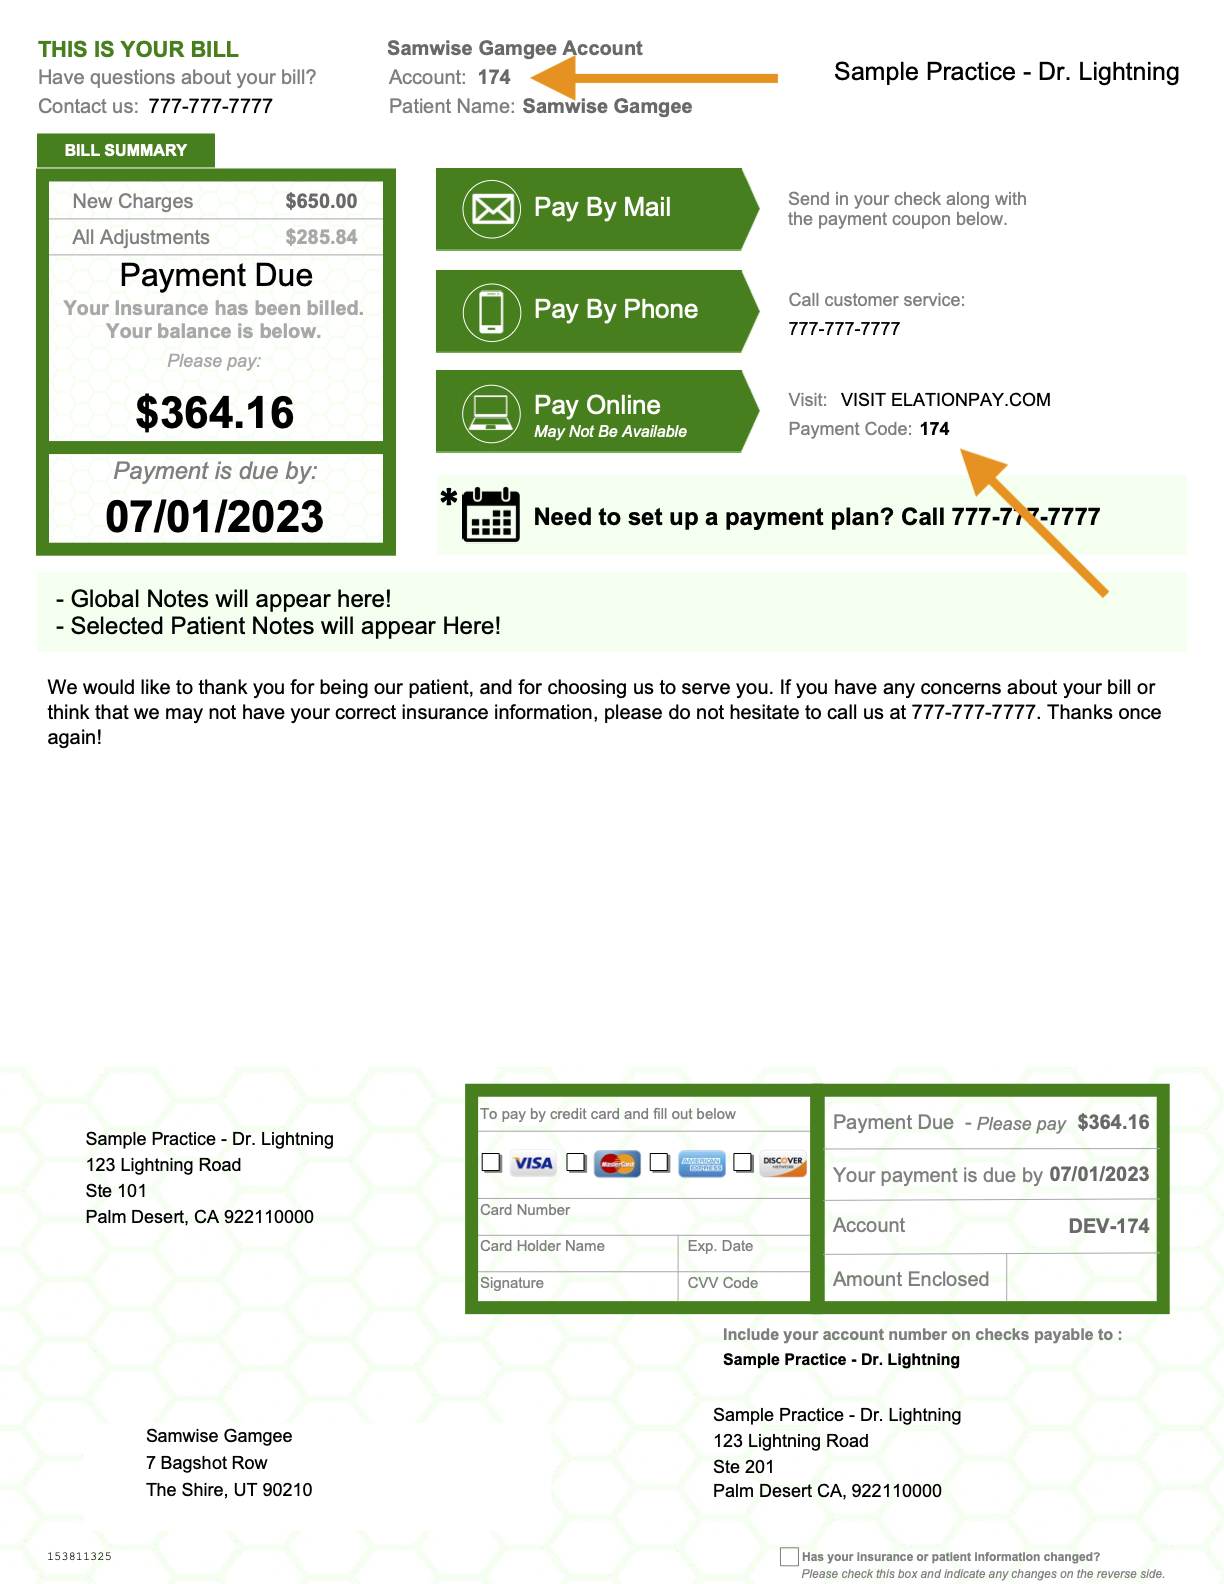
First Page
The Phone Number listed will be your practice’s Billing Phone, as designated in your Practice Settings. When there is a Responsible Party on file, their information will populate in the Address Panel. The Patient’s name will appear at the top of each statement page.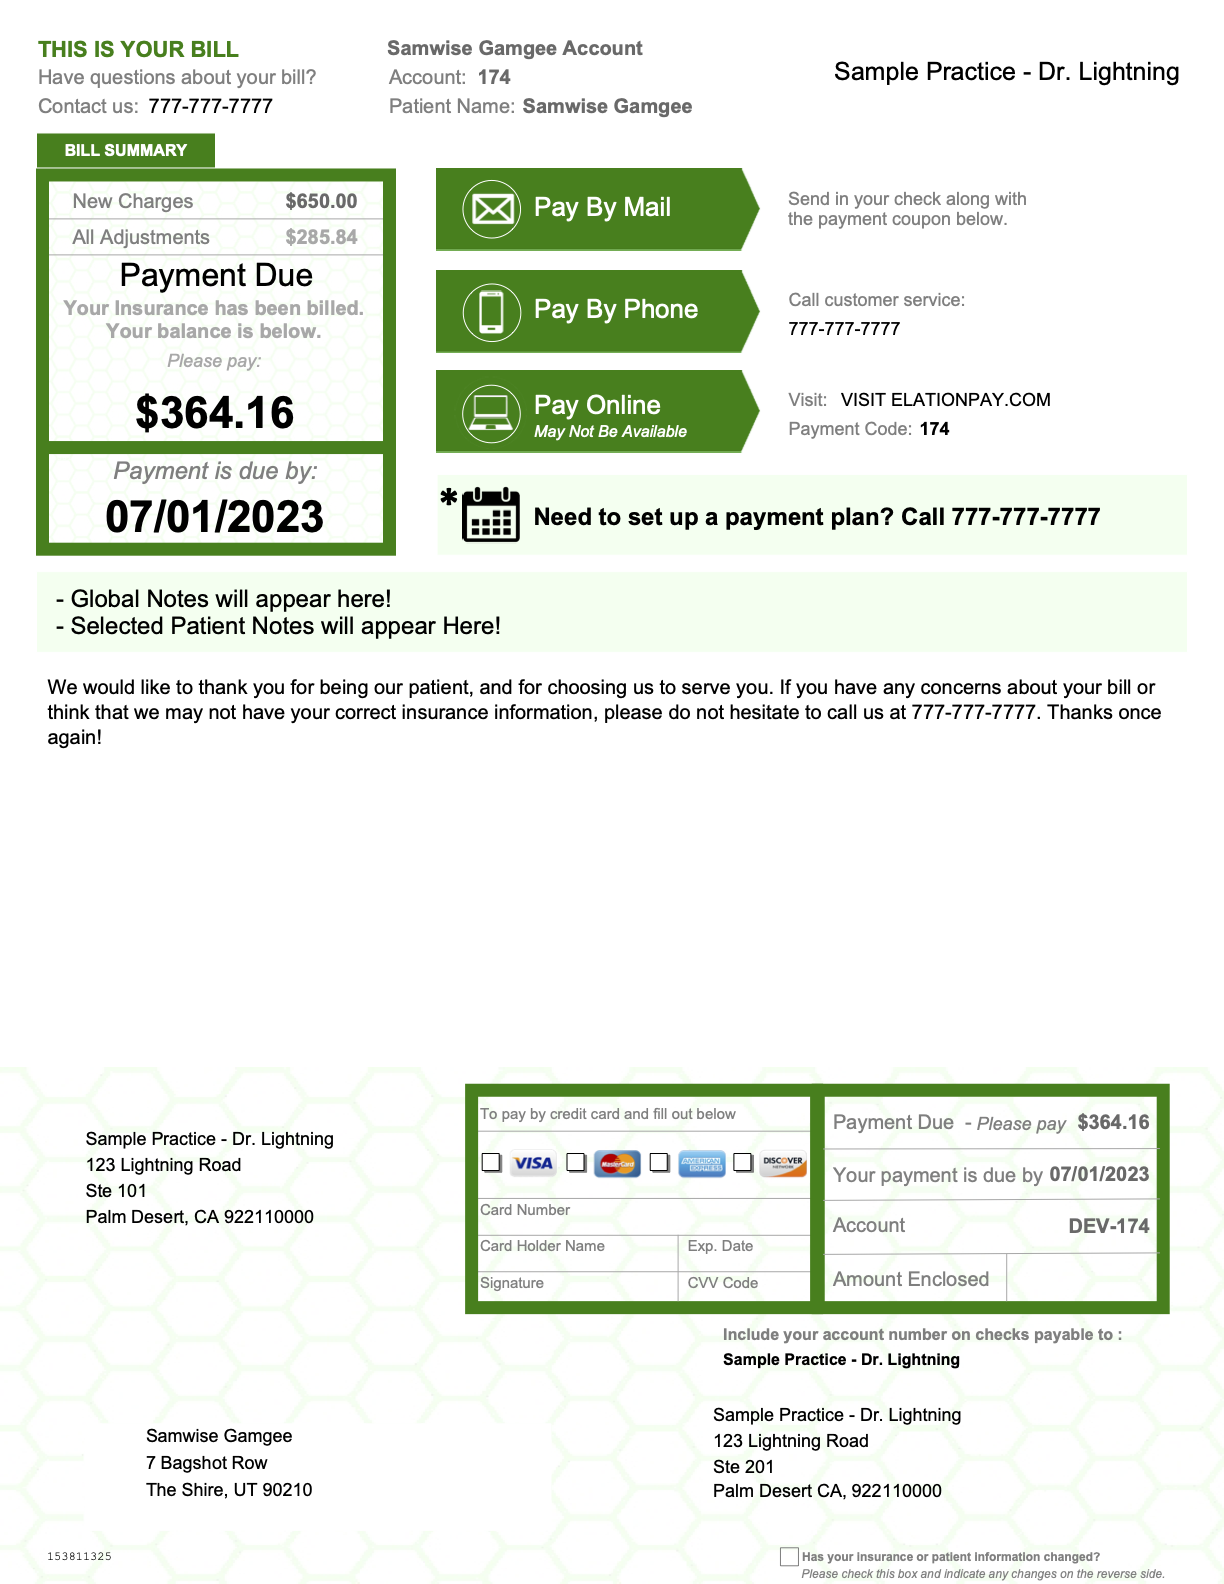
Subsequent Pages
Subsequent Statement Pages will offer a breakdown of each claim line, including DOS, CPT and Description, Charge, Insurance Payment, Patient Payment thus far, Adjustment Amounts, and the Patient Balance.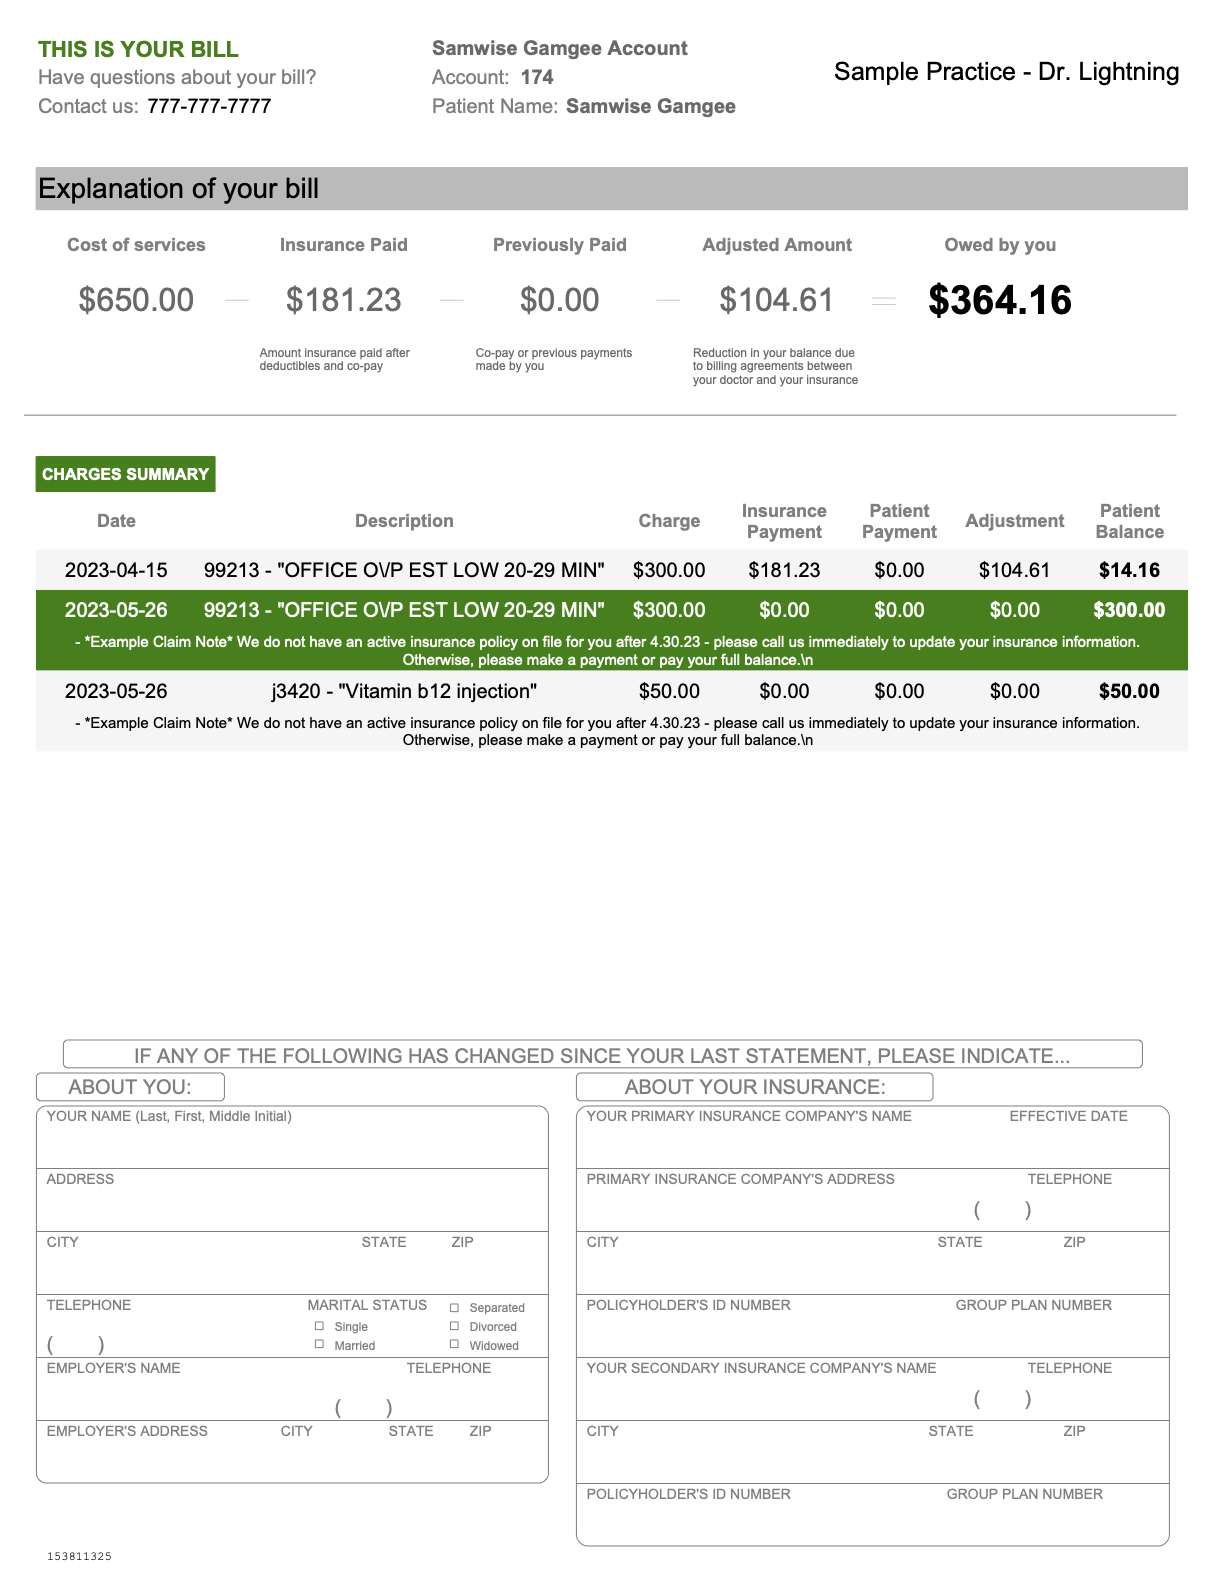
Generating and Sending Statements
-
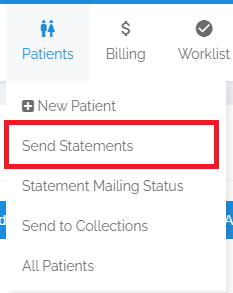
Navigate - Select the Send Statements page from the Patient drop-down menu.
-
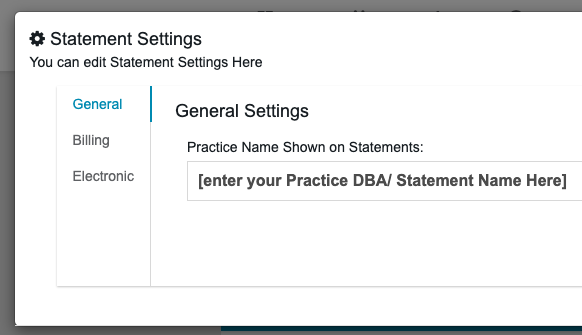
Configure Settings (Optional) - To add Global Notes to statements, automate text/email statements, and update the DBA listed on statements, refer to the toolbar in the upper-right:

- Global Notes - Add a note that will appear at the top of all statements (must be active/starred at the time you send)
- Automated Statement Reminders - Turn on Text/Email Bots. See Text/Email Bot for more information
- Settings - Set the practice’s DBA/Name that appears on statements
-
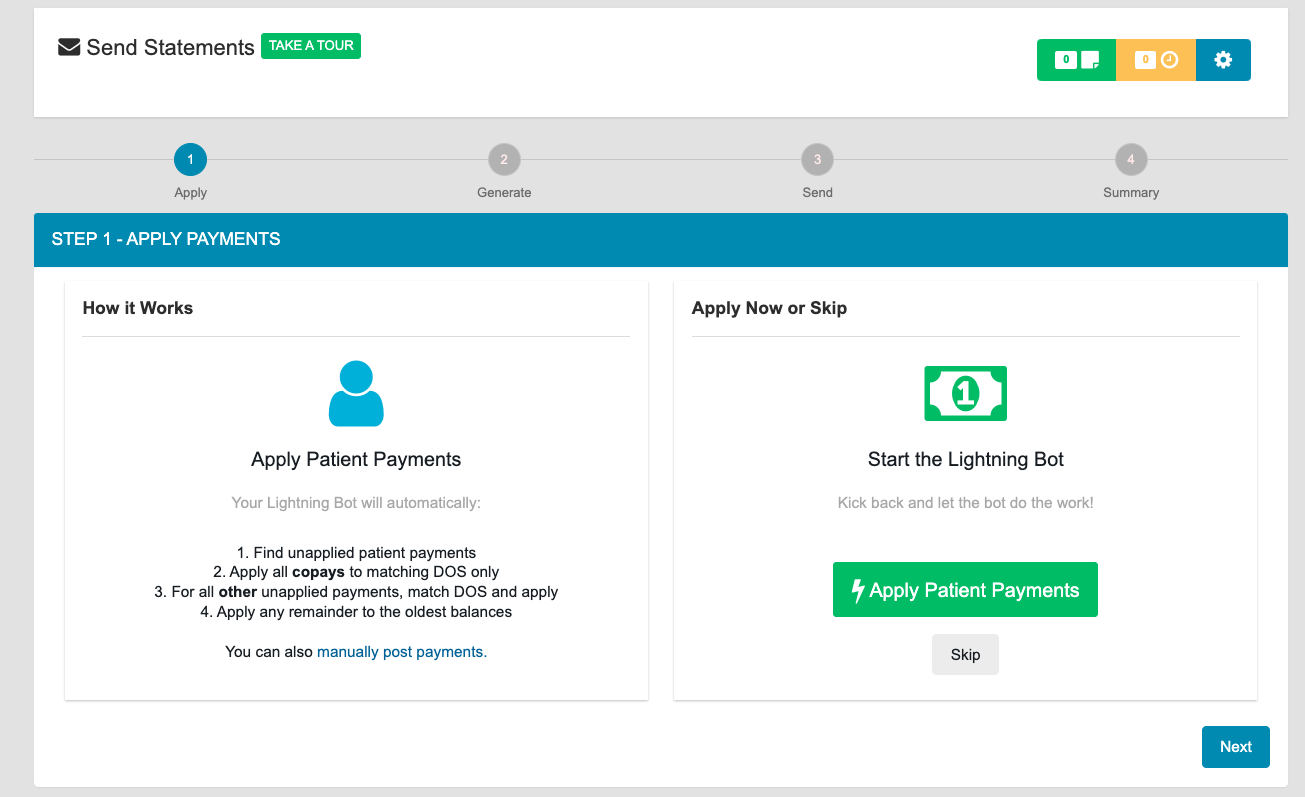
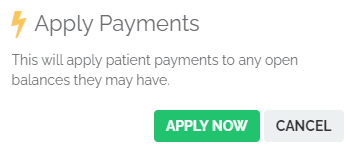
Apply Patient Payments (Lightning Bot) - This will apply unapplied Patient Payments to outstanding balances. If you DO NOT want to apply payments, click NEXT to skip.
Lightning Bot will:
- Find unapplied patient payments
- Apply all copays to matching DOS only (copays collected on a Superbill that has yet to be Settled will be reserved)
- For all other unapplied payments, match DOS and apply
- Apply any remainder to the oldest balances
-
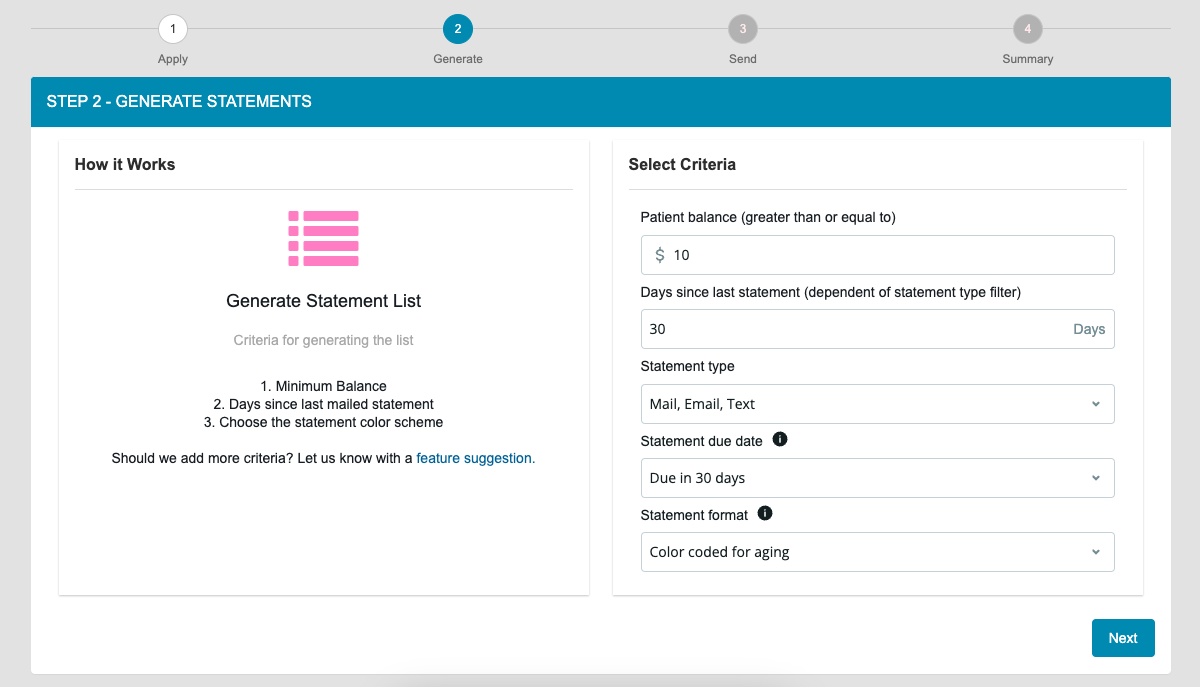
Generate a Statement List - Set the filters to narrow down who will be on the statement list.
Default settings:
- Balances greater than $10
- Haven’t received a statement (of the types selected) in a month
- Statement Type
- Statement Due Date - Due in 30 Days
- Color-Coded statements
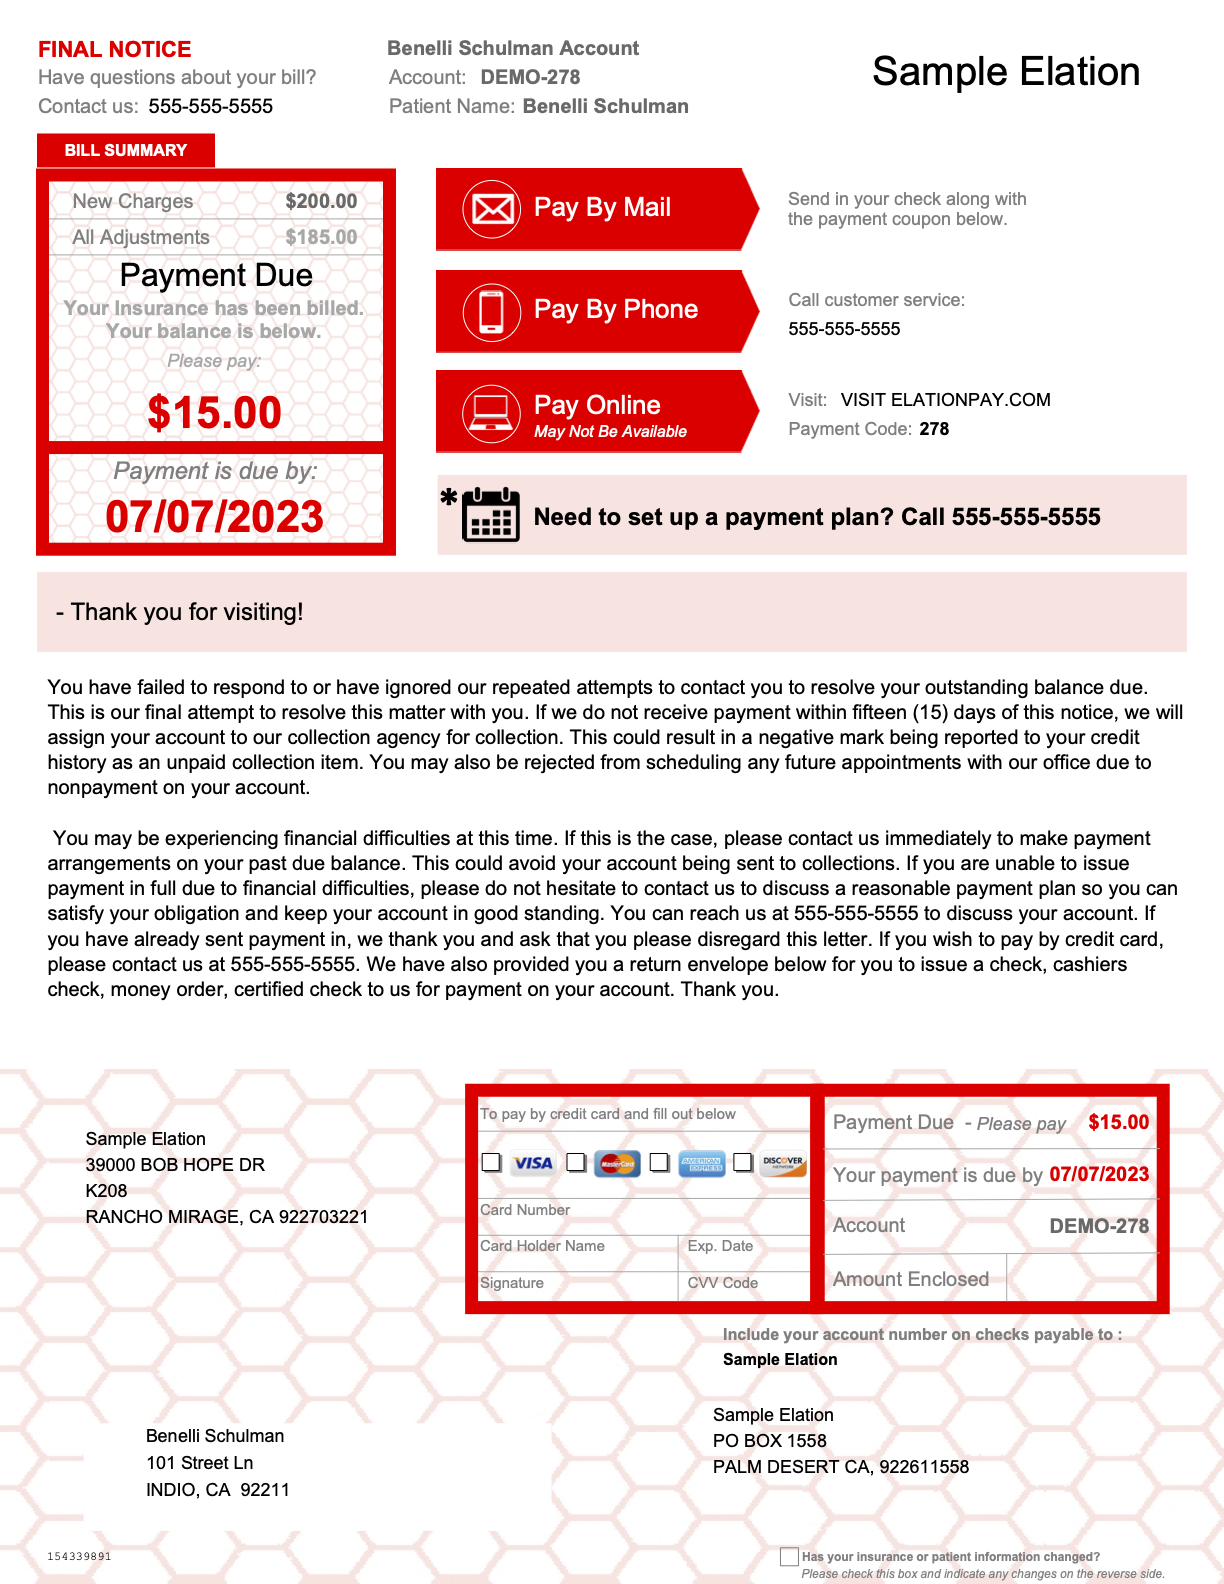
Color Coded Statements for Aging
Statements that are Color Coded for Aging will present as follows:- First Statement - Green highlights
- Second Statement - Yellow highlights
- Subsequent, Pre-Collections, and Collections Statements - Red highlights
-
Review the List and Select Recipients - On the list, you can review the balance, the color of the next statement, and the number of statements already received since their last payment.
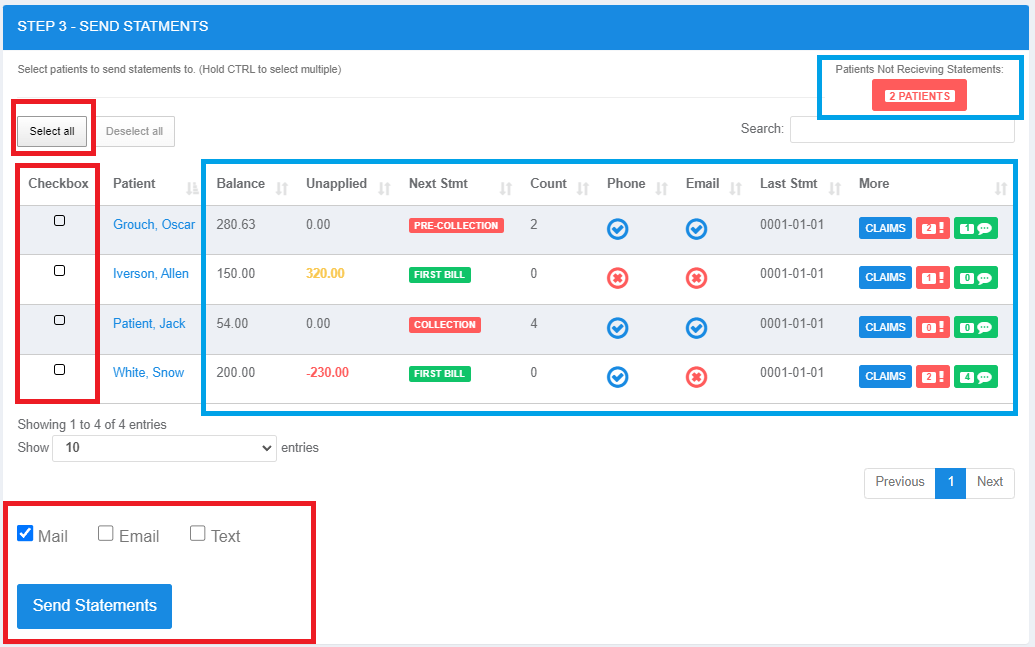
- MAIL - Physical mailed statement. Mailed statements will accrue a delivery charge.
- EMAIL - Requires Online Payments activation
- TEXT - Requires Online Payments activation
The icons for PHONE/EMAIL indicate if you have contact info on record. Patients without phone/email cannot receive text/email statements.
Additional features:
- View patient UNAPPLIED payments in a sortable column
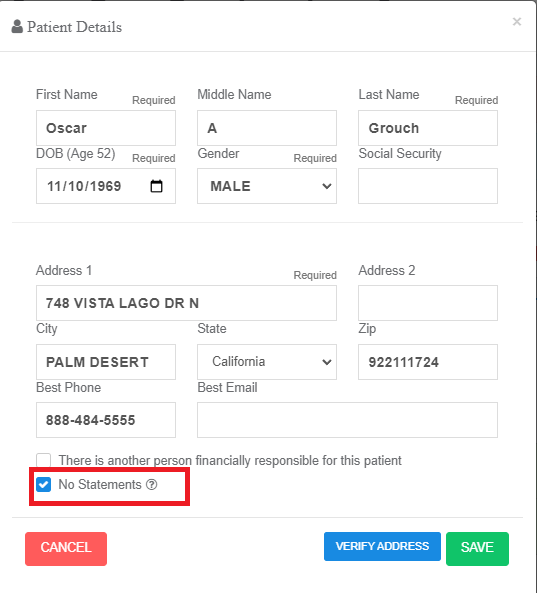
- Click NO STATEMENT to see patients NOT receiving statements (statements blocked)
Elation Billing does not initiate statement delivery automatically. Staff must manually send statements from the patient profile.
- Select Recipients - Click Select All, or hold CTRL and click multiple patients to select or unselect them. Once all are selected, click Send Statements.
If you have a large batch of statements, it may take a few minutes to process. Patient Last Mailed Statement Dates aren’t updated until mailing is confirmed.
What a Patient Receives
Text
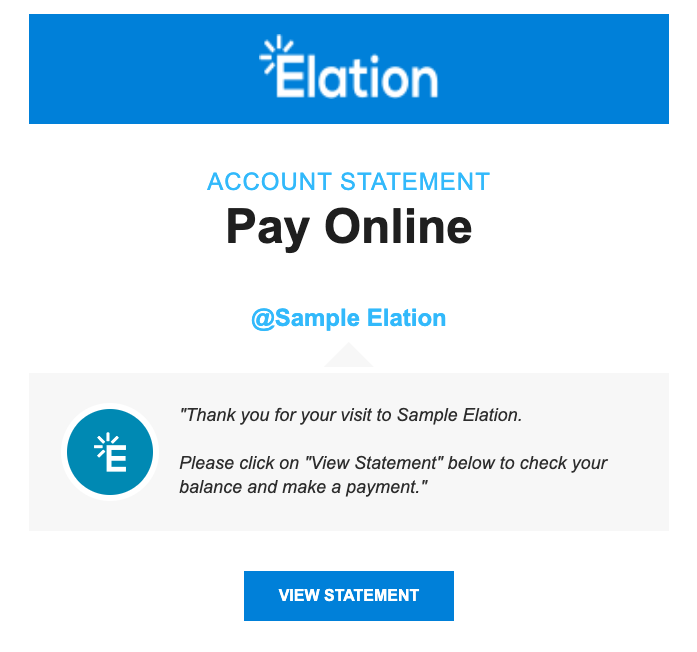
Patients will receive: -> Thank you for your visit to [Practice]. Please click on the link below to make a payment. [ElationPay link]Online Patient Payments
Make sure to Activate Online Payments before sending email or text statements.
ElationPay.com
When navigating to ElationPay.com, patients will see: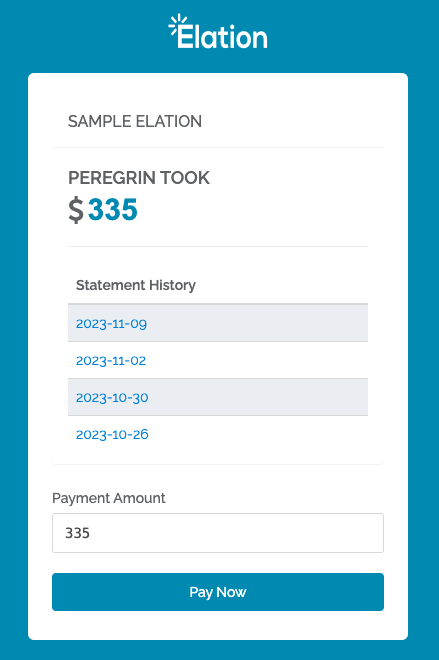
Viewing Balance and Making Payments
The patient can click any date to view that statement. After determining a Payment Amount, they select Pay Now to proceed to the payment page: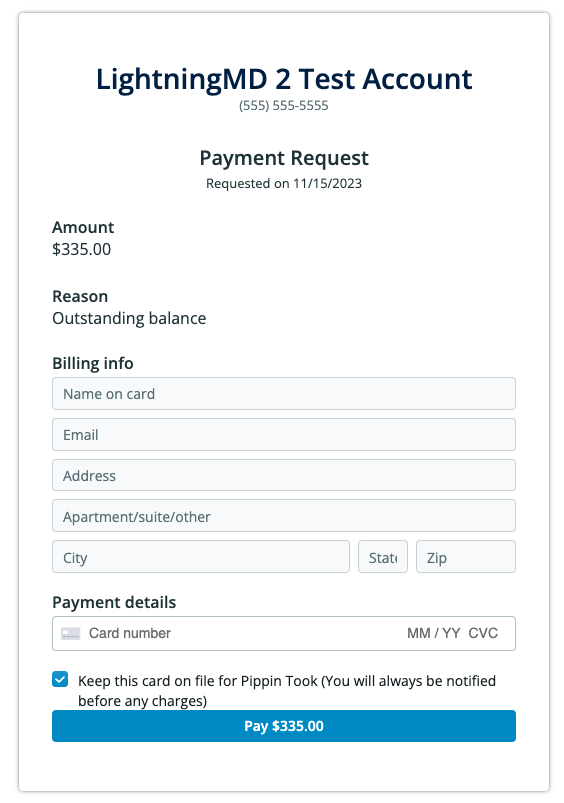
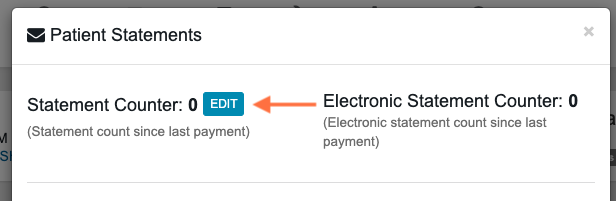
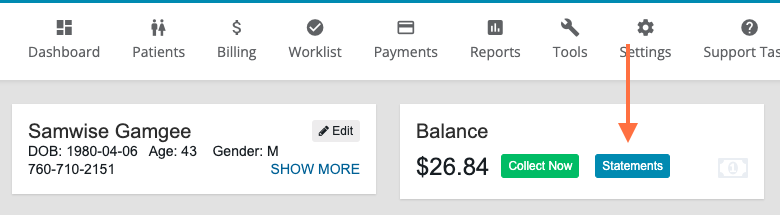
Managing Individual Patient Statements
On a patient profile page, click Statements to:- View previous statements
- Mail a one-off statement
- Edit the statement counter manually
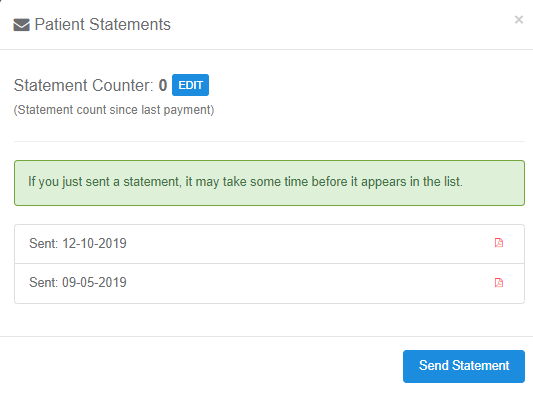
How to Update/Reset Statement Counter