Overview
What is Collecting a Patient Payment in the EHR?
With this workflow available to Elation EHR + Billing users, patient payments collected in the EHR automatically flow into Elation Billing.Requirements
Collecting Patient Payments in the EHR requires that your practice has activated Stripe. See Activate Online Payments for instructions.Workflow Instructions
Step 1 - Initiate Payment Collection
Option 1 - Collect via the Calendar
In the Appointment Calendar, select the patient, then click Collect Payment.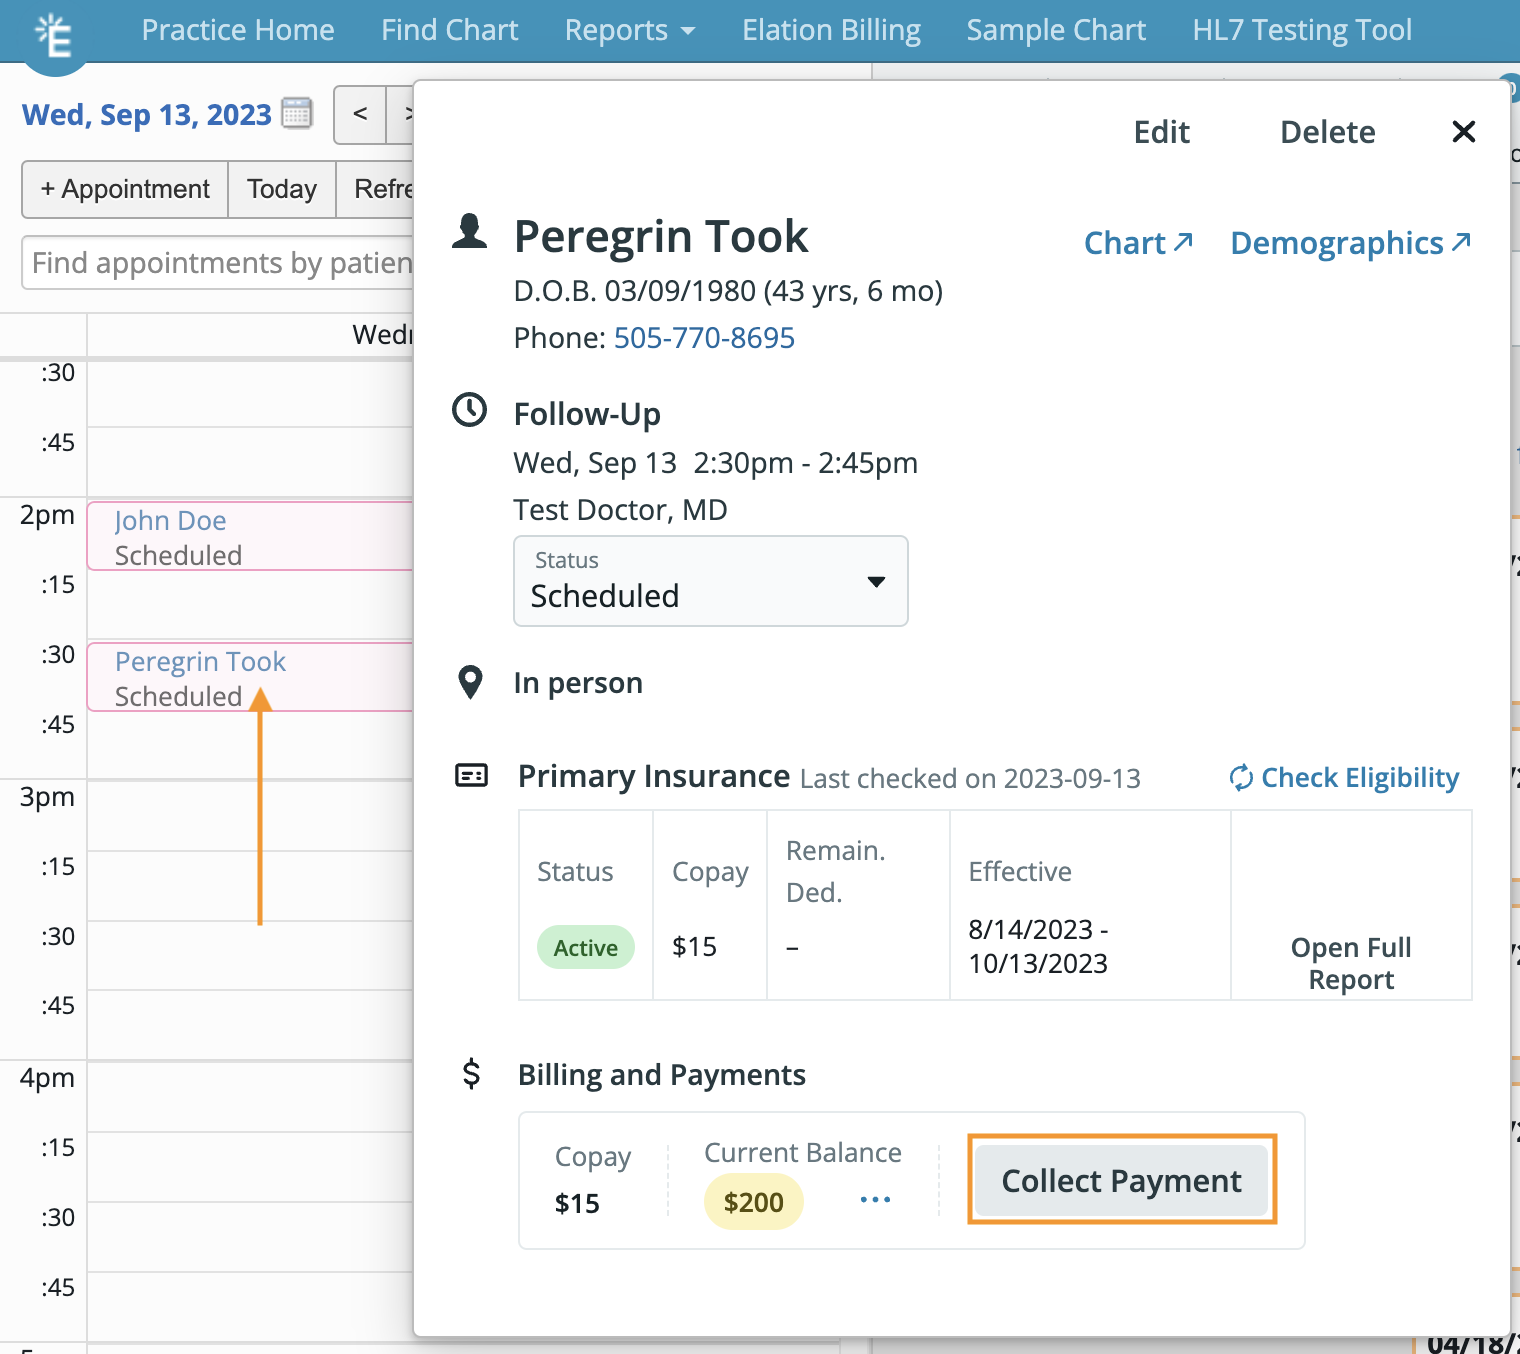
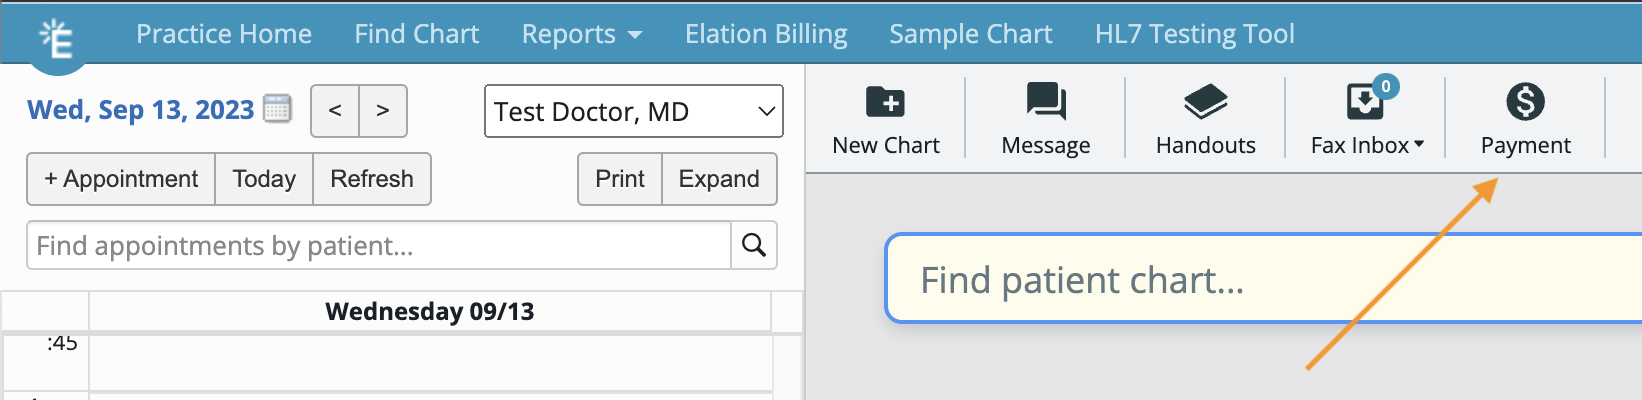
Option 2 - Collect via the Payment Button
-
From your EHR Practice Home, select Payment.
-
Begin typing the patient’s name and select them from the list.

Step 2 - Enter Payment Amount and Reason
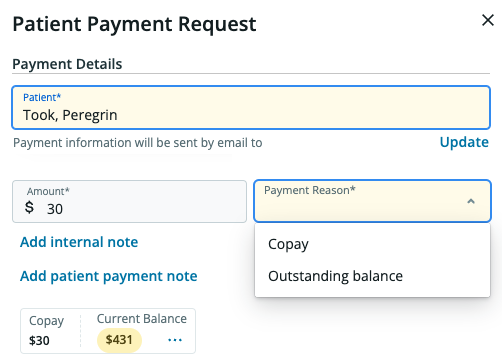
Copay
Denoting a payment as Copay will apply this payment to the Visit Note. Assuming the Date of Payment matches the DOS, once balance responsibility transfers to the patient in Elation Billing, the copay will automatically apply.Outstanding Balance
An Outstanding Balance payment will immediately and automatically apply to the balance in Elation Billing.Patient Payment Note
Add Patient Payment Note allows you to leave a note for the patient that will be included in their email receipt.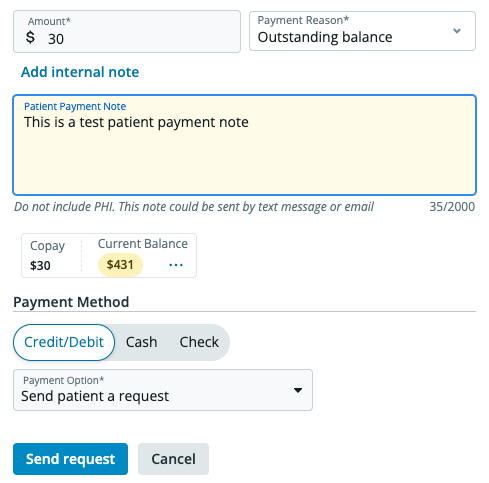
Cash/Check - Reference Number
When recording a Cash or Check payment, leaving a Reference Number will also populate in Elation Billing.Step 3 - Select Payment Method
Credit/Debit - Stripe
Requires that your practice has enrolled with Stripe.Credit/Debit - Non-Stripe Merchant
If using a different merchant:- Collect the payment as Cash or Check
- Navigate to Elation Billing Payments
- Open the payment collected
- Edit and add the merchant’s transaction reference number
- Save
Check
At this time, the EHR does not support direct recording of Check Numbers. To record:- Navigate to Elation Billing Payments
- Open the payment collected
- Edit the payment
- Add the Check Number
- Save
Cash
Select Cash for cash payments.Step 4 - View Summary and Print Receipt
Once you collect the payment, you’ll be presented with a Patient Payment Summary.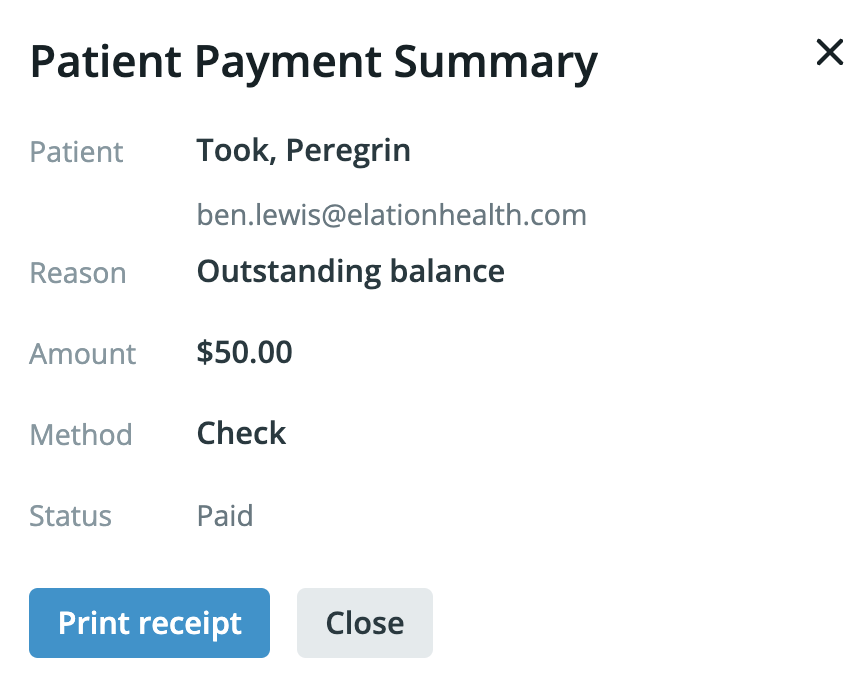
To Print a Receipt Later
- Navigate to the EHR
- Go to Reports → Patient Payment Report
- (Optional) Search for the patient
- Under the Actions column, select […]
- Select View Receipt