
Using the Worklist
Navigate
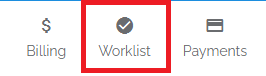
- Access Worklist - Click on the Worklist menu item.
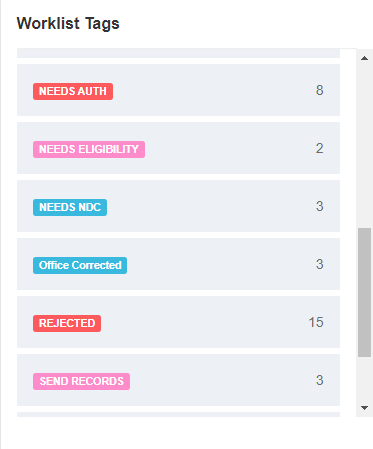
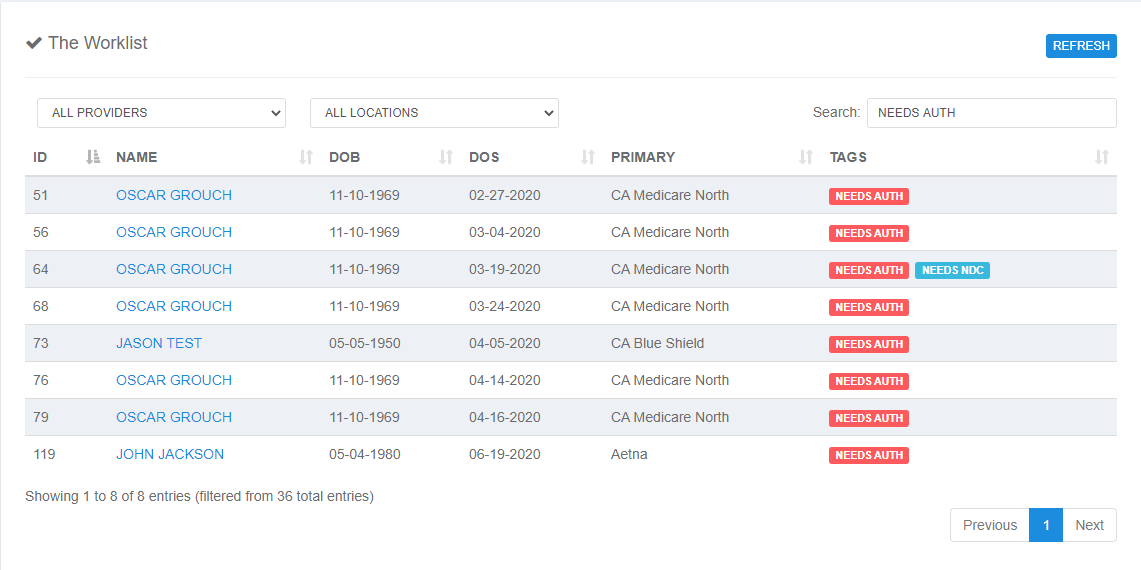
- Alternative Access - You can also click on a worklist tag from the Dashboard. This will take you to a filtered view of the worklist for that tag.
Add To/Remove From the Worklist
There are basically 3 ways claims end up on the worklist:- A Clearinghouse Rejection or Payer Denial
- Claim does not pass Billing Rules (controlled in practice settings)
- Manual adding of a Claim to the Worklist
Manually Add To/Remove From the Worklist
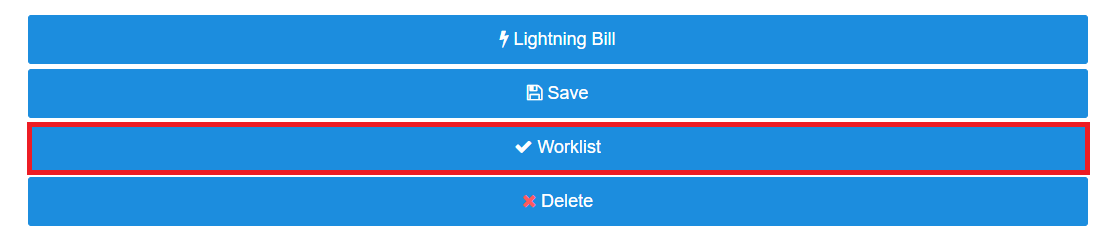
- Access Tags - On a Superbill’s page, click on the Tags button or the Worklist button.
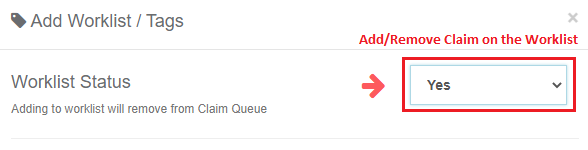
- Select Yes or No - Select Yes or No to add or remove a claim from the worklist, then Save.

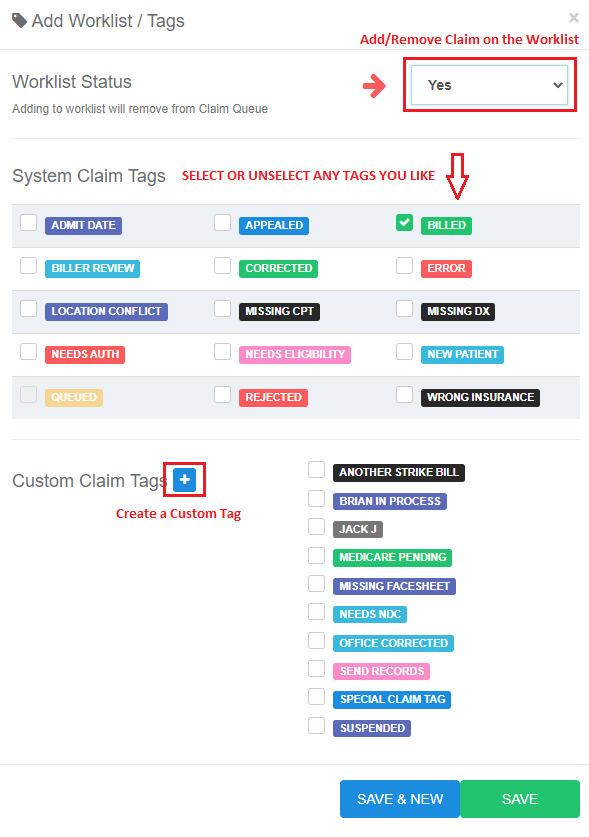
Add or Edit Tags
Claims Without Tags
Claims that do not have any tags are automatically categorized under the general Superbill tab in the Billing tab. This ensures untagged claims remain easy to locate and manage. You can Edit and Delete tags from inside the practice settings. You can Add tags at any time. Just click the plus button.Auto-removal of Tags
Some tags are automatically removed based on system actions. For example:- Rejection or Denied Tags - Resolving errors and rebilling a claim will result in the system auto-removing the rejected or denied tags, ensuring the claim reflects its updated status without manual intervention.
Manually Removing Tags
In certain situations, tags must be removed manually. For instance, when a claim is paid or settled without needing a rebill action. To remove tags:- Open the Claim - Open the claim in Elation Billing.
- Access Tags - Click on the Tags section.
- Uncheck Tags - Uncheck any active tags associated with the claim.
- Save - Click Save to complete the process.
Worklist Tag Automation
Some aspects of the Worklist are Automated. The guide below lays out these tags, statuses, and their associated automations!| Tag | Description |
|---|---|
| Appealed | Appealed will be added once a claim is Appealed through Elation Billing. |
| Billed | Billed will be added once a claim is electronically Billed from the Claims Queue. |
| Biller Review | Biller Review could be added for two reasons:
|
| Corrected | Corrected will be added once a claim is submitted as a Corrected Claim. |
| Denied | When a claim is Denied, it will automatically be added to the Denied worklist. You can review more information about the Denial via the Claim’s History. |
| Location Conflict | This may be added automatically depending on your practice’s Billing Rules. Click Here for more info on Billing Rules! |
| Needs Auth | This may be added automatically depending on your practice’s Billing Rules. Click Here for more info on Billing Rules! |
| Needs Eligibility | This may be added automatically depending on your practice’s Billing Rules. Click Here for more info on Billing Rules! |
| New Patient | This may be added automatically depending on your practice’s Billing Rules. Click Here for more info on Billing Rules! |
| No Response | When Elation Billing hasn’t received a qualifying payer response within the threshold set in Settings > Practice Settings > Billing Rules. The default is 30 days. How to resolve it
What won’t work Removing the tag manually is temporary — it returns on the next daily job if the claim still meets the criteria. There’s no bulk removal option. |
| Queued | The only time a Claim will have this tag is when it is in the Claims Queue. This tag cannot be manually applied like the other tags. |
| Rejected | The Rejected tag will be added if a claim is Rejected. It will be added to the Worklist. An Alert will be present on the Superbill (as well in the Claim’s History) with the text from the Rejection. |