
Documentation Index

Fetch the complete documentation index at: https://help.elationhealth.com/llms.txt

Use this file to discover all available pages before exploring further.

You can create custom tables in Snowflake which will allow you to aggregate data from your master database to analyze and run reports. For more information check out the Snowflake documentation https://docs.snowflake.com/en/sql-reference/sql/create-table Step 1: Create your database
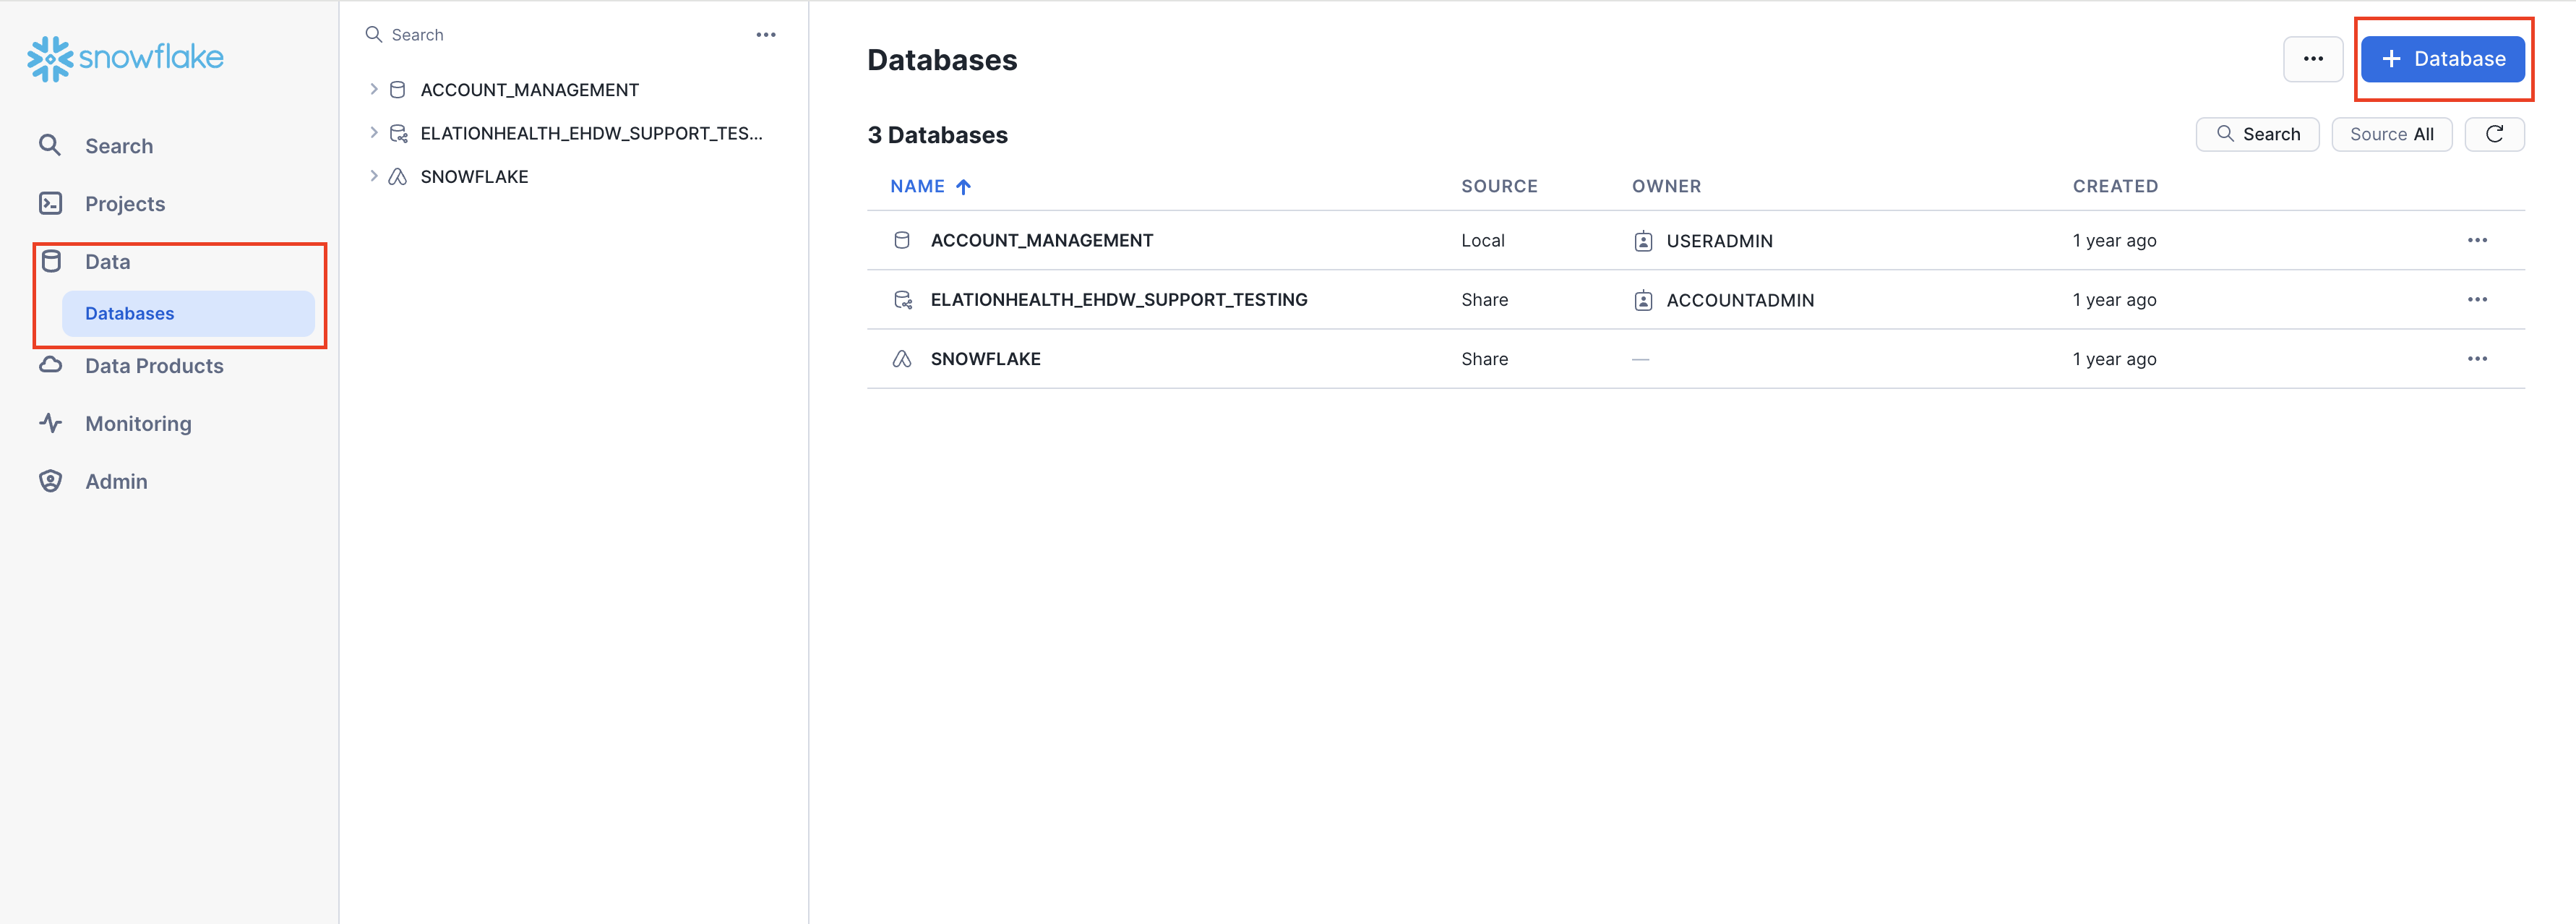
  1. On the left hand navigation bar click on Data > Database.
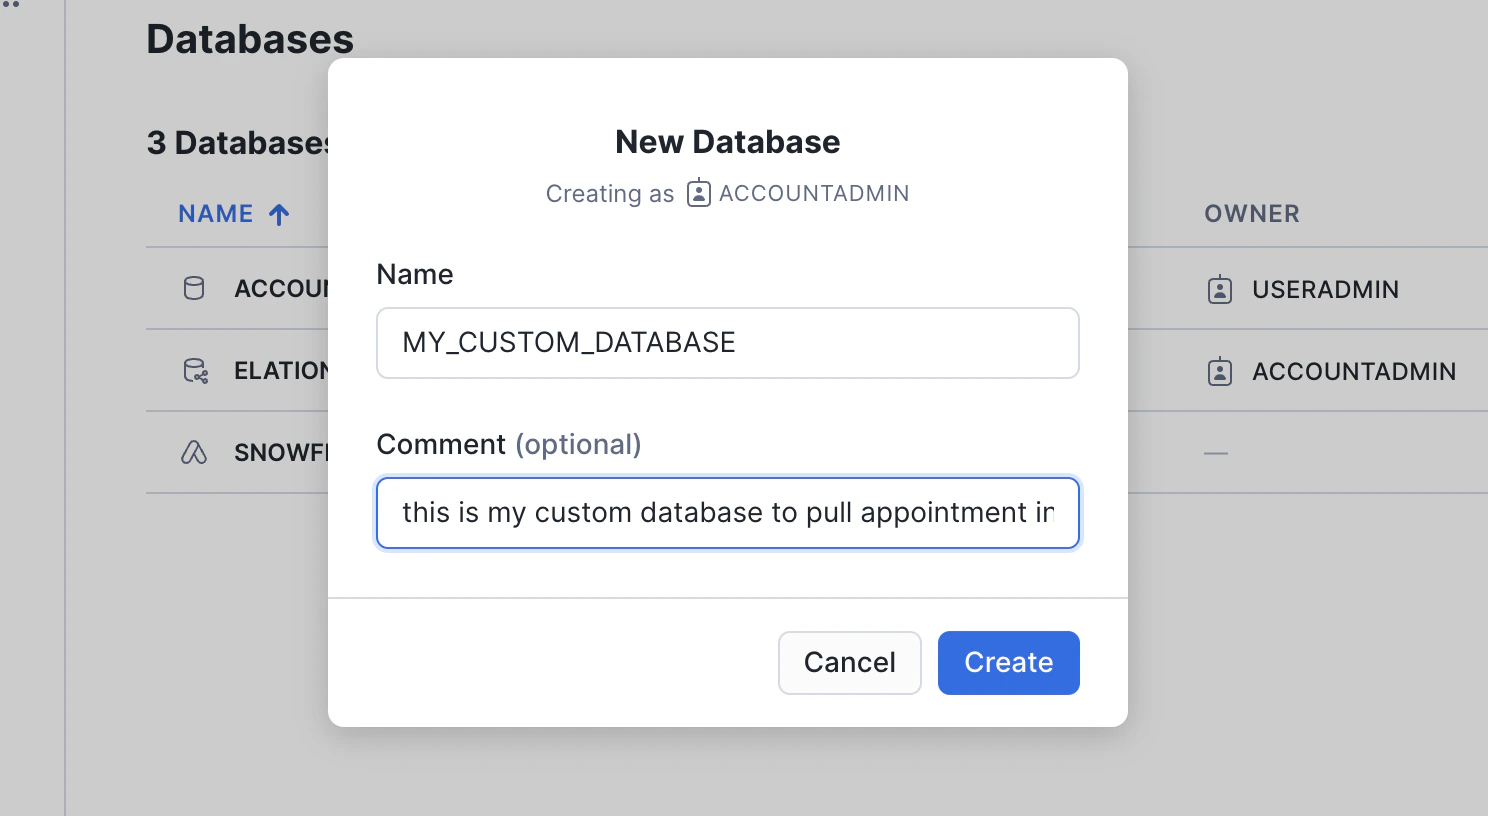
  2. On the top right hand corner click on the Blue Database button
Step 2: Name your database and give it an optional comment Click on the Create button once you are finished Step 3: Create a Schema
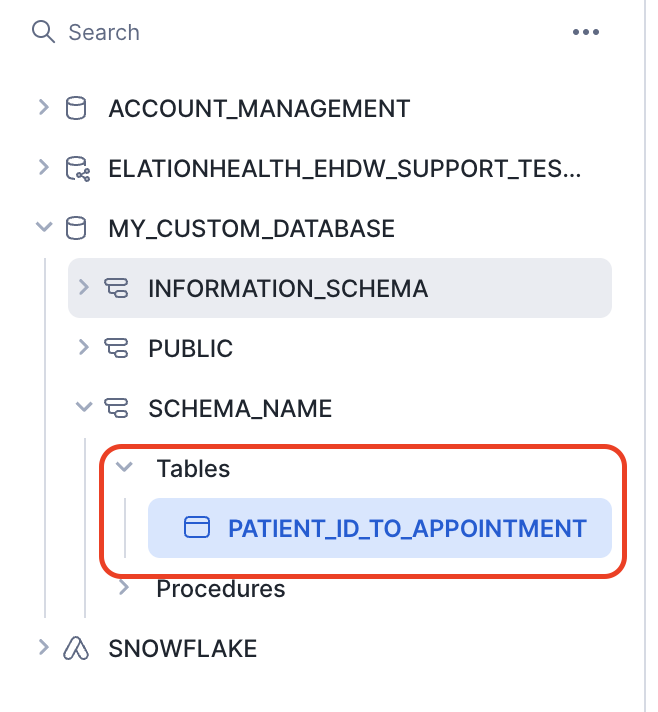
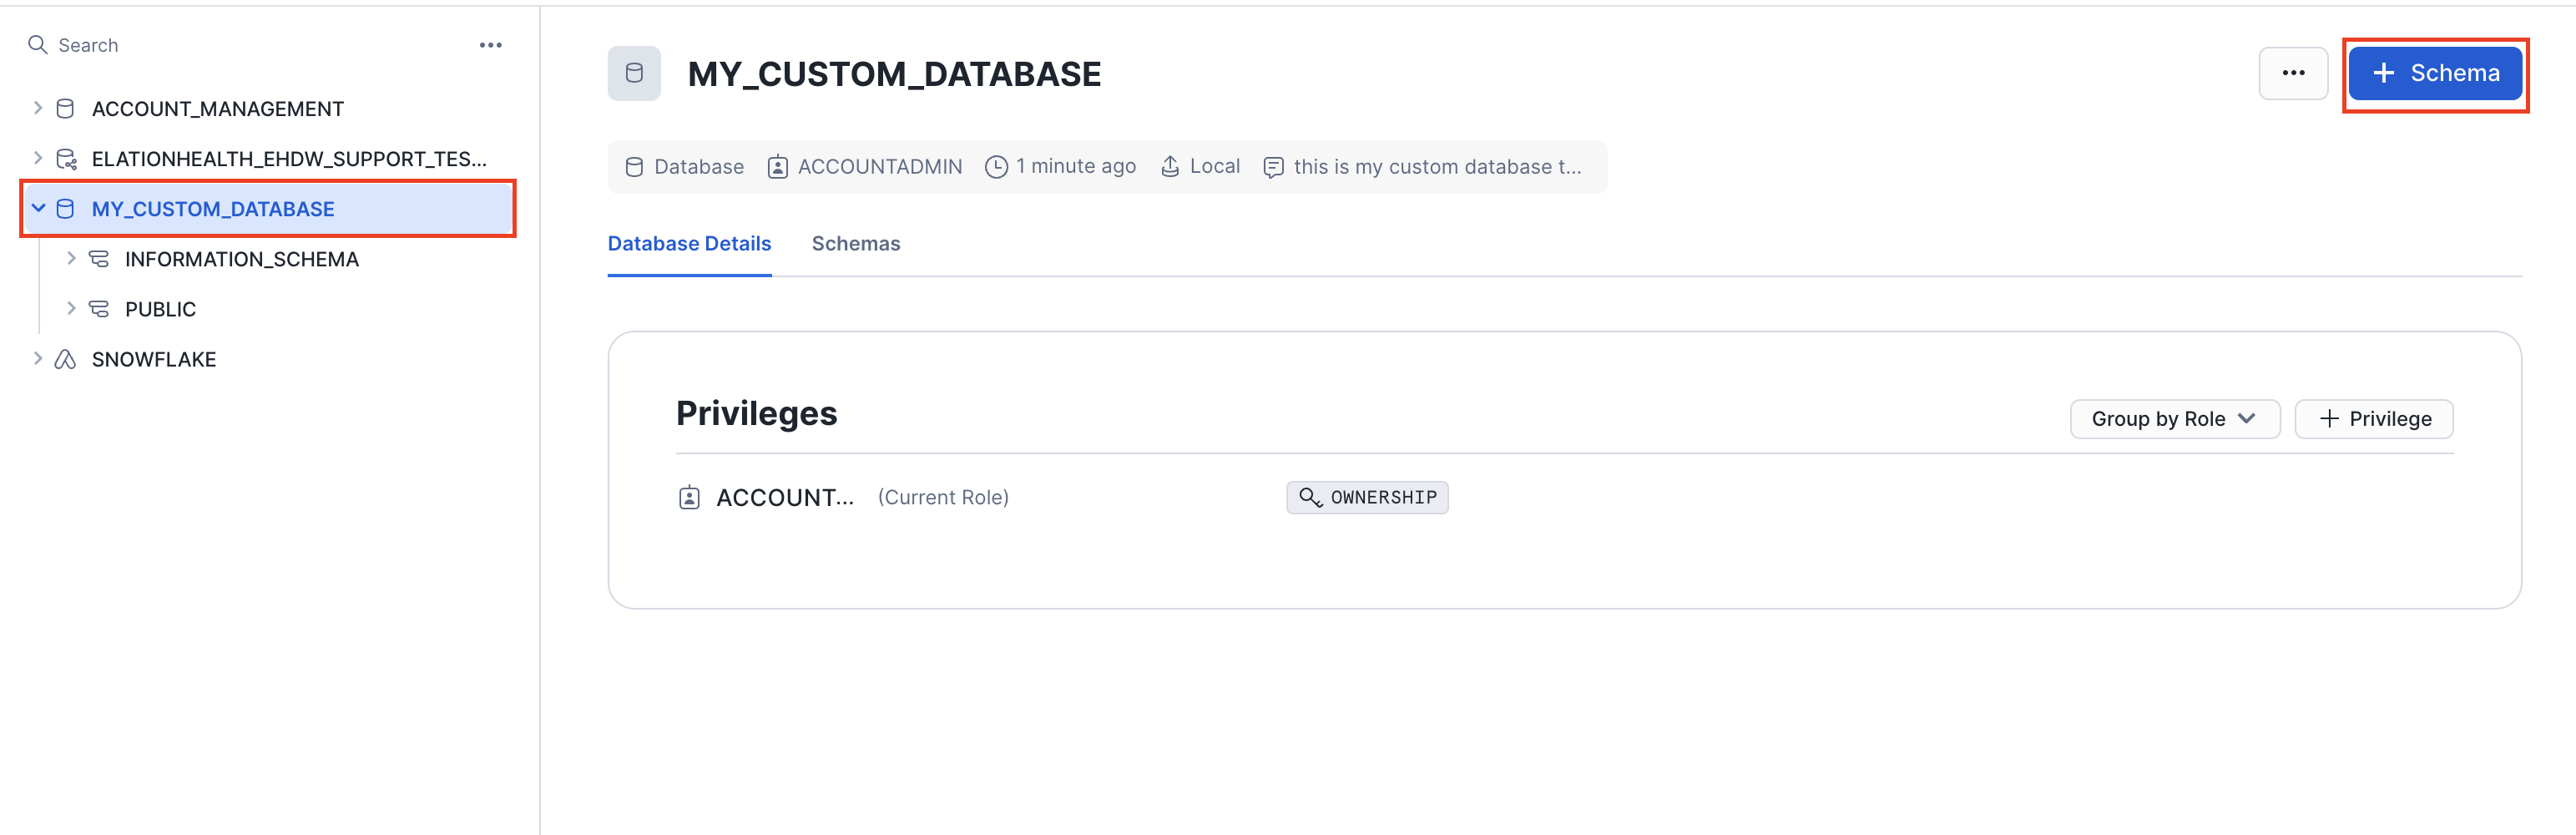
  1. Once the Database has been created you will see it on the left hand navigation along with your other database(s)
  2. Click on the newly created Database then click on the blue Schema button on the top right hand side of the page.
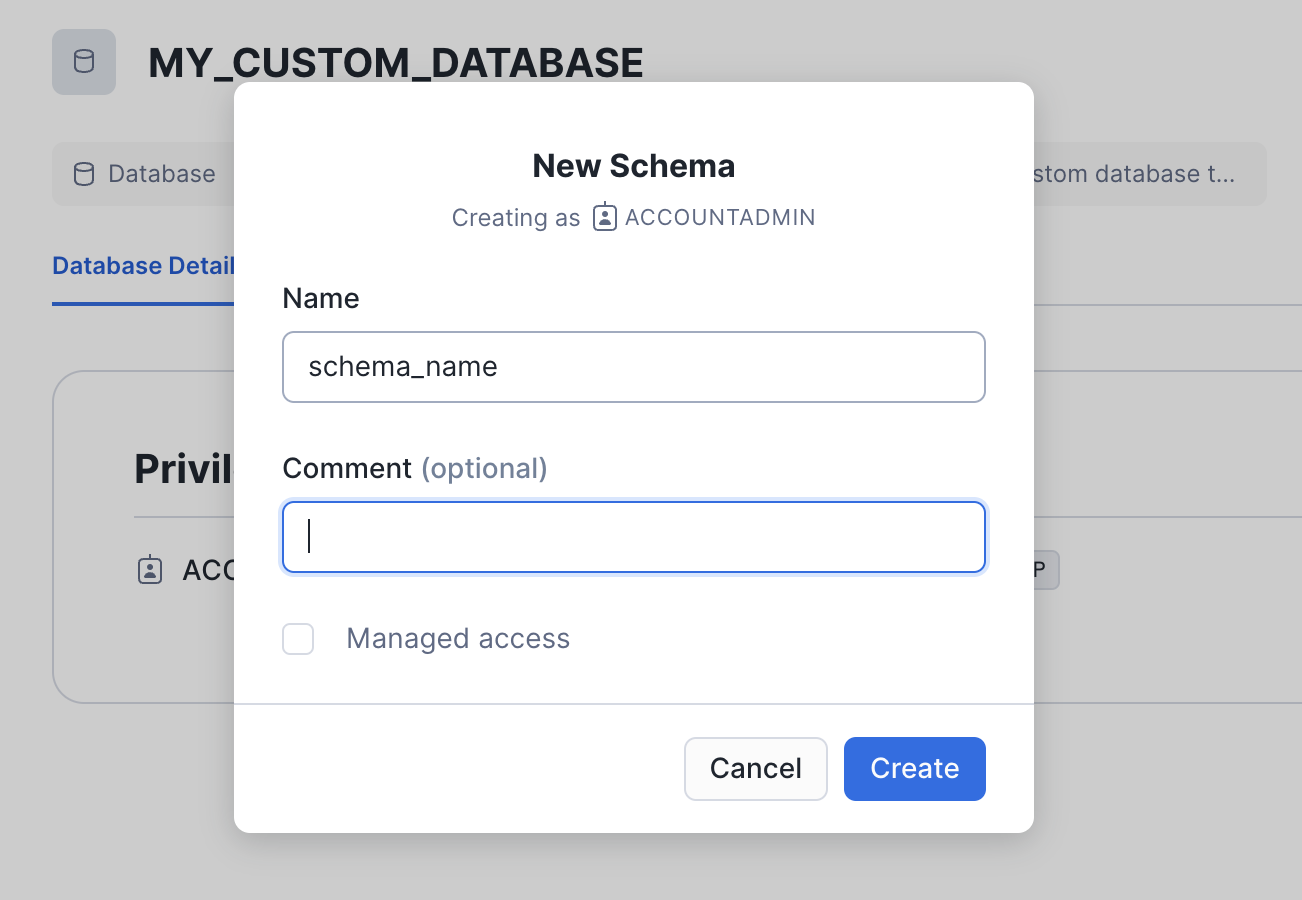
  3. Give your Schema a name and hit the create button
Step 4: Create your table
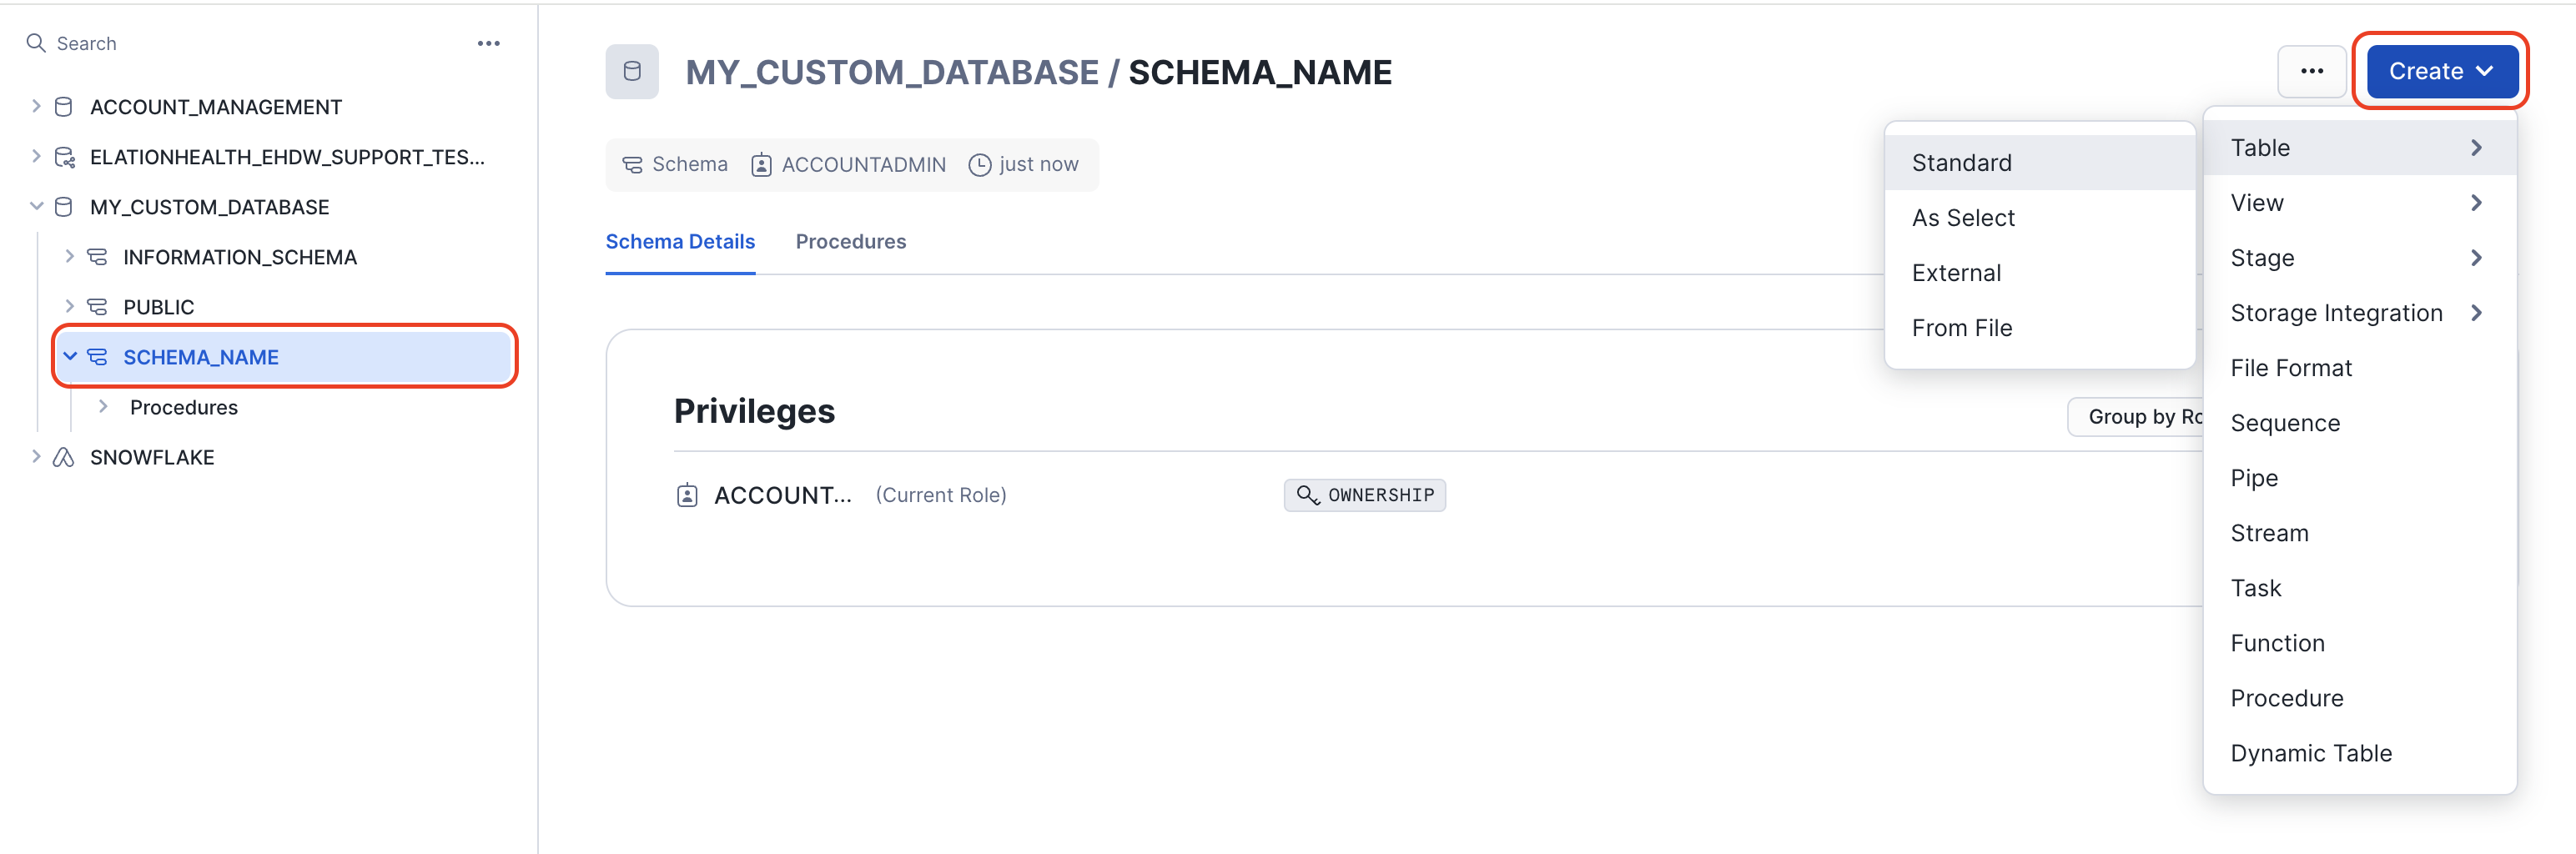
  1. Click on your newly created Schema
  2. On the top right hand side corner of your screen click on the Blue Create button
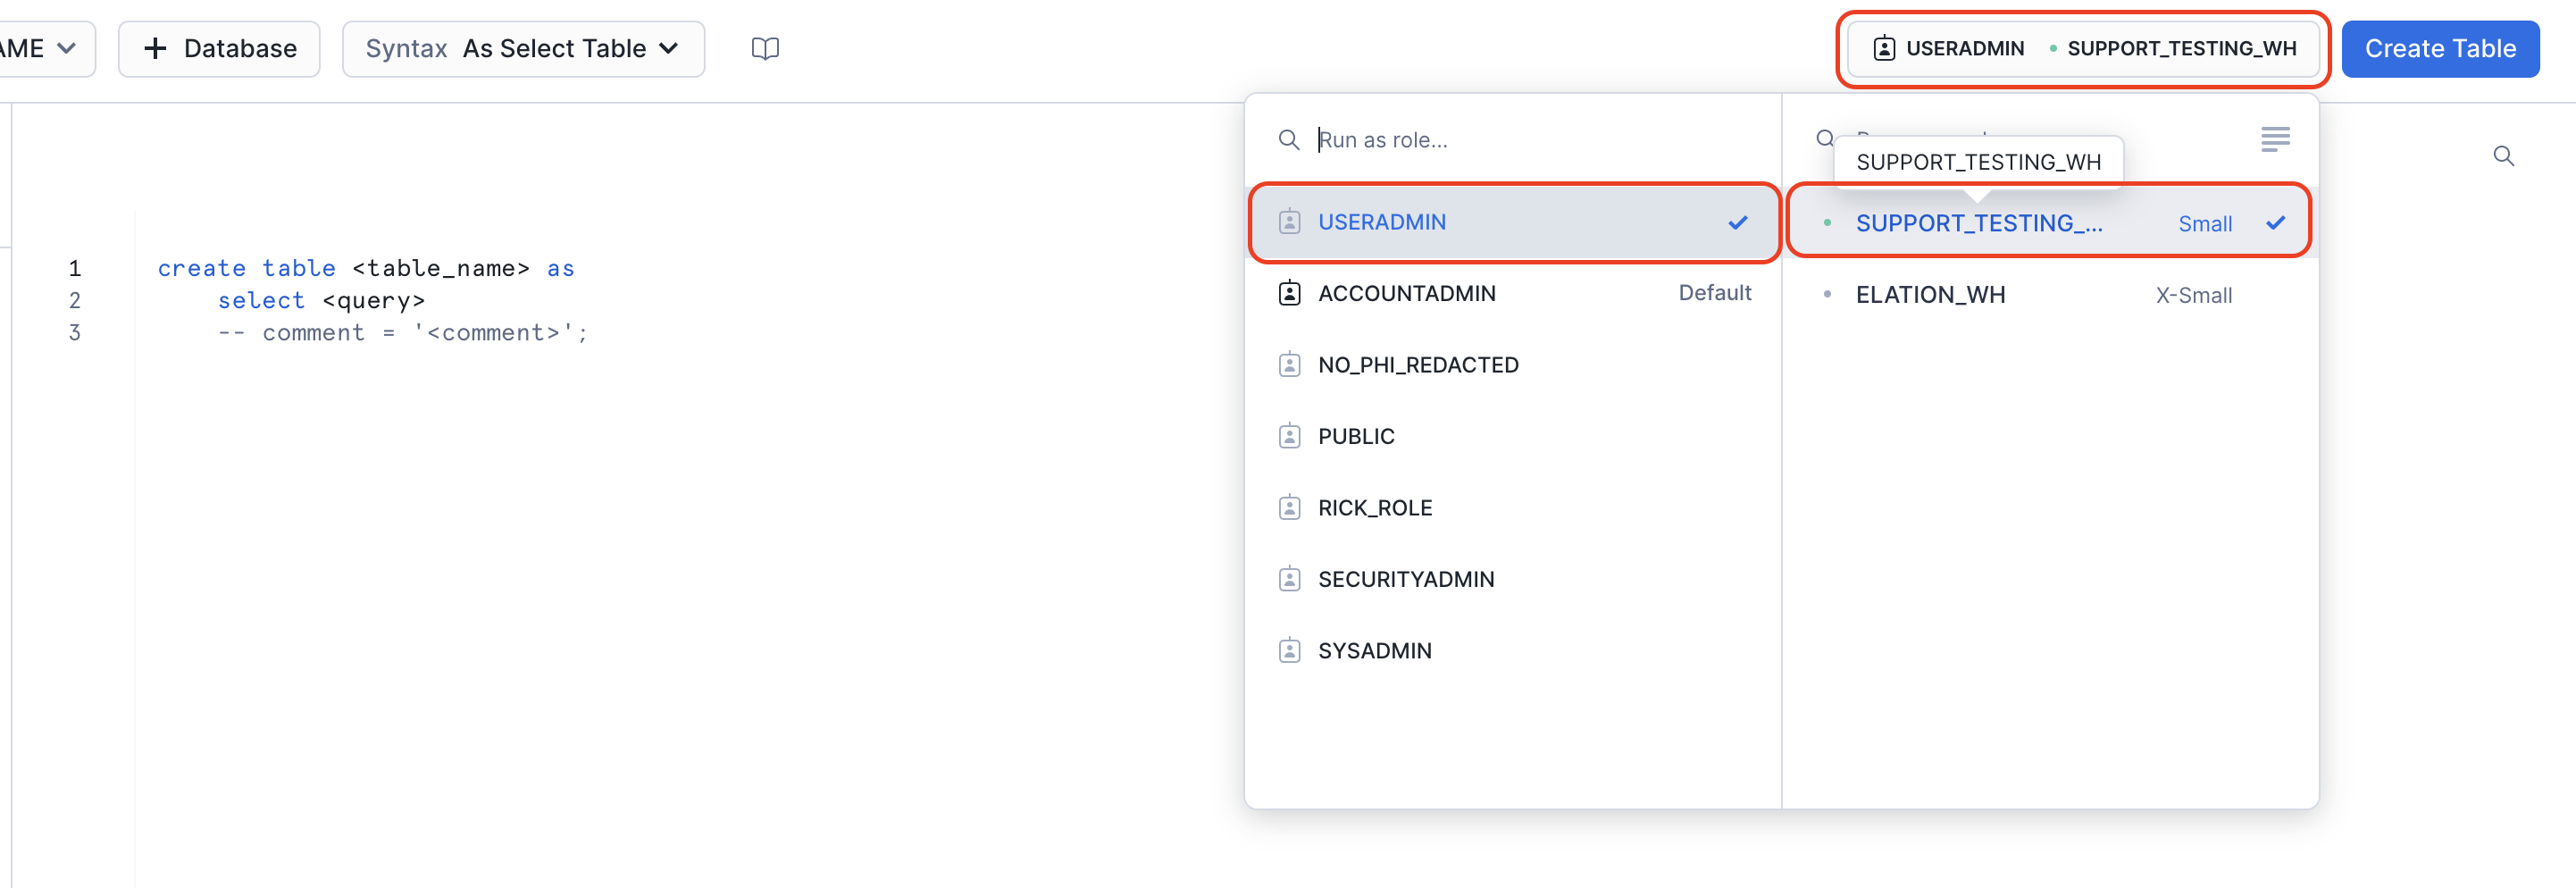
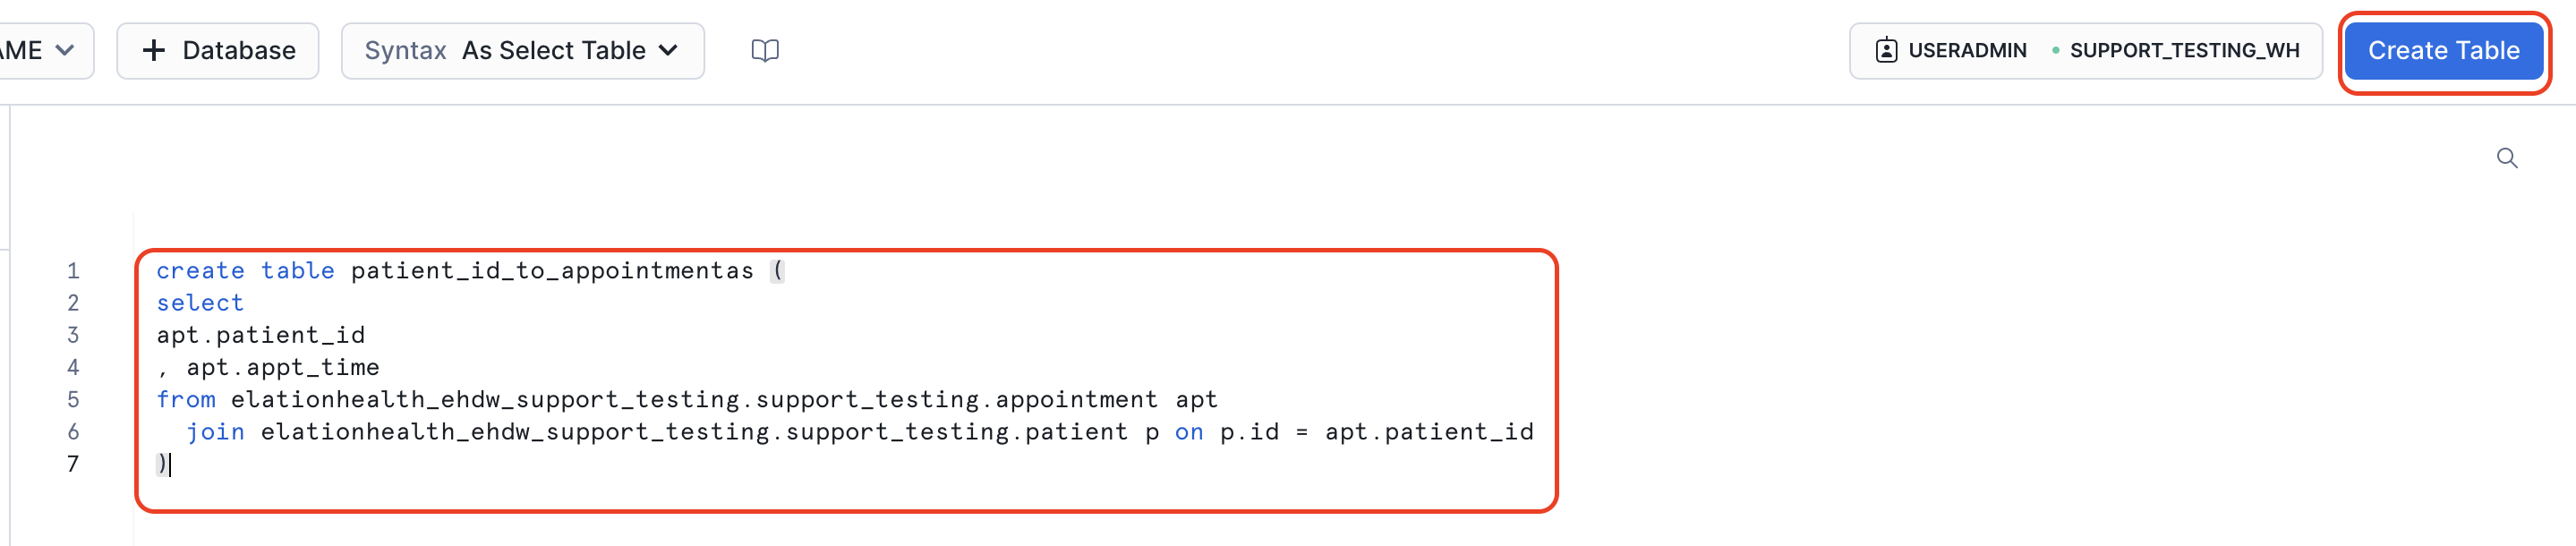
  3. Click on table then the appropriate option.
For this example we will be choosing Table > As Select This will take you to a new worksheet Pick your warehouse > Enter the criteria for you custom table > Click Create Enter the criteria for your new table and click Create Table Make sure to reference your main hosted database and schema’s full path You have successfully created a custom table If you have any questions please contact Elation Support Portal
View When Your Data Was Last Refreshed Sharing Worksheets