Setup Requirements
- Host Address:
patient-matching-data-transfer.elationemr.com - Username: Provided to you by Elation Health. Typically your email address.
- Private Key: This allows you to securely authenticate with the SFTP server.
Connecting with Cyberduck
Follow the steps below to connect to the data transfer service using Cyberduck.- Open Cyberduck
- From the File menu, click Open Connection
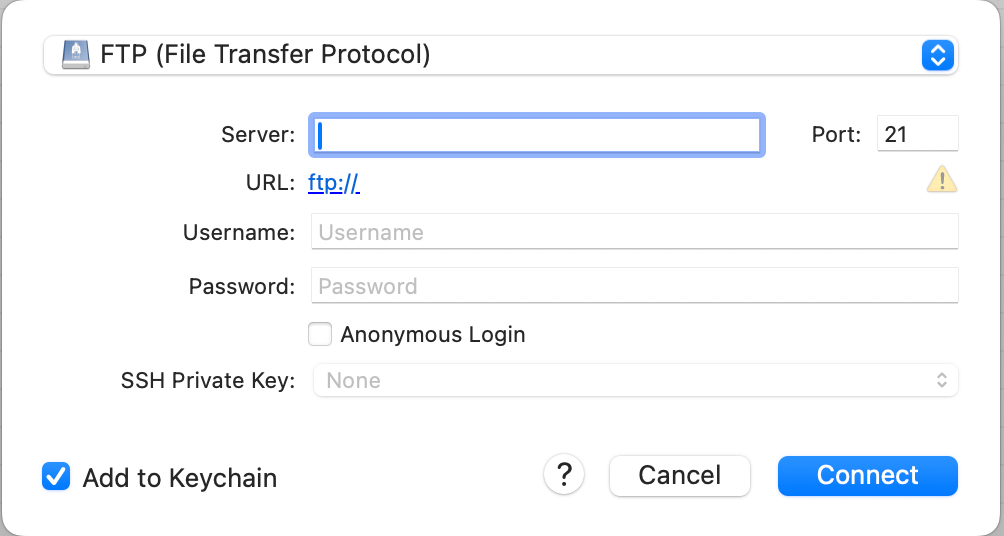
- In the connection window, fill in the fields as follows:
- Protocol: SFTP (SSH File Transfer Protocol)
- Server: patient-matching-data-transfer.elationemr.com
- Port: 22
- Username: Enter the username you received from Elation
- Password: Leave this field empty
- SSH Private Key: Click the field to select the file containing your private key
- Following screenshot is an example of correctly filled-out connection window:
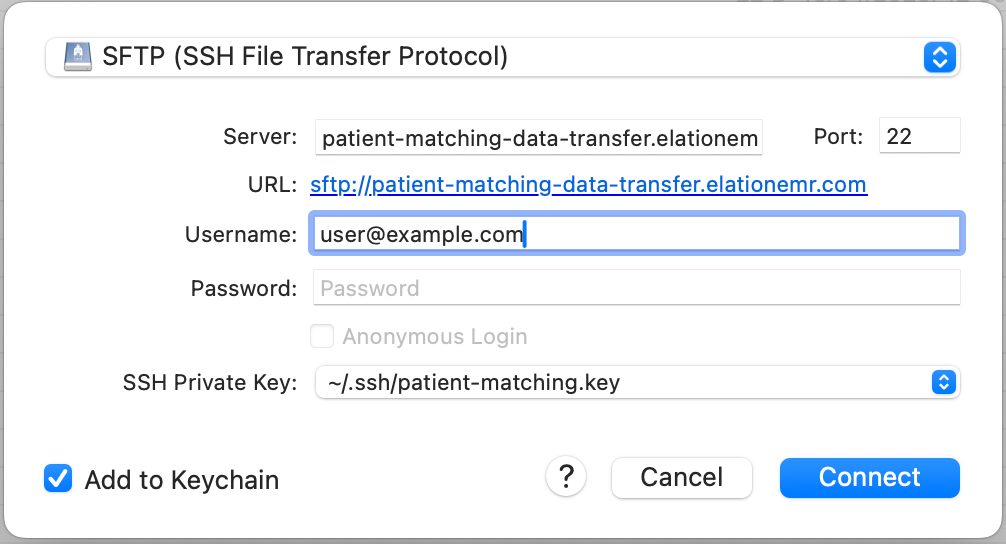
- Click Connect. Cyberduck will try to connect to the SFTP server.
- When connecting for the first time, you may see a screen like the one below. This message appears because your computer has not connected to this server before and is verifying its identity. Select Always and click Allow to proceed with connecting to the SFTP server.
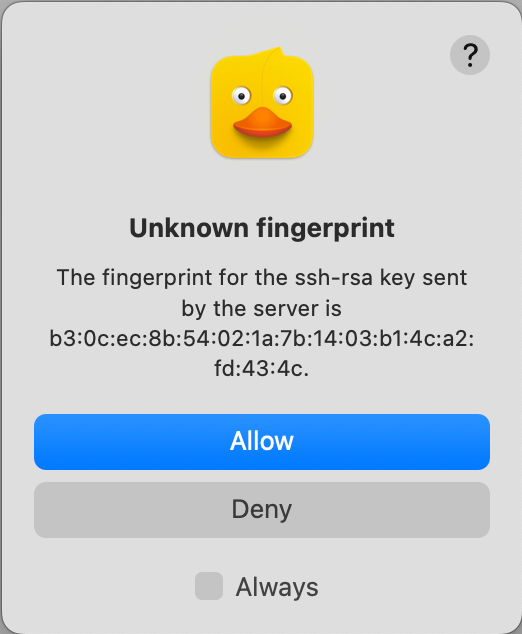
- Once connected, Cyberduck will display your upload folder, here is where you will add your .CSV file.
Connecting with FileZilla
Follow the steps below to connect to the data transfer service using FileZilla.- Open FileZilla
- From the File Menu, click Site Manager … to open the following window
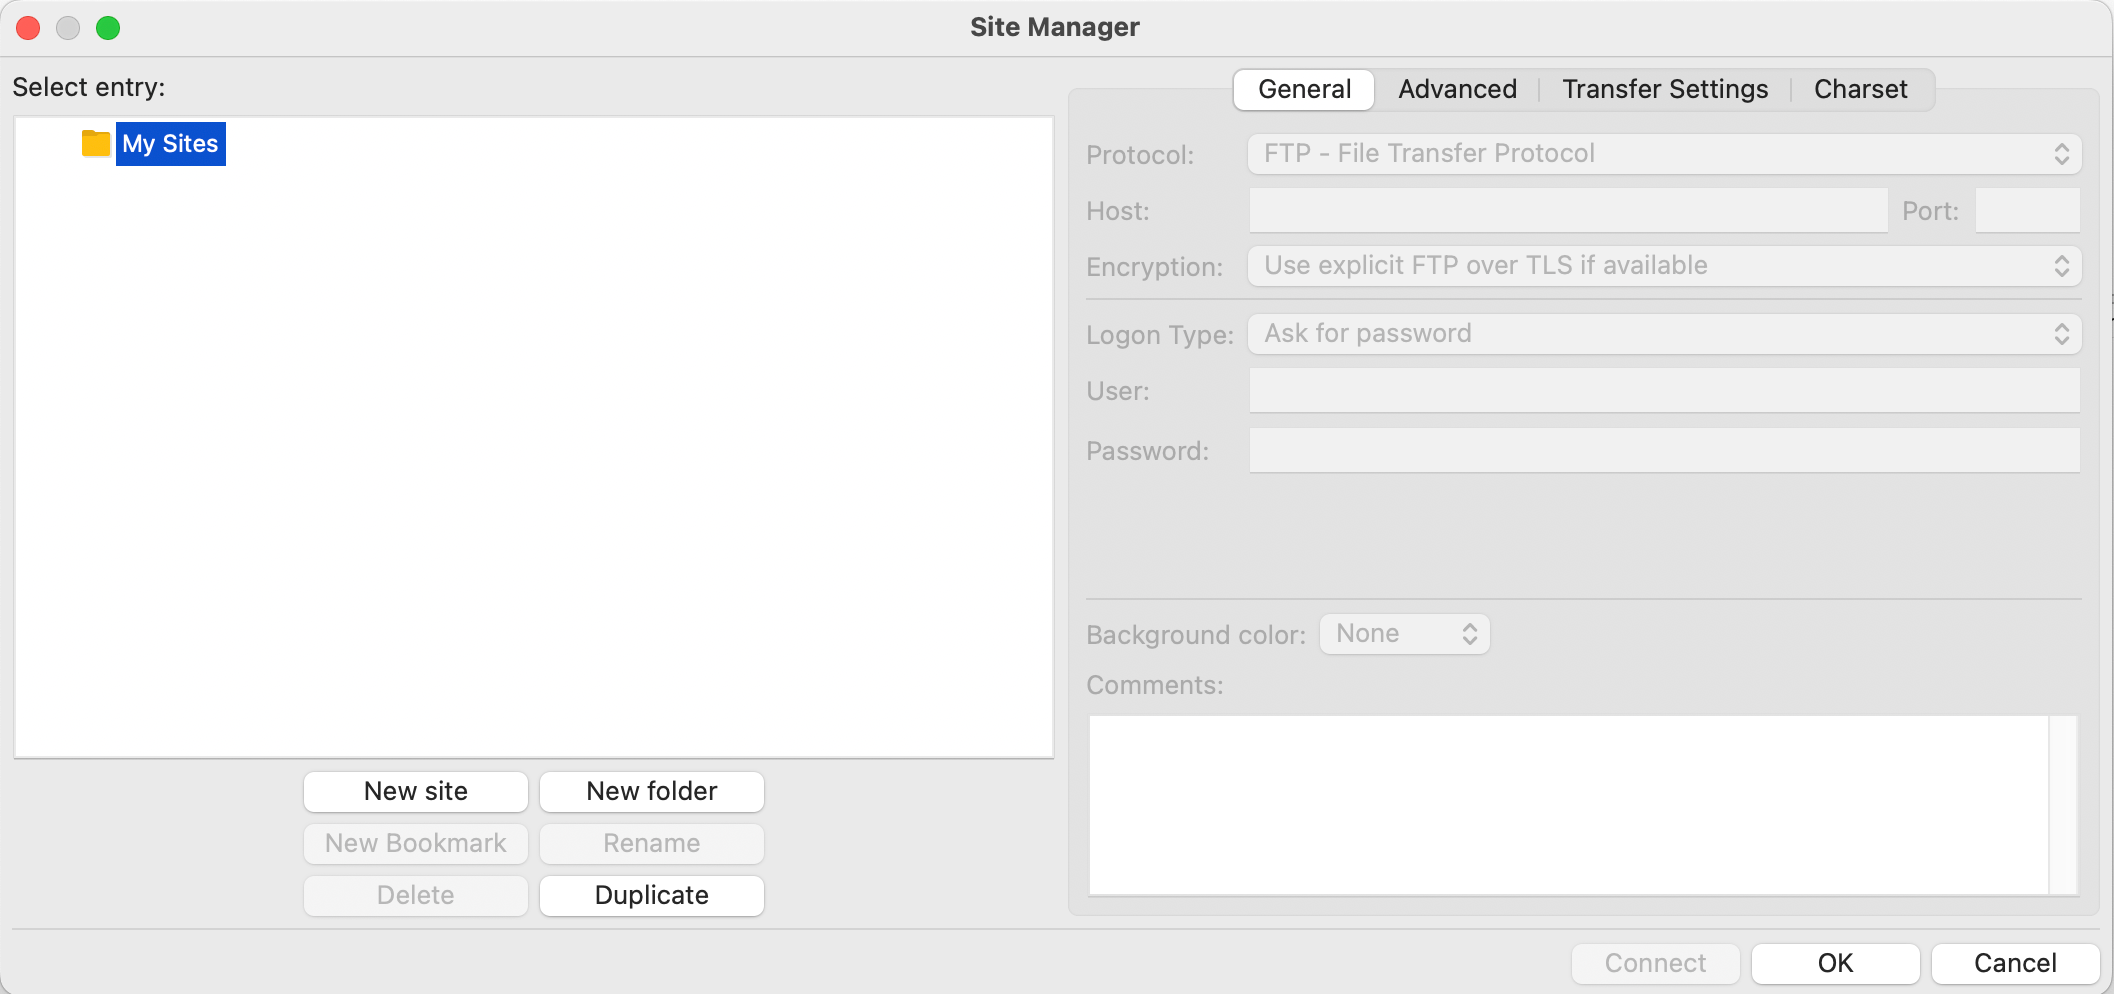
- Click on New site, and choose a name that you’ll easily remember in the future
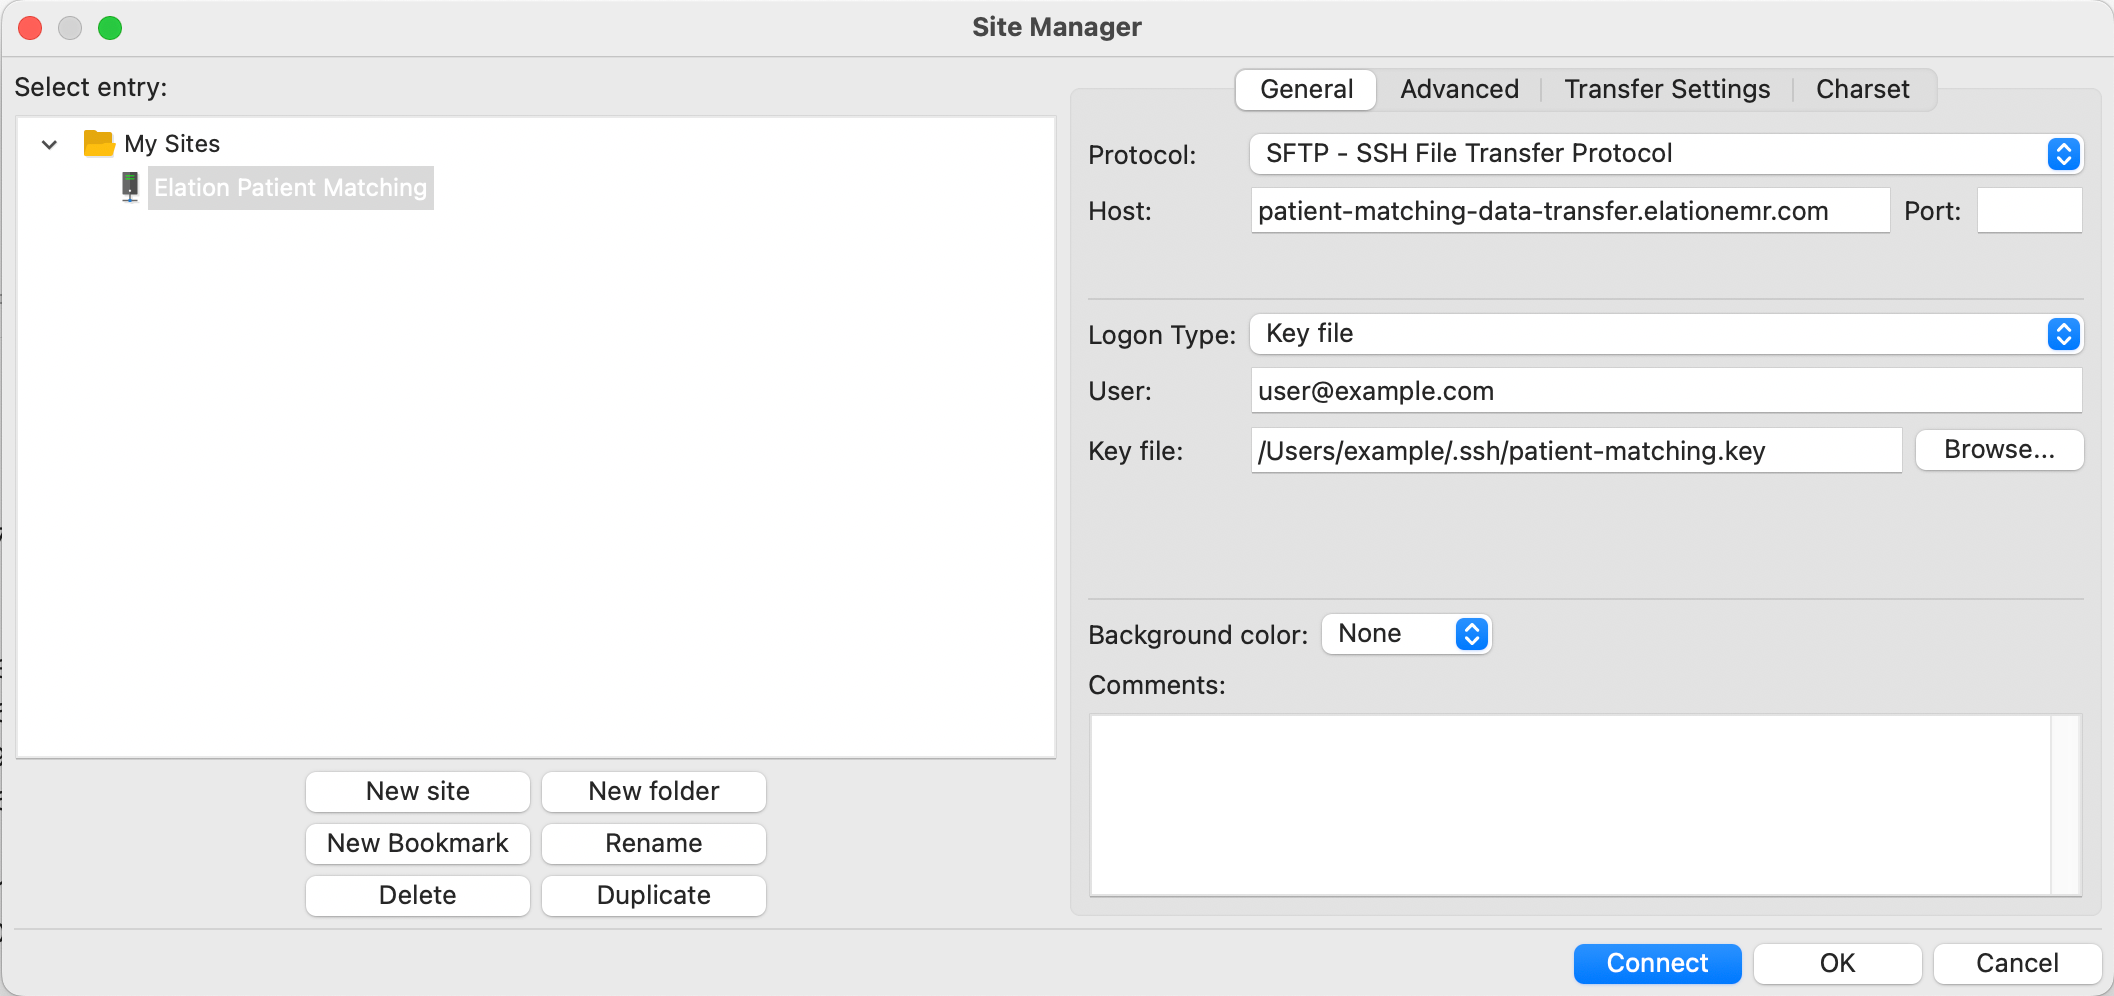
- On the right-hand side, under General tab, fill in the fields as follows:
- Protocol: SFTP - SSH File Transfer Protocol
- Host: patient-matching-data-transfer.elationemr.com
- Port: 22 (Or leave this field empty)
- Logon Type: Key File (Set this option before filling out the fields below it, as it may reset them.)
- User: Enter the username you received from Elation
- Key file: Click the Browse button to select the file containing your private key
-
Following screenshot is an example of correctly filled-out connection window
- Click Connect, FileZilla will try to connect to the SFTP server.
- When connecting for the first time, you may see a screen like the one below. This message appears because your computer has not connected to this server before and is verifying its identity. Select Always trust this host and click Allow to proceed with connecting to the SFTP server.
- Once connected, FileZilla will display your upload folder, where you can drag-and-drop file. Your connection settings will be saved in FileZilla’s Site Manager for future use.