Overview
Elation EHR + Billing Practices will use the EHR Calendar instead of the Elation Billing Calendar. This article applies to Legacy practices only.
Workflow Instructions
Creating an Appointment
- Navigate - Click on the Appointment Calendar option under the Patients drop-down menu.
-
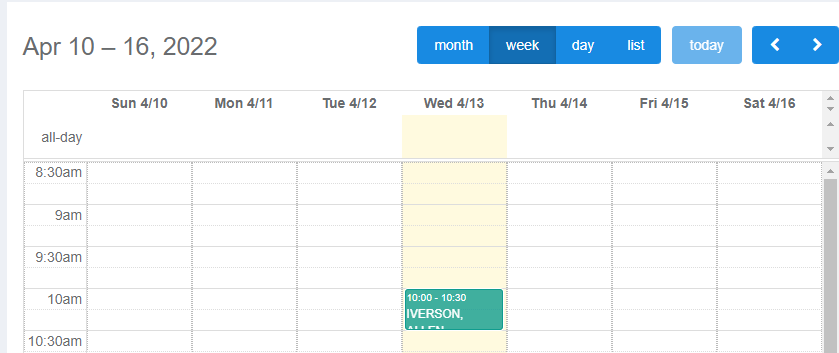
Select Calendar View - The default is by month, but viewing by week or day is easier when setting new appointments.

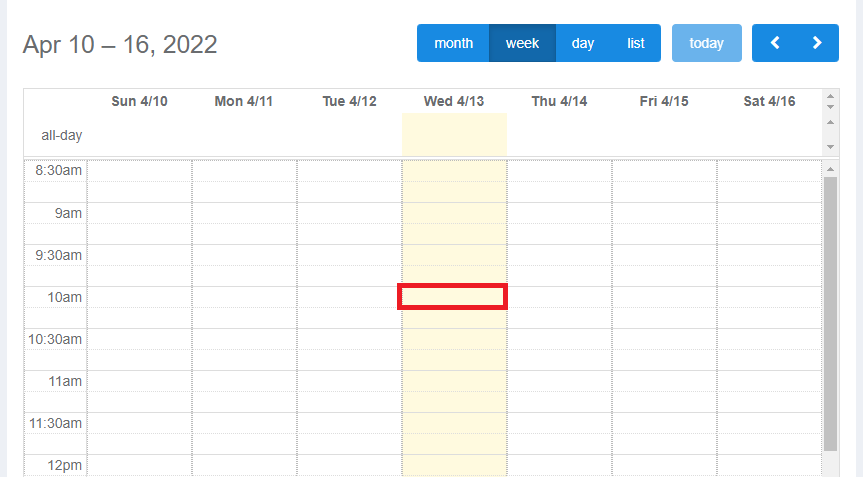
-
Click on an Open Time Slot - A new dialogue will open.
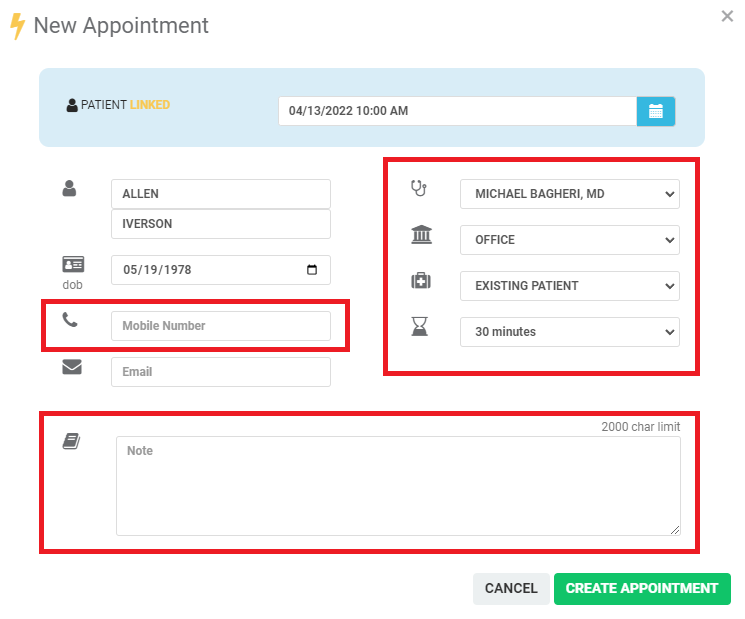
- Provider
- Location
- Type
- Duration
-
Create Appointment - Click CREATE APPOINTMENT.