Overview
Elation EHR + Billing Practices will use the EHR Calendar instead of the Elation Billing Calendar. This article applies to Legacy practices only.
Workflow Instructions
Accessing Calendar Settings
- Navigate - Click on the Appointment Calendar option under the Patients drop-down menu.
-
Open Settings - Click on Calendar Settings.

- Review and Adjust - Use the bar on the left to adjust and save different calendar settings.
Make sure you save on each settings screen!
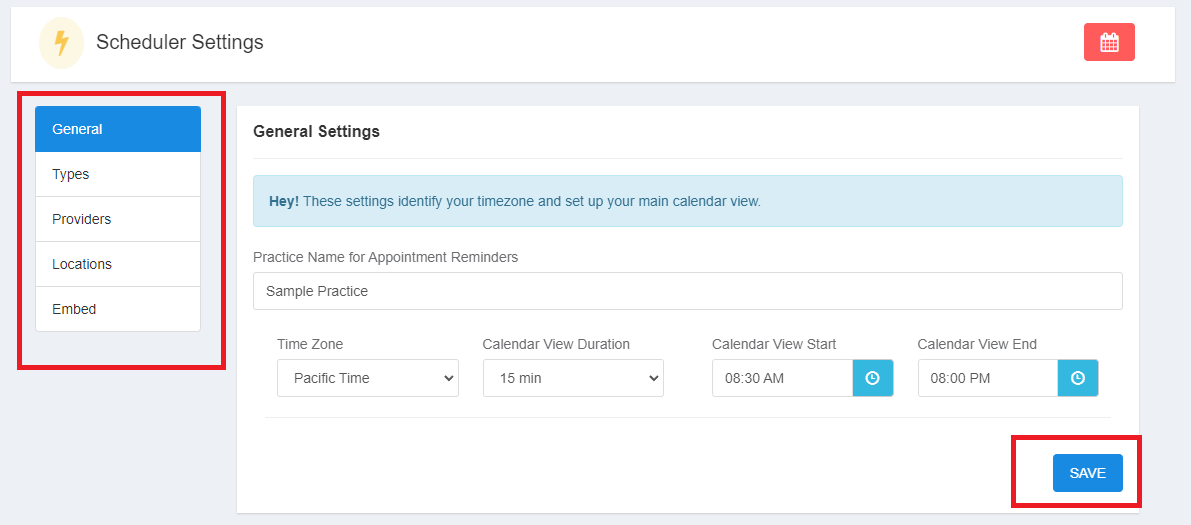
General Settings
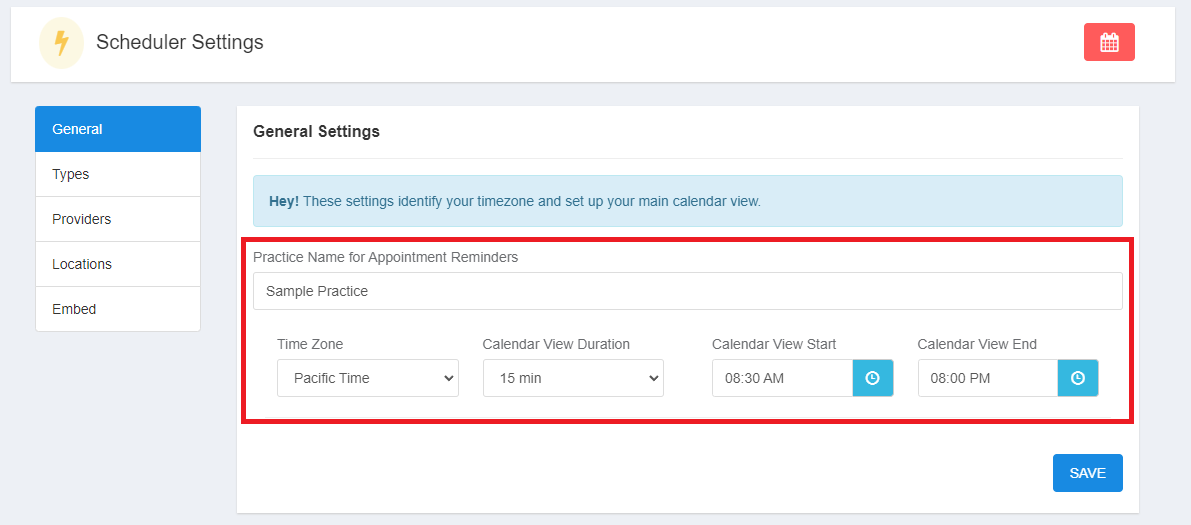
- Time Zone - For reminders, etc.
- Calendar View Duration - How your calendar screen looks
- Calendar View Start - Start time of calendar display
- Calendar View End - End time of calendar display
Type Settings

- Color - Display color in waiting room and calendar view (if color legend is by appointment type)
- Hours - Used for calendar embed widget on your website
- Duration - Default appointment duration for calendar embed widget
Provider Settings
New providers are added in your regular practice settings area.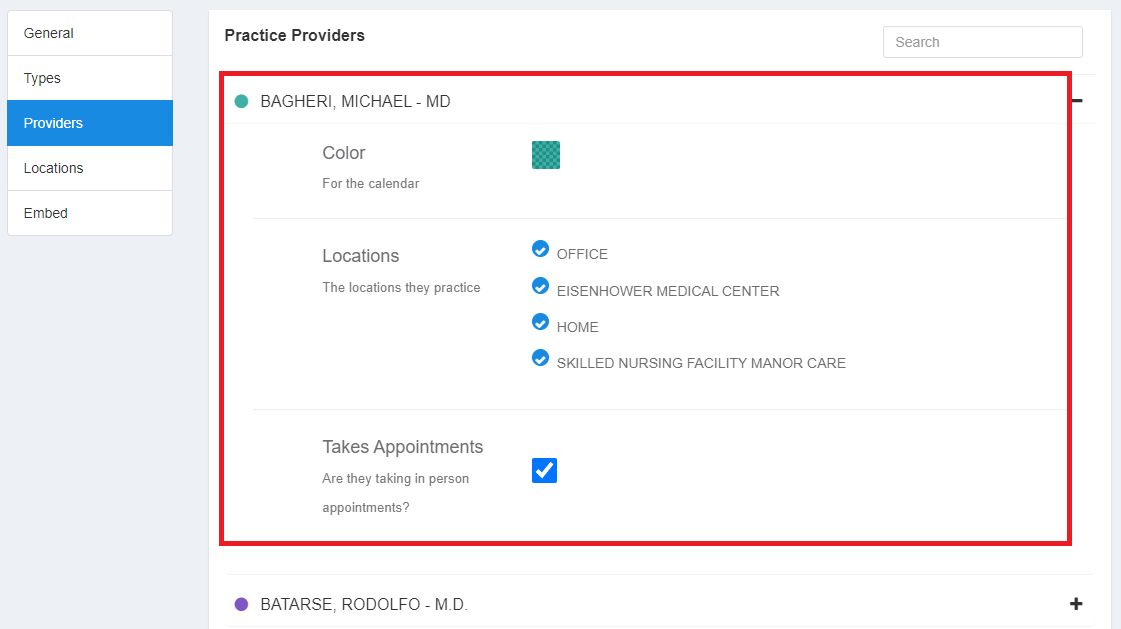
- Color - Display color in waiting room and calendar view (if color legend is by provider)
- Locations - Used for calendar embed widget restrictions
- Takes Appointments - Used for calendar embed widget restrictions
Location Settings
New locations are added in your regular practice settings area.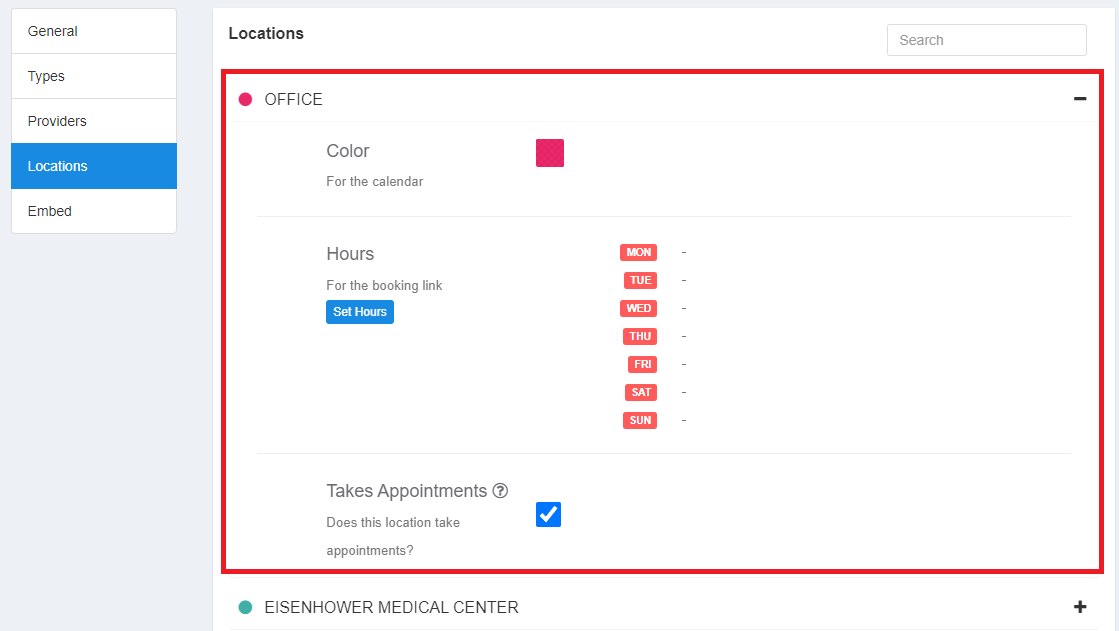
- Color - Display color in waiting room and calendar view (if color legend is by location)
- Hours - Used for calendar embed widget restrictions
- Takes Appointments - Used for calendar embed widget restrictions