Overview
Use the instruction below for your device type and operating system (OS) to properly enable your microphone. We advise doing this prior to using Note Assist to avoid potential audio issues.Workflow Instructions
Setup for laptop and desktop devices
- Windows
- Mac
Navigate to Privacy & Security
In the left-hand menu of the Settings window, click Privacy & Security.
Manage your Microphone Permissions
Under the App permissions section, scroll down and click Microphone.
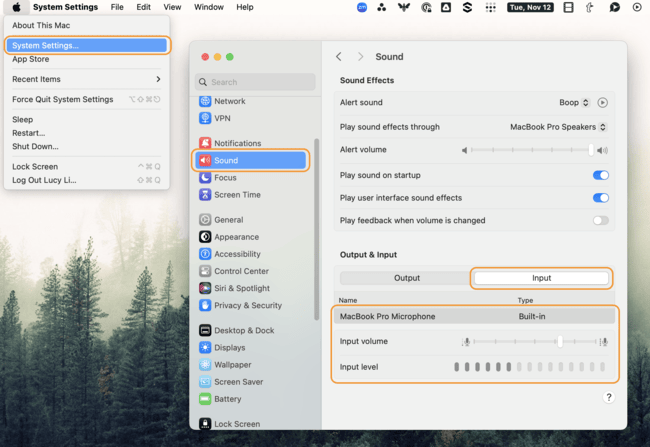
Check your Microphone Input
In the left-hand menu of the Settings window, click System and then Sound.
- Under Input, go to Choose a device for speaking or recording, and select the device you want.
Enable Ambient Listening (via 3rd-party apps)
Windows does not have a built-in ambient listening feature, but third-party applications or Windows Dictation can be used for continuous listening.
- Check specific app settings for ambient listening features (e.g., accessibility apps).
Setup for mobile devices
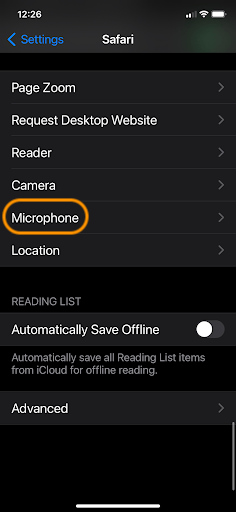
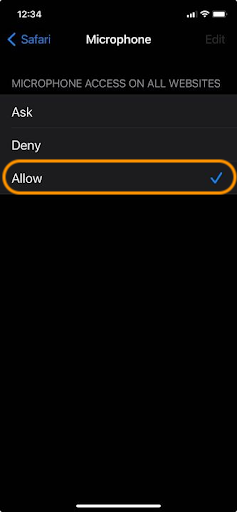
- Safari
- Android
(Optional) Enable Ambient Listening (Live Listen)
To use Live Listen with your AirPods, AirPods Pro, AirPods Max, Powerbeats Pro, or Beats Fit Pro, your iPhone or iPad device needs iOS or iPadOS 14.3 or later.
- Connect your AirPods or compatible hearing devices.
- Open Settings > Control Center, then tap the + button next to Hearing.
- Return to your home screen.
- From the top right corner of your device, swipe down to reveal the Control Center.
- Tap the ear button and turn on Live Listen and use your device’s microphone to listen to the environment through your AirPods.
Troubleshooting
General Tips
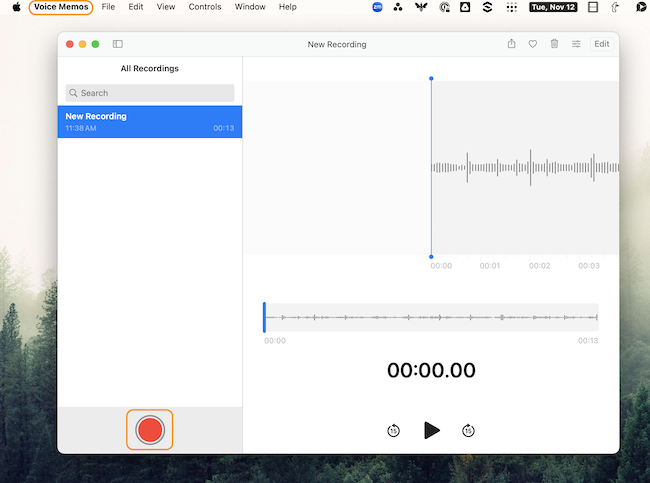
If you’ve followed the setup instructions above, but Note Assist is still not recognizing your microphone device, test a two-person call on a third-party microphone test site such as: https://www.onlinemictest.com If the audio indicator line doesn’t move during your microphone test:- Check that your microphone is connected to the correct (normally pink) socket in your computer. If it’s a mic with a USB connector just make sure it is properly connected to the USB socket (you will not use the pink microphone in this case).
- Check that your microphone is not muted - sometimes the mic has a mute button on it or on the wire that is connected to it.
- Check that the volume on the microphone is not turned all the way down.
- Additional troubleshooting tips:
- For Windows 10 or Windows 11
- For Mac OS
- For additional OS tips
Virtual Visit Tips
During a virtual visit, if Note Assist is only picking up the provider’s audio but not the patient’s audio, it’s important to disable all noise suppression, cancellation, and enhancement features for audio recording across all software, operating system, and hardware. This includes disabling noise cancellation in both the operating system sound settings and in any additional audio control software associated with the microphone. Below are some steps to help:- Use the browser version of the video conferencing tool and run it in a separate tab within the same browser instance as the Elation App.
- Disable Zoom Noise Suppression or Filters (Desktop and Web Client).
- Follow these instructions for Configuring Professional Audio Settings for Zoom Meetings to ensure noise suppression is not enabled.
- Disable Noise Suppression in Windows.
- Go to System Sound Settings.
- Right-click on the sound icon in the taskbar and select Sound Settings.
- Click on More Sound Settings, switch to the Communications tab, and select Do nothing to prevent Windows from altering audio during calls.
- Check Audio Control Software from Manufacturer.
- Check if any model/manufacturer-specific audio software is installed, as it may include advanced microphone settings. Examples include:
- Realtek Audio Console
- Realtek HD Audio Manager
- Dell Audio / Dell Optimizer / Waves MaxxAudio
- HP Audio Control / Omen Audio Control
- Acer Purified Audio Console
- Lenovo Vantage
- Refer to thisZoom Community Thread for more information on disabling noise suppression in these applications.
- Check if any model/manufacturer-specific audio software is installed, as it may include advanced microphone settings. Examples include:
- Use an External Microphone and Speaker Setup:
- If issues persist, consider using an external microphone and speaker setup. Disable your built-in microphone and configure the external devices as the input and output sources.