
Overview
Elation allows you to create and maintain a database of insurance carriers and plans, which can then be used to populate your patients chart with structured insurance details. Entering a patient’s insurance details is a prerequisite to many downstream workflows such as eligibility checks, orders, and fee-for-service billing. Learn how to update these details with the instructions below.If your practice uses Elation Billing , patient insurance information syncs between the EHR and Elation Billing. See Add or Edit Patient Insurance (Elation Billing) for Billing-specific insurance workflows.
Workflow Instructions
If you are using an integrated Practice Management System (PMS) partner with Elation, we recommend reviewing your PMS User Manual for instructions on how to maintain carriers and patient insurance details. The required workflows, supported fields, and syncing behavior for each vendor can differ.
Managing carriers & plans in Settings
Reference this Billing Guide- Managing Carriers & Plans in Elation article to learn how to create and maintain your practice’s insurance carriers and plans. As a best practice, carriers should be added to your Settings in advance so that they’re readily accessible when it comes time to update a patient’s insurance details. As needed, new carriers still can be created at any time.The Insurance settings page can be set to ‘Admin Only’ so that only users with Admin privileges can make changes. If you find that you’re unable to add new insurance carriers or plans, you may not have sufficient privileges. Please check with an Admin Level User in your practice for assistance.
Accessing a patient’s insurance details
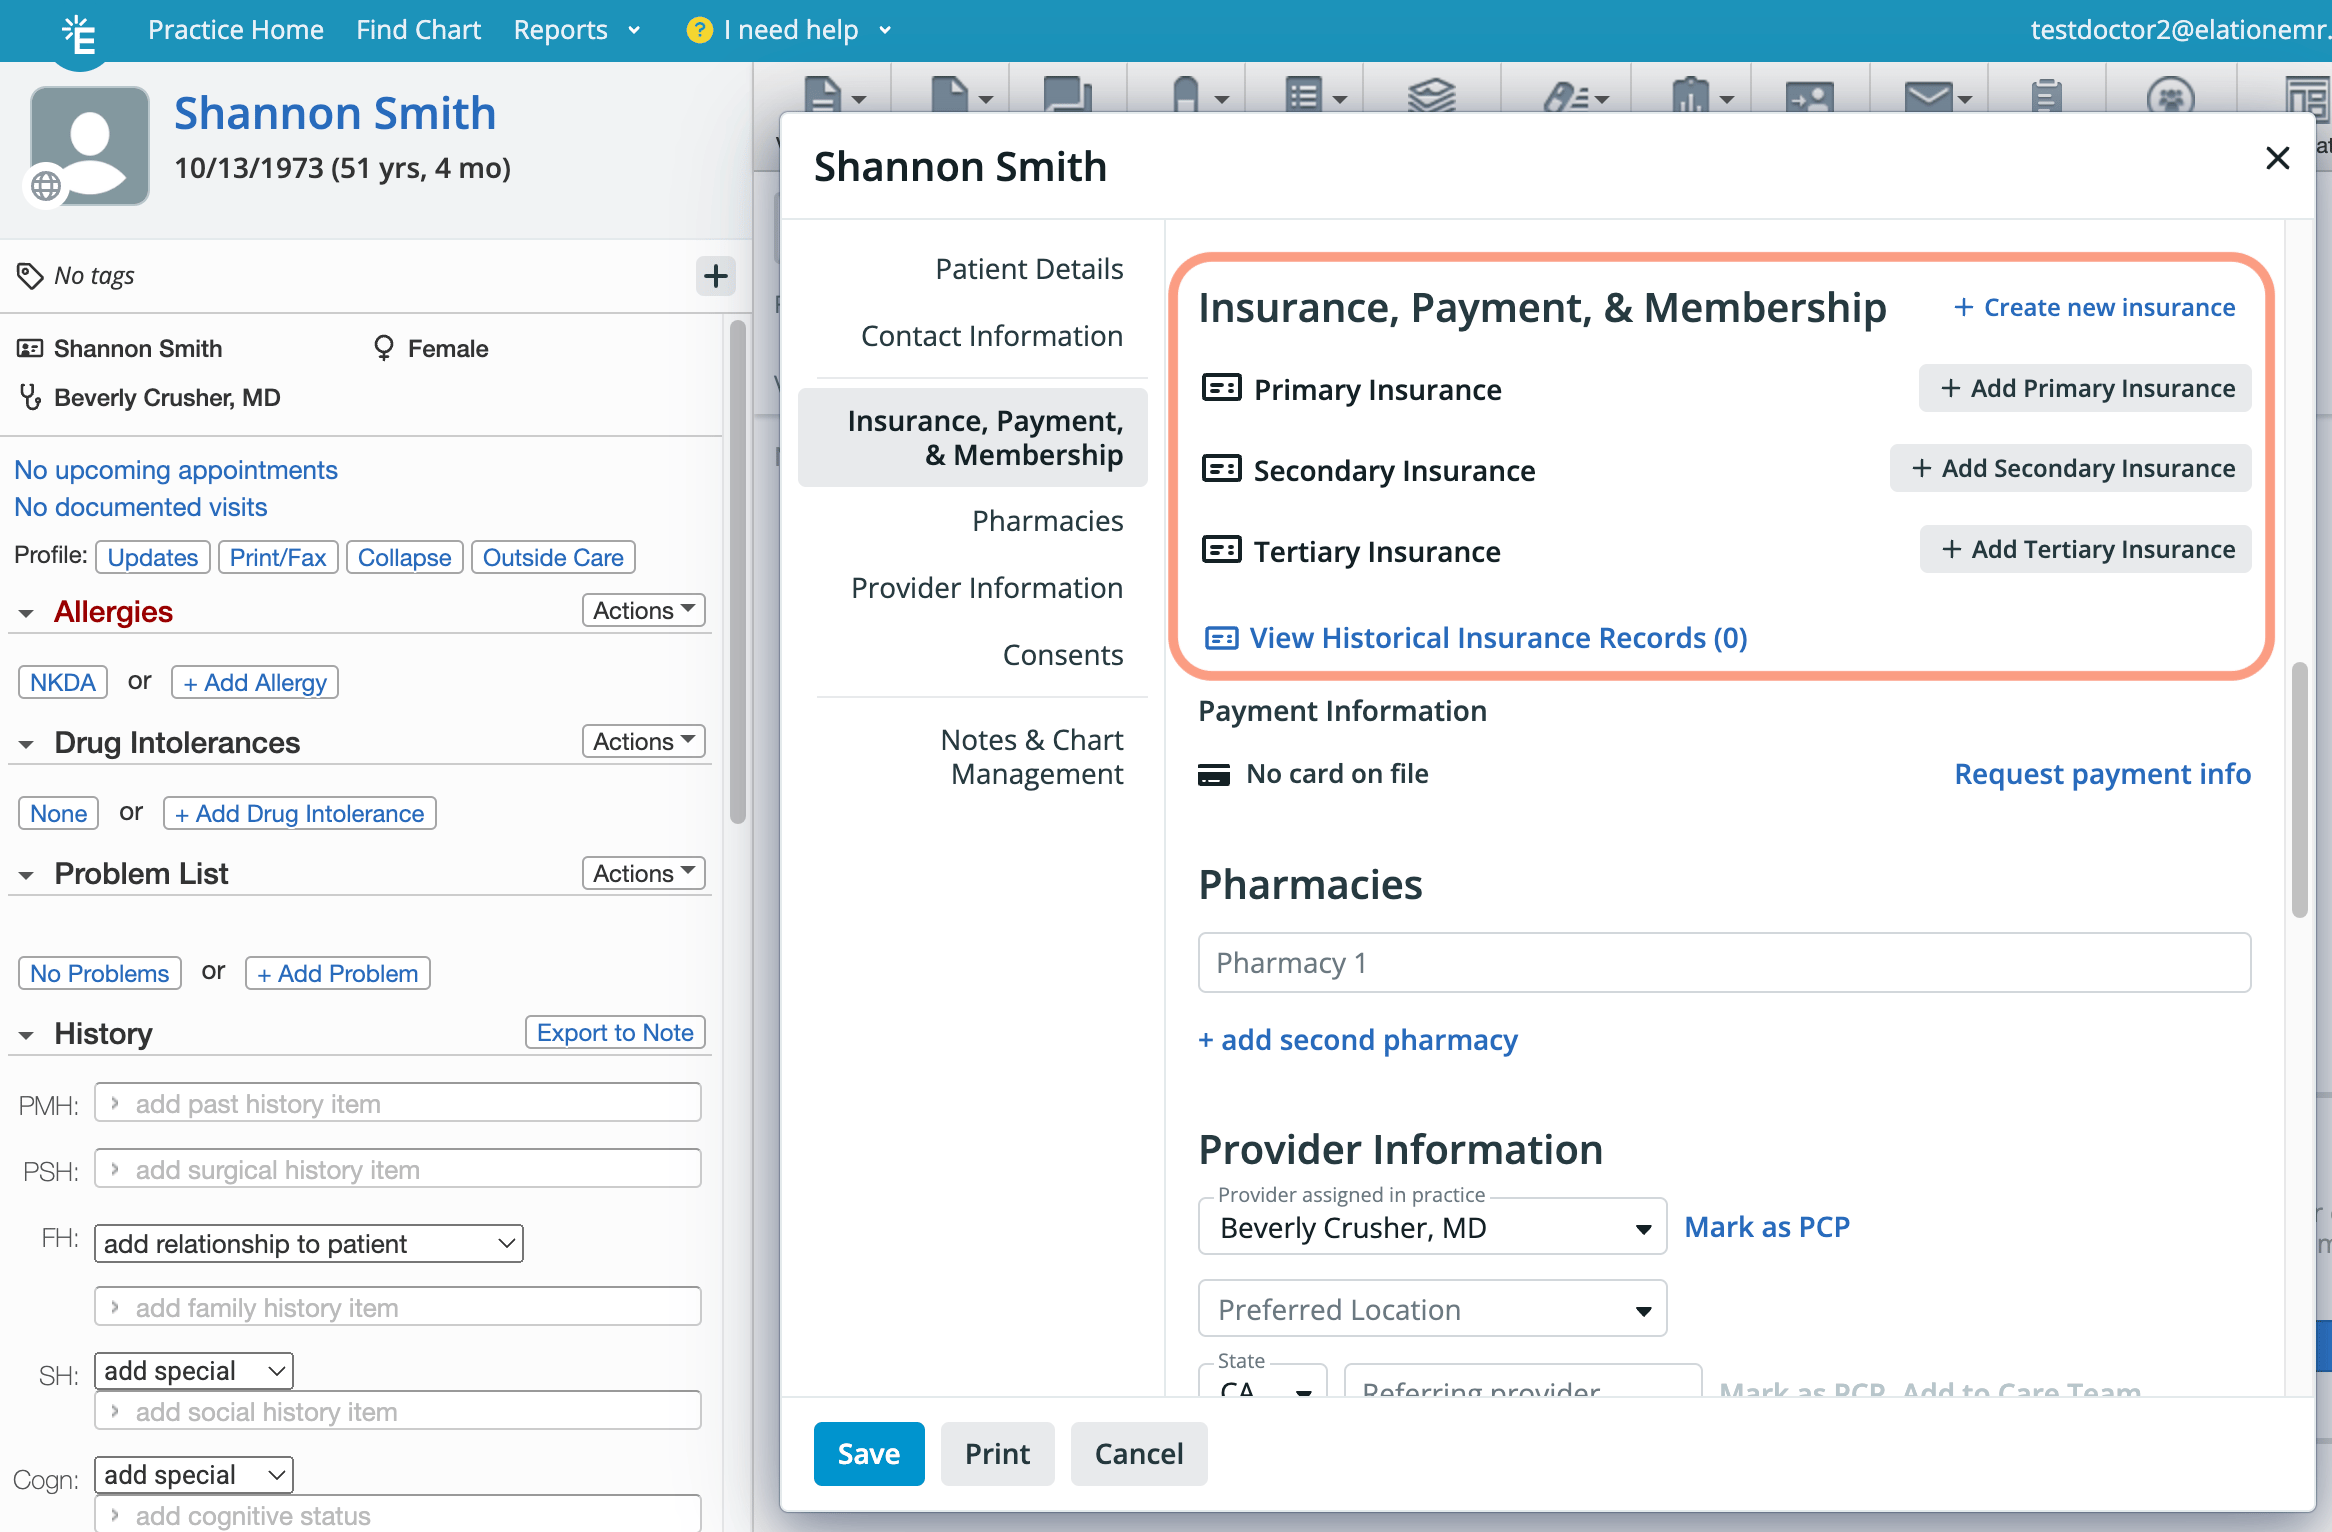
- Click the New Chart button on the homepage. In the demographics window, scroll down to the Insurance, Payment, & Membership section.
- Open the patient’s chart and click on the patient’s name. In the demographics window, scroll down to the Insurance, Payment, & Membership section.
- If the patient has an appointment, click the appointment. In the pop-over, click Demographics and scroll down to the Insurance, Payment, & Membership section.
- If the patient has an appointment, update the Status to Checked-in and the Demographics window will automatically open. Scroll down to the Insurance, Payment, & Membership section.
Entering a new active insurance record
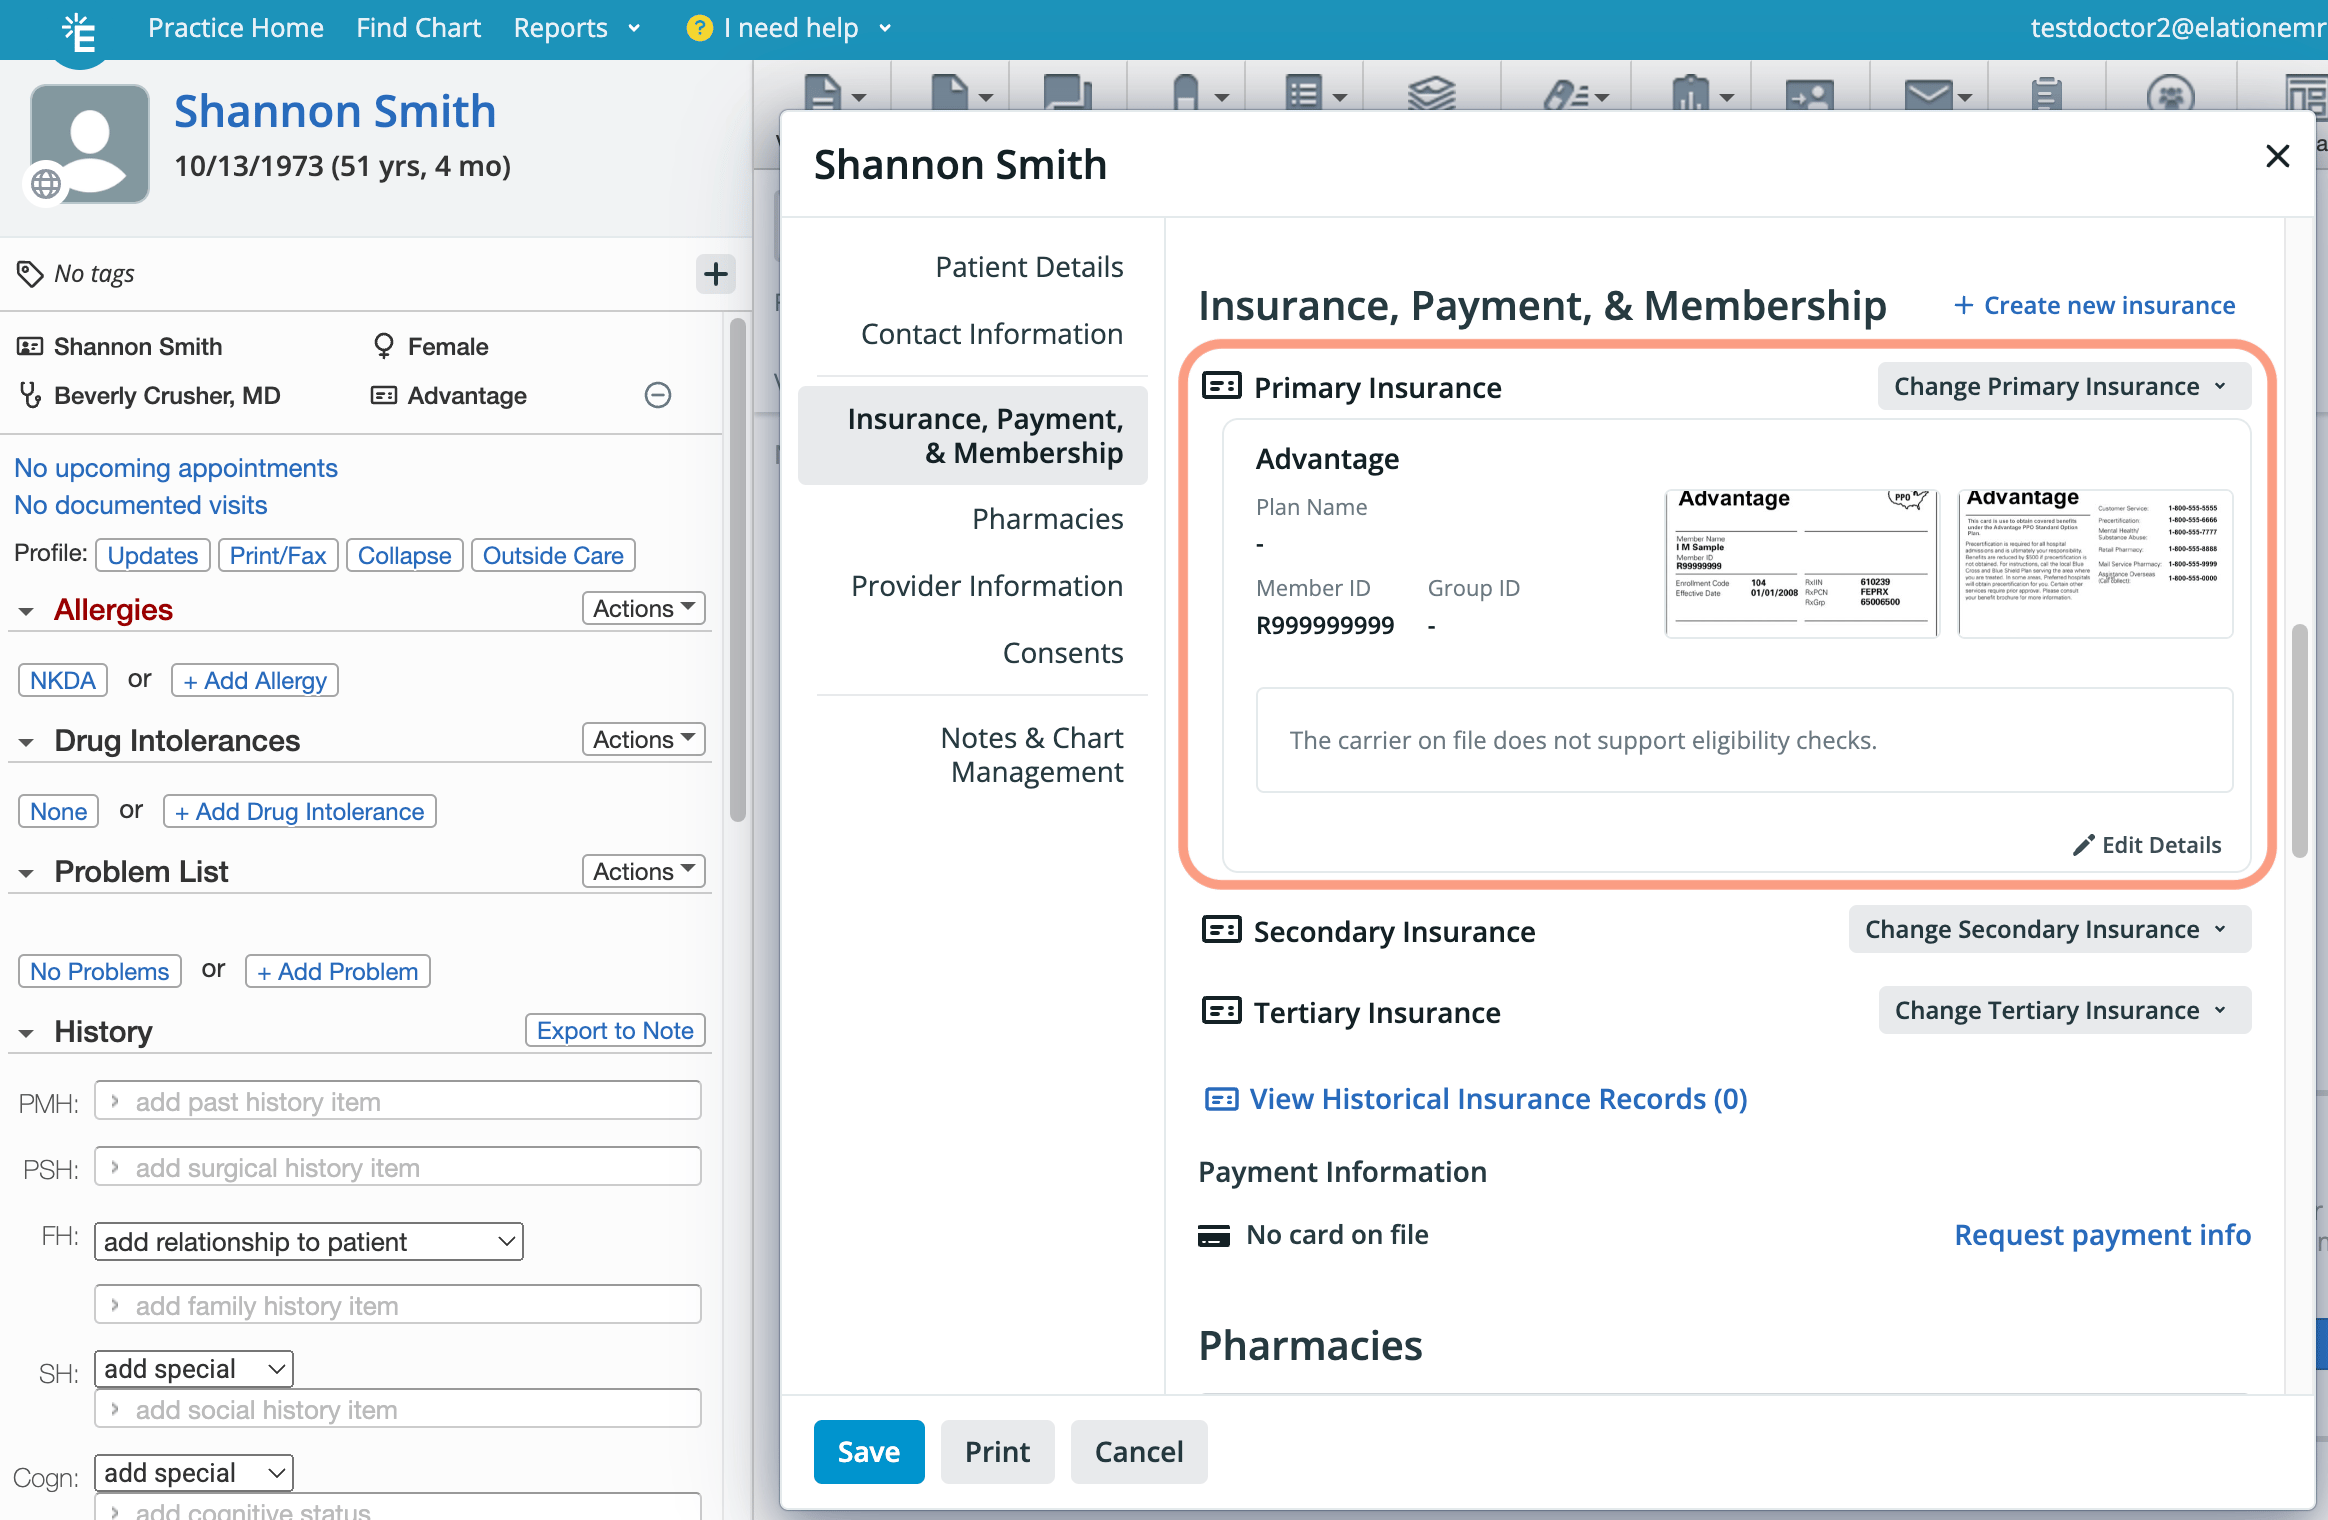
Based on the Insurance Rank selected, a summary of the insurance record will appear under the corresponding heading. If you have real-time eligibility through Elation, you can also run an eligibility check here.
Uploading/viewing/updating scanned insurance cards
Insurance cards can be uploaded while you enter insurance information for the patient.To add a scan after insurance details have already been saved
To zoom-in on an uploaded scan
To crop/rotate an uploaded scan
To change a scan to a different image
If you encounter a repeated error or an error code while uploading an insurance card, click here for recommended troubleshooting steps - including what to include when contacting Support.
Editing an existing insurance record due to a typo
Editing an existing insurance record due to a change in coverage
Viewing historical insurance records
Deleting an existing insurance record
Frequently Asked Questions
Why can’t I edit an insurance record that’s under Historical records?
You will need to move a historical record to an active record first if you need to edit the details.What type of files can I upload for the insurance card?
The supported image file types are JPEG (JPG/JPE), PNG and PDF (single page only).Is there a way to see when an insurance card image was uploaded?
Not directly. The Demographics Insurance, Payment & Membership section only displays the card image itself; there’s no “uploaded on” field for active card images. If an older card image was replaced and filed as a report elsewhere in the chart, you may be able to infer the upload date from that report’s created date.Does running eligibility automatically add insurance to the chart?
No. Real-time eligibility validates existing structured insurance information; it does not automatically create or update insurance records. Recommended workflow:- Add or update the patient’s insurance record under Demographics (Carrier name, Plan name, Member ID, Group ID, and Insurance Rank).
- Run eligibility to confirm coverage.
- Use the validated record for billing.
- That Primary insurance is present and not marked inactive.
- That the Carrier and Plan used for billing matches the Carrier and Plan used for eligibility.