
Setup
- Branding is managed from Practice Settings > Branding.
- If your practice has set the branding settings to Admin Only, only Admin Level Users can make changes. Other users see the branding settings as read-only.
Opening the branding settings
- Go to Settings.
- Open Branding under Practice Settings.
- On the Practice Branding card, click + Add branding (or Edit if you have set branding up before).
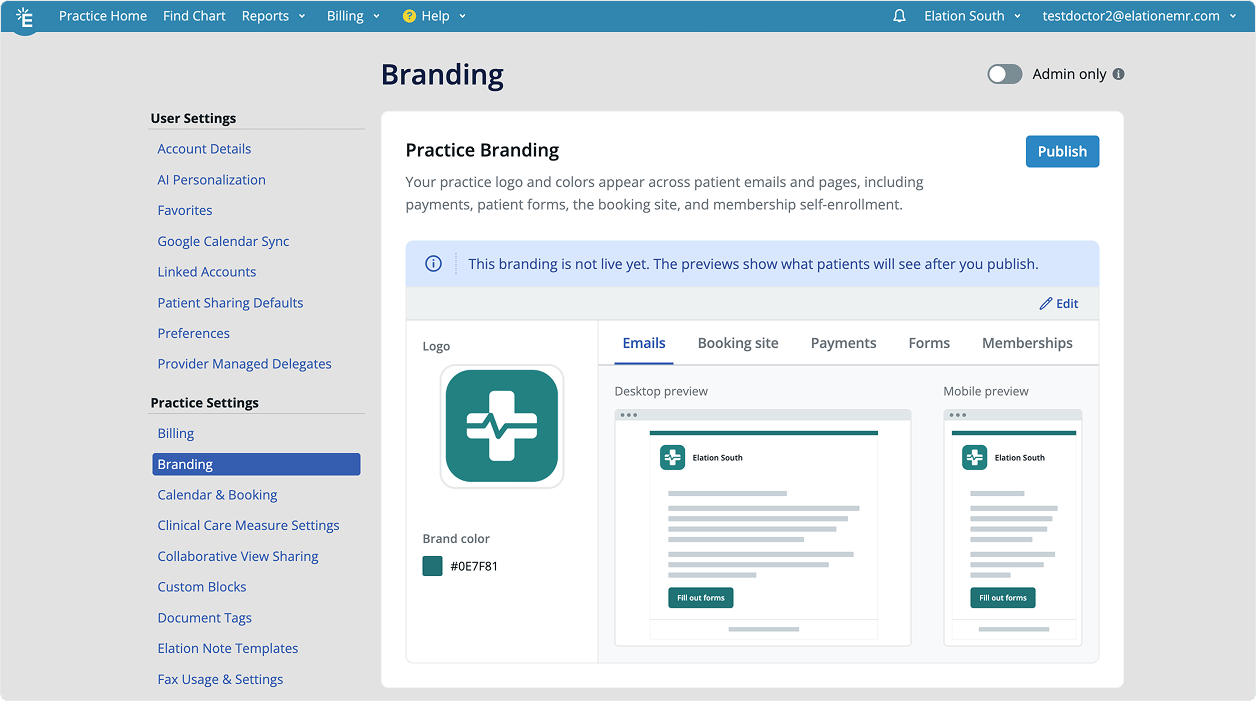
Uploading your practice logo
- In the Practice Branding window, upload your logo by selecting a file or dragging it into the upload area.
- Review the logo in the live preview, which shows how it looks on each patient-facing surface.
- Click Save changes.
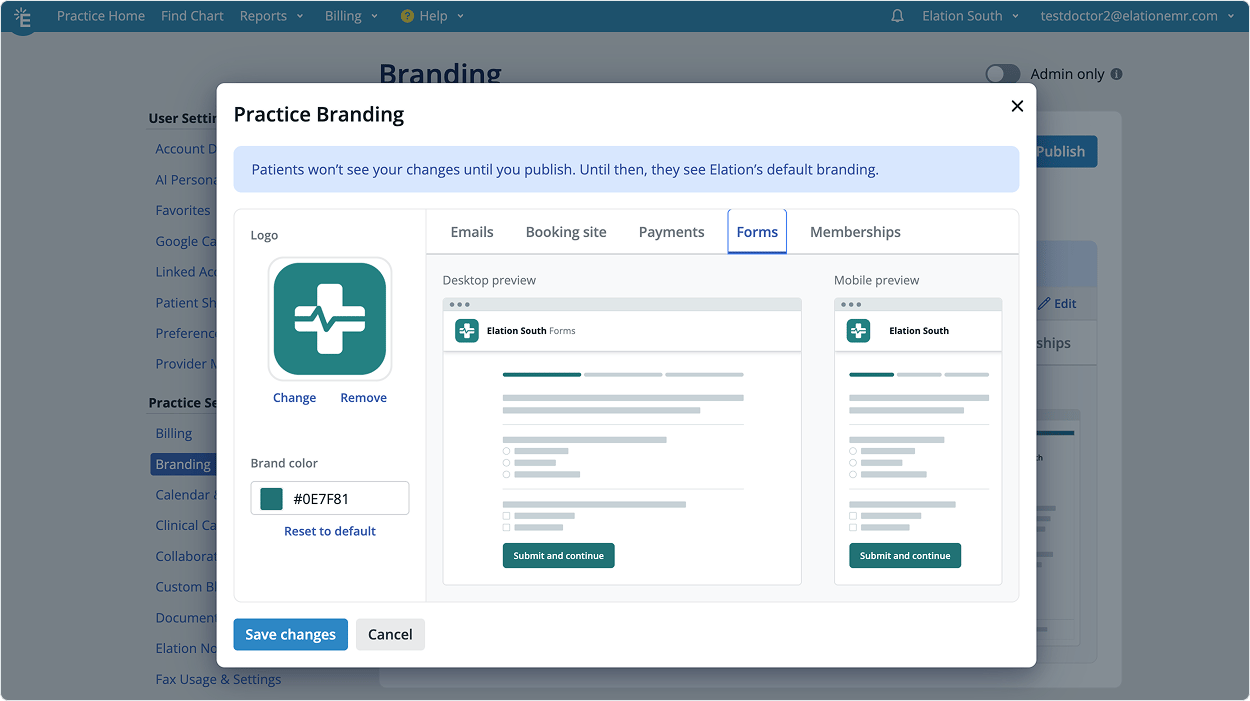
- File type: PNG or JPG. Other types, such as GIF or WebP, are not accepted.
- File size: under 20 MB.
- Image size: under 12 megapixels.
Setting your brand color
- In the Practice Branding window, find the Brand color field, below the logo.
- Enter a hex color (for example,
#043927), or click the color swatch to open your browser’s color picker and choose a color. - Review the color in the live preview across each surface.
- Click Save changes.
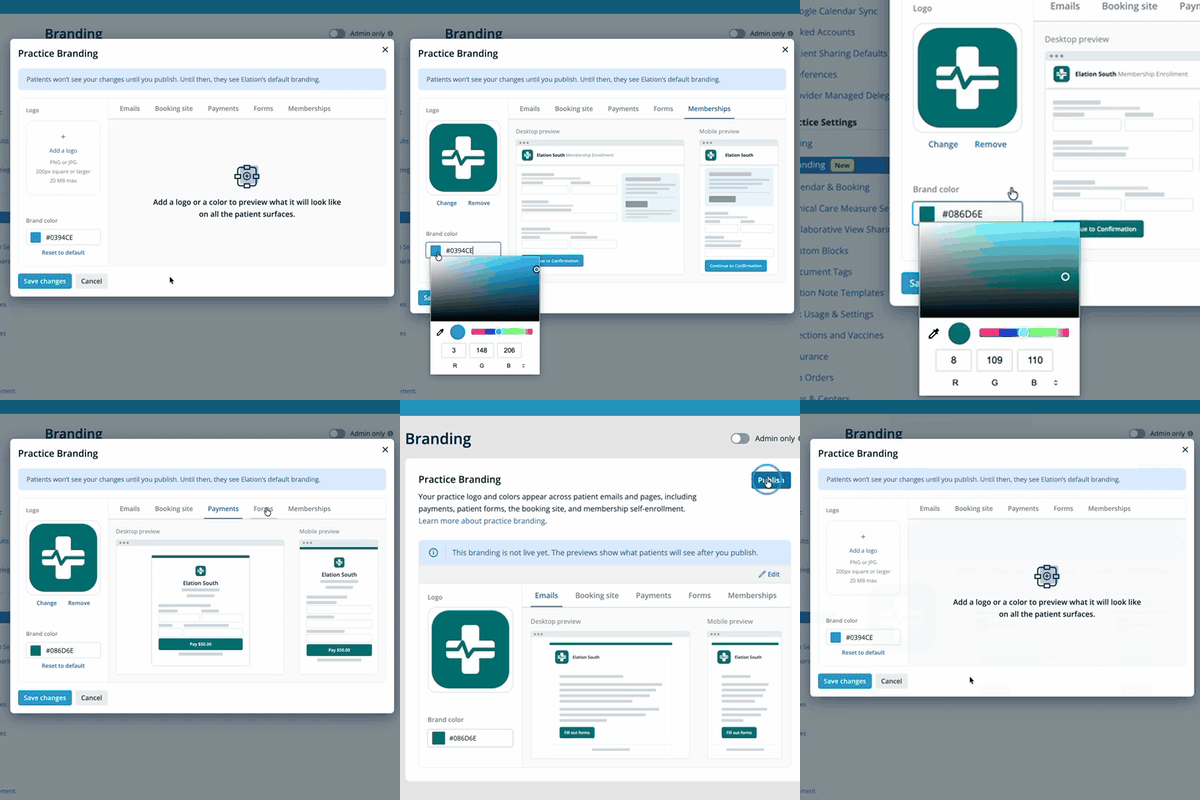
Your brand color themes the primary buttons, the booking step indicator, the patient forms progress bar, the membership plan card, and the color bar on payment pages and email. Links, checkboxes, radio buttons, dropdown selections, and page titles keep their standard colors so the pages stay readable.
Button text stays readable automatically
You do not need to pick a text color for your buttons. Elation sets the button text to light or dark automatically based on the brand color you choose, and adjusts the button background shade where needed, so the text always stays readable for patients. A color is never rejected. You can see this in the live preview as you choose a color: the button text switches between light and dark to match. If your color is on the lighter side, Elation shows a warning, since very light colors can be hard to see on a white page, and the preview shows you exactly how the buttons will look before you publish.Publishing your branding
Your logo and color stay a private draft until you publish. Patients only see your branding after you publish it.- In the branding settings, click Publish.
- To stop showing your branding to patients, click Unpublish. Unpublishing keeps your logo and color saved as a draft so you can edit them privately and publish again later.
To publish, you need at least one of the two: a logo or a color. You can publish a color with no logo, or a logo with no color.
Replacing or removing your logo
- Open Practice Settings > Branding and click Edit.
- To replace the logo, upload a new file and click Save changes.
- To remove the logo entirely, remove it in the window and click Save changes. If you still have a brand color set, your branding stays published with the color alone.