Overview
What is the patient self-enrollment feature?
Patients can submit enrollment requests for your membership plans through a secure public enrollment page. Their form submission creates a patient chart (if one doesn’t already exist), captures payment information, and sends the request to your practice for review. You can stay in control by approving or denying the request before any charges begin.
Why should I use patient self-enrollment?
- Reduces administrative work by letting patients submit enrollment requests to your practice on their own.
- Helps your practice grow more efficiently by collecting key patient details and payment upfront.
- Ensures charges won’t begin until your team activates the membership.
Setup
Pre-requisite Configurations
| 1 | In the top right corner of Elation, click your email address and go to Settings. Then click on Membership Management . |
|---|
| 2 | Locate the plan for which you’d like to enable self-enrollment. Click the toggle for Enable self enrollment until it turns green. Note: If you haven’t created any membership plans yet, follow these instructions to create one first. |
| 3 | Select a default physician that will be associated with any brand new charts that are created. Note: The patient’s first name, last name, date of birth, and sex at birth will be used to determine if there’s a match with one of your existing charts. If no match is found, a new chart will be created. |
| 4 | Optionally click the Customize button to customize the Enrollment URL. |
| 5 | Copy the URL so that you can share it with your patient. |
Workflow Instructions
Self-enrollment involves two steps. First, your patient must complete the online request form for the plan. Next, someone from your practice must approve or deny the request.
| 1 | Open the enrollment URL for the membership plan. On this page, your patient will see the plan name, description, and cost. |
|---|
| 2 | Fill out the fields within the following sections: Patient Information • Contact Information • Payment Information 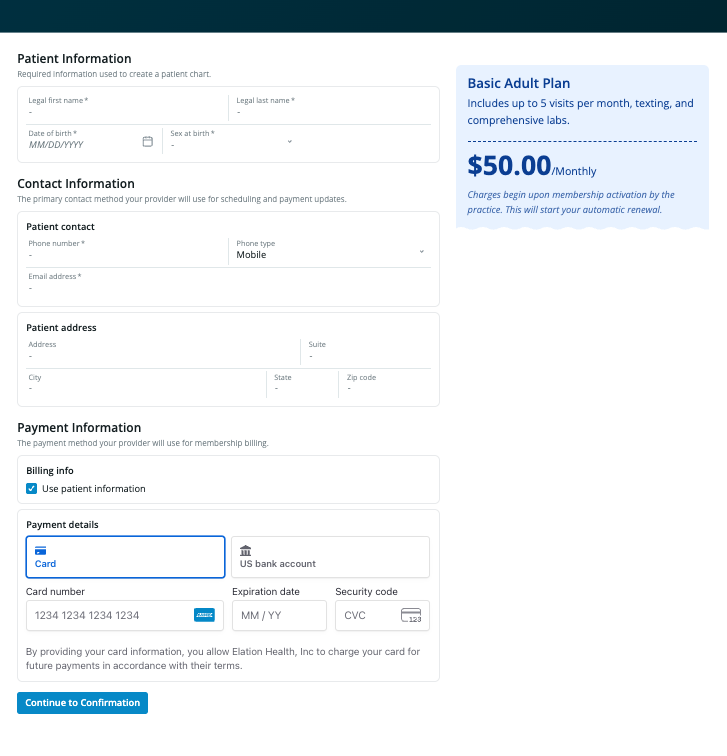 |
| 3 | Click Continue to Confirmation . |
| 4 | Review the enrollment details on the confirmation page. If any changes need to be made, click Back. Otherwise, click Confirm Membership. |
If you need to modify the start date of the patient’s plan, you must make this edit before you activate the plan. Once a plan is activated, you won’t be able to adjust the start date.
- Edit: Allows you to modify the start date and/or payment method of the plan.
- Activate: Activates the plan and charges the patient’s payment method on file.
- Unenroll: Denies patient enrollment request.
4
Once activated, the status display in the Membership Report will change to Active.
Frequently Asked Questions
Why does Elation require the practice to review each enrollment request?
This allows you to confirm right fit, schedule a meet and greet, or collect additional information before activating the plan.
Are there limitations around who/when someone can enroll?
No, anyone with the plan’s public URL can enroll.
Can a patient remove themselves from a membership plan?
No, only the practice can unenroll a patient from an existing membership.
What email correspondence will the patient receive?
The patient will not receive an email when they submit their enrollment form, but they will be notified when the membership is activated.
Related Articles