> ## Documentation Index
> Fetch the complete documentation index at: https://help.elationhealth.com/llms.txt
> Use this file to discover all available pages before exploring further.
# Viewing and Printing Statements
> Learn how to view, print, and manage patient statements
This article explains how to view and print patient statements in Elation Billing.
## Limitations
You cannot print and mail your own statements in the billing software. You must use the automated mailing house, but trust us, this will save you a TON of time and money. Once you have sent any statement(s), then you can print, download, email, etc.
[Check out the article on sending statement batches here.](/articles/sending-statements)
***
## Workflow Instructions
### View and Print
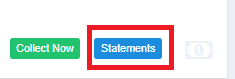
1. **Navigate** - Navigate to any patient page by using the Lightning Search bar or selecting them from the All Patients list. Once on the page, click on the **Statements** button.
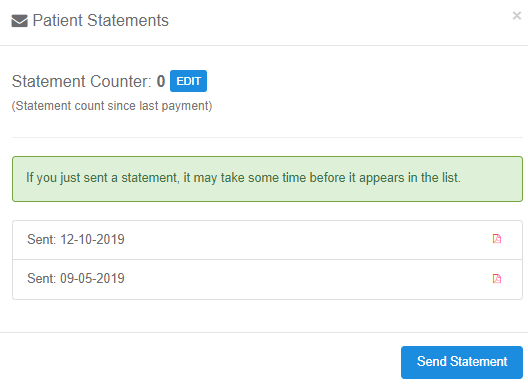
 2. **View Statements** - From here you can click any of the statements that have been sent and view the PDF.
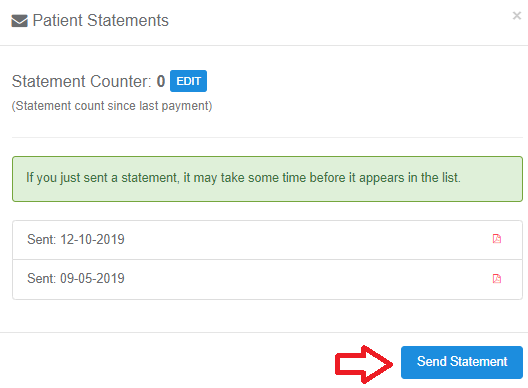
 3. **Sending a Single Statement** - Click the **Send Statement** button and then confirm to mail out a single statement.
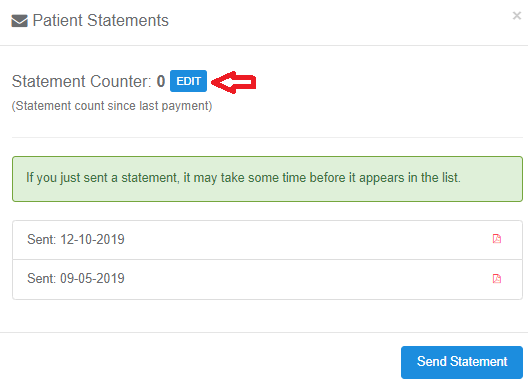
 4. **Edit the Statement Counter** - Click the **Edit** button next to the statement counter to manually change it. When a patient makes a payment the counter automatically goes back to zero. The statement counter is used to determine the color of the statement a patient receives and also as a filter for generating lists of patients to send to collections.
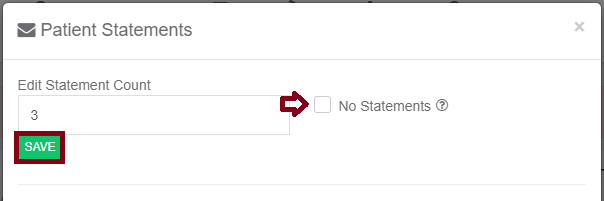
 5. **Stop Sending Statements** - When the edit button is clicked there will now be a check box that says **No Statements**. If you would like the patient to stop receiving statements, you can check this box and click save. The patient's name will not show up in the send statement table after doing this. You can also allow them to receive statements again by unchecking the box.
 ## Related Articles
* [Sending Statements](/articles/sending-statements)
## Related Articles
* [Sending Statements](/articles/sending-statements)